Revision A—31 August 2018
1
QSC Product Series
Technical Notes
TouchMix Series digital mixers
Setting up a TouchMix mixer with an External Wi-Fi Router
Setting up wireless remote access on a TouchMix-30 Pro digital mixer requires connecting to an external Wi-Fi router. And although each
TouchMix-8 and -16 digital mixer comes with a small Wi-Fi dongle, its network performance could be made more robust by using an
external router instead, especially when it is used in a large space with a high potential for interference from Wi-Fi, cellular, and other RF
sources.
This tech note will show you how to easily configure your TouchMix digital mixer with a third-party Wi-Fi router.
You will need these to successfully create your network:
•
TouchMix Series digital mixer
•
Standard Wi-Fi router
•
iOS or Android wireless device with Wi-Fi and either the
QSC TouchMix
app (for TouchMix-8 or TouchMix-16) or the
QSC
TouchMix-30
app (for the TouchMix-30 Pro) installed
•
Ethernet cable
•
USB to Ethernet adapter (TouchMix-8 and TouchMix-16)
NOTE:
You can find a list of recommended USB to Ethernet adapters here on the QSC website:
https://www.qsc.com/live-sound/resources/software-and-firmware/touchmix/ethernet/
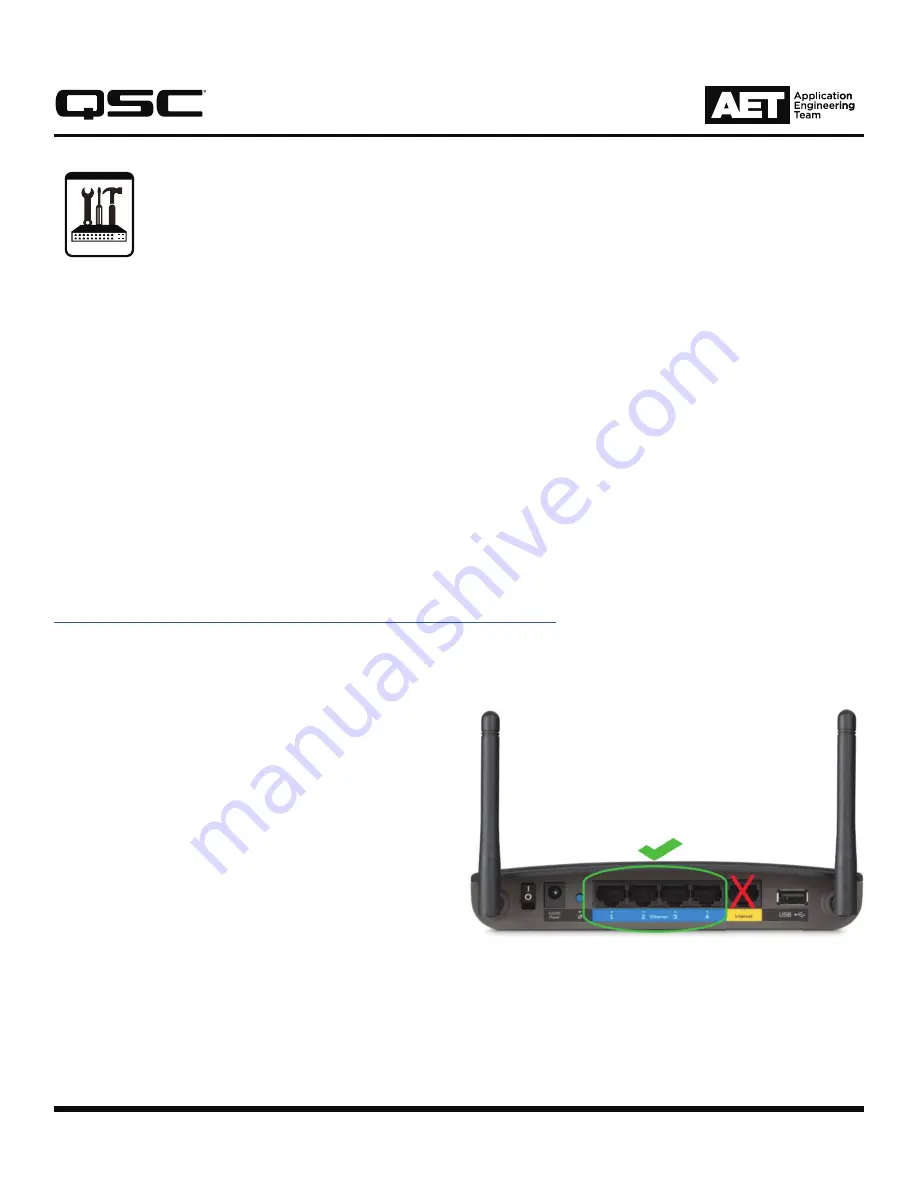
— Figure 1 —
Setting up the router
Many routers will work properly right out of the box. If your router
requires initial setup, proceed according to the manufacturer’s
directions.
NOTE:
Many of the Wi-Fi connection problems that TouchMix
users have reported are actually related to non-standard or custom
configurations of the router. Unless you are experienced in Wi-Fi
configuration, we strongly recommend that you leave router settings
set to their default values.
1. Start with the router and TouchMix mixer turned off.
2. Turn the router on. Once it has booted up, connect one of
its LAN ports (not the Internet, Network, or WAN port; see
Figure 1) to the mixer.
Connect the router to the mixer’s RJ-45 port (TouchMix-30 Pro) or, through the USB to Ethernet adapter, to one of the mixer’s USB
ports (TouchMix-8 or TouchMix-16). Note that the adapter requires suitable electrical power.
3. Turn on the TouchMix mixer. Once the mixer has booted up, press the
Menu
button.
4. Select
Network Setup
.