background image

QSD2308L/QSD2316L DVR User

’s Manual 

i


QSD2308L/QSD2316L   

DVR User

’s Manual 


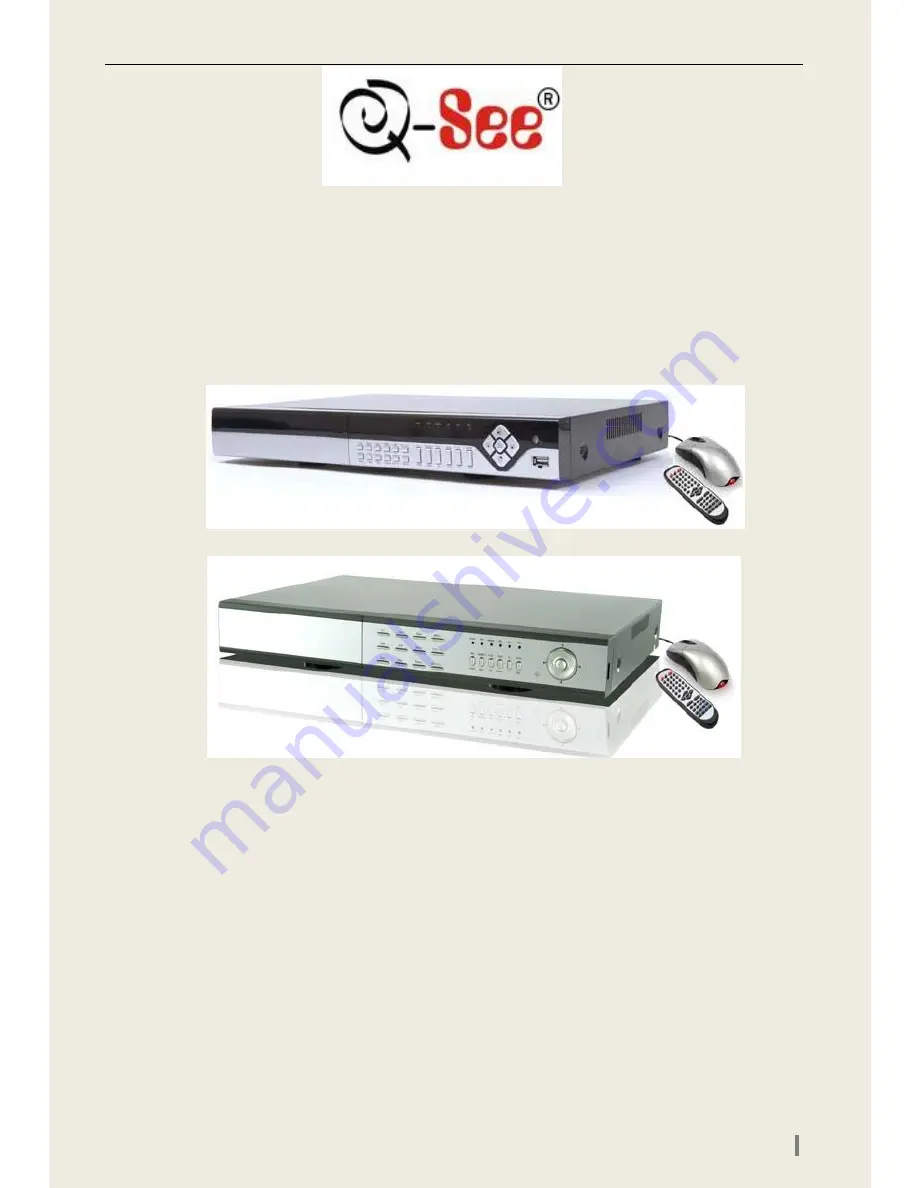
  NOTE: We use two different front panel designs on these models. They 
have the same function buttons but they are arranged differently. Please 
match the front panel on your model with the layouts below. 


For H.264-200 FPS /240 FPS /8-channel/16-channel digital video recorder 

All rights reserved 

        Rev 111408A 

Summary of Contents for QSD2308L

Page 1: ...wo different front panel designs on these models They have the same function buttons but they are arranged differently Please match the front panel on your model with the layouts below For H 264 200 F...

Page 2: ...device near any heat sources such as radiators heat registers stoves or other devices that produce heat Do not install this device near water Clean only with a dry cloth Do not block any ventilation o...

Page 3: ...use 12 2 5 2 Using Mouse 12 CHAPTER 3 Basic Function Instructions 3 1 Power On Off 13 3 2 Login User Management 14 3 3 Recording 17 3 3 1 Record Setup 17 3 3 2 Manual Recording 18 3 3 3 Scheduled Reco...

Page 4: ...6 1 2 On WAN 50 6 2 Remote Viewing 51 6 3 Remote Playback Backup 55 6 3 1 Remote Playback 55 6 3 2 Remote Backup 57 6 4 Remote Menu Configuration 58 6 5 Remote DVR Management 59 6 5 1 Check System Log...

Page 5: ...E Supports VGA output Supports channel security by hiding live display Displays the local record state and basic information Supports full control with USB or PS 2 mouse Supports system locking and un...

Page 6: ...e rate and picture quality adjustable for each channel separately 64MB for every video file packaging 4 audio channels available Two record search modes time search and event search Supports single an...

Page 7: ...multaneously Supports dual stream Network stream adjustable independently to fit the network bandwidth and environment Supports picture snap and color adjustment in remote live view Supports remote ti...

Page 8: ...Recording Capacity STEP1 Unscrew and open the top cover STEP2 Connect the power and data cables Place the HDD onto the bottom case as below Fig 2 1 Connect HDD STEP3 Screw in the HDD as shown below N...

Page 9: ...QSD2308L QSD2316L DVR User s Manual 5 Fig 2 3 Connect the Writer STEP3 Screw in the writer as below Fig 2 4 Screw in the Writer STEP4 Attach the power cable to the proper system board connection...

Page 10: ...Info 1 Enter number 10 above with other numbers 0 9 push twice for 10 2 System Info 5 RECORD Record manually 6 SEARCH Enter search mode 7 PLAY Enter playback menu 8 REW Rewind 9 FF PTZ 1 Fast forward...

Page 11: ...LAY Iris button Enter playback interface Iris control for PTZ cameras 8 REW Speed info Rewind increase or decrease speed system info 9 FF PTZ control 1 Fast forward 2 control PTZ cameras 10 STOP ESC 1...

Page 12: ...nels audio input 4 S VIDEO S Video output connect to monitor 5 PS 2 port Connect PS 2 mouse 6 USB MOUSE port Only for USB mouse 7 RJ45 port Connect to internet 8 VGA port VGA output connect to monitor...

Page 13: ...or cooling the device 17 POWER INPUT DC 12V Tab2 4 Ports on Rear Panel of 16 channel Note The resolution of VGA output is 800 600 60Hz If connected through VGA port please assure your display supports...

Page 14: ...larm The status of these pin are illustrated as 8 N O C O M N C N O C O M N C B e f o r e a l a r m A f t e r a l a r m Fig 2 6 Relay Output Status Users need connect their alarm according to the NO o...

Page 15: ...stop firmware running before pushing harder to power off 2 INFO Button Get information about the DVR such as firmware version HDD information 3 REC Button To record manually 4 Number Buttons Input num...

Page 16: ...up or return to the previous screen If want to input the value move cursor to the button and click An input window will appear as in Fig 2 9 Input Window It supports numbers letters and symbols Fig 2...

Page 17: ...1 System Loading After that it will enter live in 16 screen mode The meaning of letters or symbols on screen are shown in the table below Fig 3 2 Preview Symbol Meaning Symbol Meaning Live audio enabl...

Page 18: ...or click right mouse to show menu bar refer to Fig 4 1 Control Bar STEP2 Click Shut down button refer to Fig 3 3 Shut down STEP3 Click OK on the pop up window The unit will power off automatically af...

Page 19: ...Fig 3 5 Change Password Fig 3 5 Change Password STEP2 Input the old password Then input new password 2 times STEP3 Press OK button to change Add Delete users This unit has a default administrator and...

Page 20: ...ange the group level STEP5 Press Delete button to delete the user A security window will appear as shown below STEP6 Click OK button to delete the user Note Defining users rights Administrator can to...

Page 21: ...1 Enter RECORD configuration refer to Fig 3 7 Record Setup Select cameras Fig 3 7 Record Setup STEP2 Set Video quality Frame rate and Resolution STEP3 Have Audio checked if you input audio and want to...

Page 22: ...e the Holiday function STEP1 Enter SCHEDULE configuration Select cameras and Always see Fig 3 8 Schedule Setup Fig 3 8 Schedule Setup STEP2 The first column lists the 7 days of the week The rows show...

Page 23: ...the camera s channel STEP1 Enter MOTION configuration see Fig 3 10 Motion Detection Setup Select cameras Fig 3 10 Motion Detection Setup STEP2 Enable Detection first Enter Area to set Sensitivity and...

Page 24: ...only select one or the other The actual post alarm record time equals Hold time in RECORD and Hold time in MOTION 3 3 5 Alarm Recording This unit supports recording channels and PTZ linking after alar...

Page 25: ...er to Fig 4 1 Control Bar Click Search the window below will appear on the screen Fig 3 14 Search Menu Time search STEP1 Enter Search configuration select Time search A window will appear as Fig 3 15...

Page 26: ...want to change the date press Date button Set hour and minutes of start time If there is a recording at that time the boxes will show green STEP5 Click Play button It will play from the time point you...

Page 27: ...ports backup to USB Flash through the USB port on the front panel Users can also make backup to PC by IE browser via internet referring to 6 3 1 STEP2Select the date channel and event type Then click...

Page 28: ...ark in the Attach record player option it will save a file player along with the backed up files With this player users can make time and event searches when checking the backup STEP6 Click the Backup...

Page 29: ...low Check View Users can view the backup with third party software like Real Player or Windows Media Player directly Users can also view with the special software attached with the files during backup...

Page 30: ...Set the date and channels It will show the recorded video in area with green at the top as in Fig 3 23 Backup Data Search Fig 3 23 Backup Data Search If using event search it will list event files at...

Page 31: ...orward Rewi nd Record Volume Screen mode Tab 3 2 Backup View Control STEP5 Program supports AVI converter Click Change File to AVI The converter will appear STEP6 Click Browse to choose the folder whi...

Page 32: ...ar shows 100 it is finished Users can play the AVI files with a third party player directly STEP11 For more information about network backup please refer to 6 3 1 STEP2Select the date channel and even...

Page 33: ...Fig 3 26 PTZ Setup STEP2 Set protocol baud rate and address according to the parameters of the speed dome STEP3 Click Set button at right of Preset Here users can set presets shown as Fig 3 27 Set Pr...

Page 34: ...face STEP6 Click OK button to save and exit Press right mouse button to show the control bar Click PTZ to enter PTZ control shown as Fig 3 29 PTZ Control Fig 3 29 PTZ Control STEP7 Select the speed do...

Page 35: ...cle switch Post alarm record time Schedule Recording schedule Motion schedule Sensor schedule Alarm Alarm Switch Sensor type Alarm out out time setup Recorded cameras and PTZ linking Motion Motion swi...

Page 36: ...the cursor to Menu and click the pop up menu will show as Fig 4 2 Pop up Menu Fig 4 2 Pop up Menu Select System A graphic user interface will show as Fig 4 3 System Setup Fig 4 3 System Setup Press M...

Page 37: ...is used to identify multiple devices at the same place Users can manage them by remote control Video format Options are PAL and NTSC Users make the choice according to format of the cameras Language...

Page 38: ...in live Unauthorized users cannot view the camera But it still works in the background recording Show time Display time in live view Dwell time Is available for both Sequence and SPOT simultaneously...

Page 39: ...witch on off recording function for every camera DVR records the camera only if the camera s option is checked here Then you can use manual schedule motion detection and sensor alarm recording options...

Page 40: ...or refer to record schedule motion schedule and alarm schedule respectively The first column shows the 7 days of the week from Sunday to Saturday The rows refer to 24 hours Click the boxes or hold mou...

Page 41: ...nnels To record Set recording channels You can select any record channels It will record on the cameras you choose here when alarm triggered Buzzer Enable on board buzzer for alarm To P T Z CH Set lin...

Page 42: ...t channels i e if users enable motion detection on camera 1 the linked speed domes must be cameras 2 16 Area Set sensitivity and motion detection area DVR supports multiple detection areas as shown in...

Page 43: ...ed to enable DHCP in the router or virtual server When enabled the unit will get IP address information automatically from the router instead of inputting IP Subnet and Gateway manually After you allo...

Page 44: ...Select DDNS server User name and Password Input registered information from DDNS provider This unit supports dual stream Users can set picture quality frame rate and resolution separately for network...

Page 45: ...ch option Protocol Baud rate Address Set the value according to the settings of the speed dome Speed Set the speed of the speed dome Preset Name Select a preset and name it Click Set a window will app...

Page 46: ...can add delete users and change their authorization Note DVR supports one administrator and maximum of 15 users 4 2 10 Tools Configuration Click TOOLS to enter tools configuration shown as Fig 4 19 To...

Page 47: ...lay on the screen as below STEP4 It will return to the previous automatically after finished And status will show normal after formatted Note All recorded files will be lost after formatting 5 2 Updat...

Page 48: ...c Users can choose any block to do default as shown in Fig 5 2 Reset Blocks Fig 5 2 Reset Blocks STEP1 Enter TOOLS configuration referring to 4 2 10 Tools Configuration STEP2 Click Load default Select...

Page 49: ...System the window below will display Check firmware version recording parameters here Fig 5 4 System Information STEP4 Return to the previous menu click Network The window below will display Check IP...

Page 50: ...hutdown Reset Start Record Stop Record Setup Basic Setup Live Setup Record Setup Schedule Setup Alarm Setup Network Setup P T Z Tab 5 1 Details of System Log STEP1 Press right mouse button to show the...

Page 51: ...are saved to the HDD inside If HDD is not installed it won t record any thing The number of log files is unlimited 5 6 Check On line Network Users Press right mouse button to show the control bar Cli...

Page 52: ...File manager the window below will appear Fig 5 9 File Manager STEP3 Click Date to change date by a calendar click Search to refresh the list The files found will be listed in the file area of file m...

Page 53: ...EP2 Enter Video to set network video parameters like resolution frame rate etc STEP3 Open IE browser on a computer on the same LAN Input the IP address of the DVR in IE address blank and enter STEP4 I...

Page 54: ...g ports on most popular routers at www portforward com STEP4 If you want to utilize dynamic domain name you need to apply for a domain name in a DNS server supported by the DVR or router Then add to t...

Page 55: ...camera1 in video loss row will show red if there is video loss If it shows grey channel1 is normal Below is the definition of the indicators in the record row Symbol Meaning Symbol Meaning Manual rec...

Page 56: ...s captured one time Enable Title and Time it will capture title and time simultaneously STEP3 Click Snap to capture pictures STEP4 Click Browse to set saving path Click Save to save pictures to HDD on...

Page 57: ...t zoom focus Iris Speed Go to the preset Click to rename the preset Select and do auto cruise Click right mouse a pull down menu will appear as shown below Fig 6 5 Preview Control Menu Audio Enable re...

Page 58: ...er stream This DVR supports dual stream sub stream and master stream Sub stream has low frame rate max 3fps for every channel refer to 4 2 7 Network Configuration You can use this option to view the c...

Page 59: ...ntering Playback Backup block Search by time STEP1 Select the date in calendar area select the channel in channel area STEP2 Click Search button to update the search result All the recorded files foun...

Page 60: ...ct fast forward backward pause stop playback and snap pictures About snap feature it is the same as in remote preview refer to Fig 6 3 Preview Snap Click to return to search interface By event search...

Page 61: ...network Click Backup to enter the interface shown below Fig 6 10 Remote Backup Interface STEP1 Select the date and channel Then click Search button It will list all the files recorded in the day in l...

Page 62: ...dule remotely through network not going to the DVR Click Setup to enter the interface as below Fig 6 11 Remote Menu Setup The sub menu lists and the options in every sub menu are similar with those on...

Page 63: ...rch Log the window below will appear Event log search is the default interface Fig 6 12 Remote System LOG Search STEP2 Select the date channel and event type Then click Search STEP3 The entire log fou...

Page 64: ...lect the date and channels click Search All the files found will be listed in the day in left area STEP3 The relative status will show Lock if the file is locked Writing means the file is still in bei...

Page 65: ...to 4 2 7 Network Configuration Below are the instructions for use on the mobile client end for the two operating systems Note DVR only supports live view by mobile devices on one channel at a time 7...

Page 66: ...to download and install STEP5 PCam will be opened after installed STEP6 Input the server s address ID and password respectively in the columns of Server User and Password Then click Go to login to the...

Page 67: ...er name admin and password 123456 7 2 By Phones with Symbian Please use the smart phones with Symbian version supported by this unit STEP1 First enable the network access on the mobile phone And then...

Page 68: ...security windows will pop up after downloading and ask if OK to install the package Click YES to install STEP5 A Scam shortcut icon appears on the system menu after finish STEP6 Run Scam program STEP7...

Page 69: ...the server s address ID and password respectively And click OK to login the DVR STEP9 Screen will show the camera after accessing successfully Note User name and password here are the same with that...

Page 70: ...re no images displayed on some or all of the channels of the DVR a Connection problem Please check the cables and the ports of camera and DVR b Camera problem Please check the cameras by attaching the...

Page 71: ...se is not securely connected Plug unplug several times c The mouse is incompatible with the system Please try another mouse Q7 My computer will not download ActiveX control for remote viewing what can...

Page 72: ...QSD2308L QSD2316L DVR User s Manual 68 Enable all the sub options under ActiveX controls and plug ins...

Page 73: ...USB port on the rear panel if using a mouse Q10 How do I input password and digital numbers To input password and digital numbers click the box behind password or items where you need to input numbers...

Page 74: ...sed on DVR recording settings The DVR uses fixed video bit rate Below is the space used at different settings Video Format Resolution Frame Rate Total FPS Video Quality Bit Rate kbps Storage Used MB h...

Page 75: ...s resolution to CIF video quality to Lower frame rate to 240fps for 16ch total and he wants the unit to continuously record for a month below is the calculation Storage used in a day 112 5X24 h X 240f...

Page 76: ...rives that we have tested Brand Capacity SSK 512MB 1G 2GB Netac 4GB Kingston 2GB Aigo 2GB Smatter vider 1GB Scandisk 4GB Tab C 1 Compatible USB drives 2 Compatible SATA CD DVD writers that we have tes...

Page 77: ...352 240 NTSC Display Frame Rate 200FPS PAL 240FPS NTSC Record Frame Rate 100FPS PAL 120FPS NTSC Audio input 8dB 22k RCA X4 Audio output 8Db 92dB RCA X1 Alarm input NO or NC 8CH Alarm output 4CH Recor...

Page 78: ...352 240 NTSC Display Frame Rate 400FPS PAL 480FPS NTSC Record Frame Rate 200FPS PAL 240FPS NTSC Audio input 8dB 22k RCA X4 Audio output 8Db 92dB RCA X1 Alarm input NO or NC 16CH Alarm output 4CH Reco...

Page 79: ...ct payable service 1 Equipment damage caused by improper operation 2 Improper environment and conditions in on which the equipment operates e g improper power environment temperature humidity and ligh...

Page 80: ...SD2316L DVR User s Manual 76 Customer Information Card User s Name Mr Mr s Company Name Postal Address Postal code Phone Number E mail Model Number of Product Serial Number of Product Purchase Date Di...

Page 81: ...rrectness of its contents 2 We do not accept any responsibility for any harm caused by using our product 3 The product picture may differ from the actual product which is only for your reference The a...

Reviews: