background image

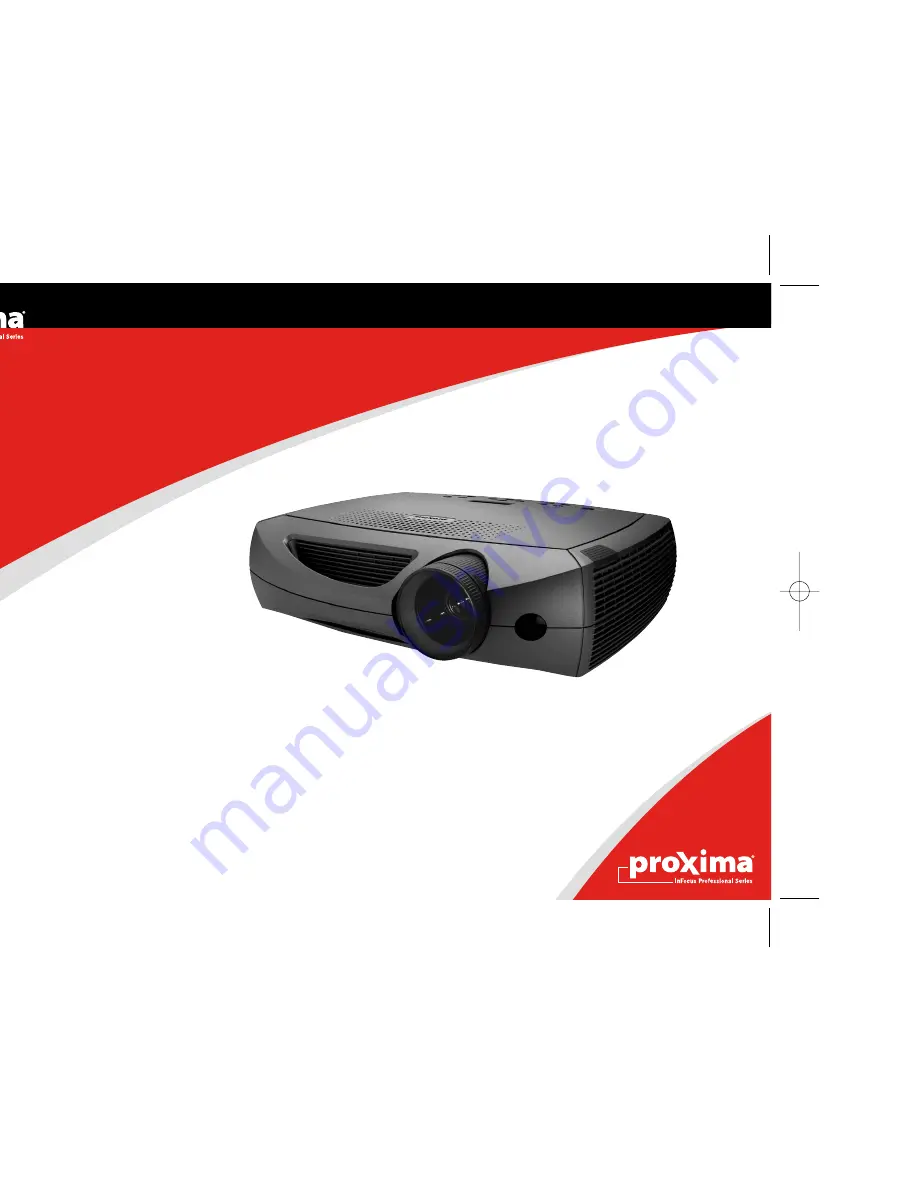
DP8200x

Meeting room easy. Install ready.

User’s Guide

InFocus Corporation

27700B SW Parkway Avenue 
Wilsonville, Oregon 97070-9215
1-800-294-6400 • 503-685-8888
Fax: 503-685-8887
http://www.infocus.com

In Europe: 

InFocus International B.V.
Strawinskylaan 585
1077 XX Amsterdam,The Netherlands
Phone: +31 20 579 2000
Fax: +31 20 579 2999

In Asia: 

238A Thomson Road
#18-01/04 Novena Square
Singapore 307684
Telephone: (65) 6334-9005
Fax: (65) 6333-4525

DP8200x

010-0455-00

8200_COV.qxd  4/29/03  8:54 AM  Page 1

Summary of Contents for DP8200x

Page 1: ...8200x Meeting room easy Install ready User s Guide ...

Page 2: ......

Page 3: ...es på den vedlagte CD en som en Adobe Acrobat pdf fil på følgende språk Engelsk fransk tysk italiensk norsk portugisisk spansk russisk japansk koreansk tradisjonell og forenklet kinesisk Les diss anvisningene før projektoren tas i bruk Este guia do usuário completo está disponível no CD anexo como um arquivo pdf do Adobe Acrobat nos seguintes idiomas inglês francês alemão italiano norueguês portug...

Page 4: ...ning This equipment has been tested and found to comply with the limits for a Class A digital device pursuant to part 15 of the FCC Rules These limits are designed to pro vide reasonable protection against harmful interference when the equipment is oper ated in a commercial environment This equipment generates uses and can radiate radio frequency energy and if not installed and used in accordance ...

Page 5: ...k Set Up card For complete details on connecting and operating the projector refer to this User s Guide Electronic versions of this User s Guide in multiple languages are available on the included CD and on our website The website also has technical specifications an interactive image size cal culator laptop activation commands connector pin outs a glossary the product data sheet a web store to bu...

Page 6: ...4 ...

Page 7: ...es you constant feedback on the status of the projector Online Registration Register your projector on our website to receive product updates announcements and registration incentives See the inside of the back cover for the web address Included items Projector components and features documentation remote computer cable projector lens cap power cable audio video cable audio cable USB cable cover k...

Page 8: ...ides a con stant output while the projector is on If you connect your projection screen to the trigger with an optional cable when you turn on the projector the screen will move down when you turn the projector off the screen will return to the storage position You must turn this feature on in the System menu to use it See page 34 computer 2 network audio in L computer in trigger monitor out seria...

Page 9: ...Computer 2 the PS 2 input is for Computer 3 To have sound with your presentation connect the audio cable to your com puter and to the computer Audio In connector on the projector If you are using a desktop computer and want to see the image on your computer screen as well as on the projection screen plug the monitor cable to the Monitor out connector on the projector connect computer cable compute...

Page 10: ...our website The projector can be managed by ProjectorNet networking software through its Network connector Contact an authorized dealer or visit our website for information on ProjectorNet connect M1 D cable computer 2 network audio in L computer in trigger monitor out serial control R audio in computer 1 USB mouse computer 3 I O connect RS 232 cable computer 2 network audio in L computer in trigg...

Page 11: ...The computer s image should appear on the projection screen If it doesn t press the Computer button on the projector s keypad Make sure your laptop s external video port is active Many laptops do not automatically turn on their external video port when a projector is connected Usually a key combination like FN F5 is used to turn the external display on and off Refer to your computer s documenta ti...

Page 12: ...your Windows operating system If you are running Windows 2000 Windows ME or Window XP skip these steps and go to Adjusting the image on page 12 a Click Next to begin searching for the driver b Make sure Search for the best driver is selected then click Next c Uncheck any checked boxes then click Next Windows automatically locates the driver If this driver has been removed reload the driver using y...

Page 13: ...rd appears again Drivers must be installed to use the USB functionality The Wizard launches two times The first time it detects a USB Human Interface Device for the key board The second time it detects a USB Human Interface Device for the mouse For Windows 2000 Windows ME and Windows XP The USB drivers are automatically installed ...

Page 14: ...hem until the desired image size and focus are produced If the image is not square adjust the vertical digital keystone by using the buttons on the keypad Press the upper Keystone button to reduce the upper part of the image and press the lower Keystone button to reduce the lower part You can also adjust the horizontal keystone via the menus See page 30 Adjust the Contrast or Brightness in the Pic...

Page 15: ...ely plug the cable s green connectors into the green component out connector on the video device and into the green component connector labeled Y on the projector Plug the component cable s blue connectors into the blue compo nent out connector on the video device and into the blue component con nector labeled Pb on the projector Plug the component cable s red connectors into the red component out...

Page 16: ...6 Plug in and turn on the video device The video device s image should appear on the projection screen If it doesn t press the Video button on the keypad Adjust the height of the projector by pressing the release button to extend the elevator foot Rotate the leveling foot if necessary Position the projector the desired distance from the screen at a 90 degree angle to the screen See page 42 for a t...

Page 17: ...eystone button to reduce the upper part of the image and press the lower Keystone button to reduce the lower part You can also adjust the horizontal keystone via the menus See page 30 Adjust the volume on the keypad or remote Adjust the Contrast Brightness Color or Tint in the Picture menu See page 29 for help with the menus adjust zoom and focus focus zoom adjust keystone adjust volume adjust Pic...

Page 18: ...een and the fans stop Press the power switch on the back of the projector and unplug the power cable to completely power off the projector Troubleshooting your setup If your image appears correctly on the screen skip to the next section page 25 If it does not troubleshoot the setup The Interactive Display and LED on top of the projector indicate the state of the projector and can help you troubles...

Page 19: ...creen Plug power cable in press power switch press power button Remove lens cap Correct image Only startup screen appears Press the Computer button Activate laptop s external port Computer image projected 1 2 3 startup screen startup screen A or restart laptop A A ...

Page 20: ... refresh rate in Control Panel Display Settings Advanced Adapter location varies by operating system Computer image projected Signal out of range A You may also need to set a different resolution on your computer as shown in the following problem Image fuzzy or cropped A A ...

Page 21: ...se Connect USB cable page 7 then load USB drivers if needed page 10 Or connect PS 2 cable and reboot your computer Remote controls computer cursor Note that the mouse is not functional in zoom mode see page 35 See page 25 for information on the remote A A A For a laptop disable laptop monitor or turn on dual display mode A X computer 2 network audio in L computer in trigger monitor out serial cont...

Page 22: ...uare Adjust keystone on keypad or Picture menu Square image Image not sharp Adjust the focus lens or Sharpness in the Picture Advanced menu Correct image Image does not fit 16 9 screen Change aspect ratio to 16 9 in Picture Aspect ratio menu Correct image A B A B A B ...

Page 23: ...System menu Correct image Image reversed left to right Turn off Rear in Settings System menu Correct image Projected colors don t match source Adjust color tint color temperature brightness contrast in the menus Correct image A B A B A A B COLOR COLOR ...

Page 24: ...n t blocked allow projector to cool for one minute Unplug projector wait one minute plug in projector and turn it on lamp lights Lamp won t turn on LED blinking red page 16 Lamp must be replaced page 38 Lamp turns on blinks red startup screen blinks red startup screen ...

Page 25: ...our dealer When sending the projector in for repair we recommend shipping the unit in its original packing mate rial or having a professional packaging company pack the unit An optional ATA shipping case is available for purchase that provides adequate protec tion for shipping Please insure your shipment for its full value Image not centered on screen Move projector adjust zoom adjust height Corre...

Page 26: ... made in the menus page 29 up down arrows navigates to and adjusts settings in the menus page 29 auto image resets the projector to the source presets cycles through the available preset settings page 31 keystone vertical keystone adjusts the squareness of the image page 12 You can also adjust the horizontal keystone via the menus See page 30 volume adjusts sound page 26 video and computer changes...

Page 27: ...lume and mute buttons to control the sound a backlight button to light the remote s buttons in the dark and video and computer buttons to switch between sources Two presentation specific features are also provided Use the blank button to display a blank screen instead of the current slide you can choose which color is displayed see page 34 use the effect button to invoke a user defin able action s...

Page 28: ...r 1 and 2 share a single audio input as do Video 2 and 3 Adjust the audio source If playing a video make sure the playback has not been paused Connecting external speakers The projector can be attached to external speakers that have their own power source by plugging speaker cables into the projector s left and right Audio Out connectors connect audio cable computer 2 network audio in L computer i...

Page 29: ... are provided to make giving presentation easier The fol lowing is an overview details are found in the menu section on page 29 The remote s Effect button allows you to assign various features to the key The default effect is Zoom You can select from Blank Mute Aspect Ratio Source Auto Image Freeze Zoom About PiP Mask and Screen Trigger See page 35 for details The Freeze effect allows you to freez...

Page 30: ...re in a dark room Light if in a bright room page 31 Customizing the projector You can customize the projector for your specific setup and needs See page 33 to page 37 for details on these features For rear projection turn Rear mode on in the Settings System menu For ceiling mounted projection turn Ceiling mode on in the Set tings System menu Specify which source the projector checks first for acti...

Page 31: ...ious menu press the Menu button at any time to close the menus Dots appear before the menu name The number of dots indicate the menu s level ranging from one the Main menu to four the most nested menus The menus are grouped by usage The Picture menu provides image adjustments The Settings menu provides set up type adjustments that are not changed often The About menu provides a read only display o...

Page 32: ...t and darkest parts of the picture and changes the amount of black and white in the image Brightness changes the intensity of the image Color video sources only adjusts a video image from black and white to fully saturated color Tint NTSC video sources only adjusts the red green color balance in the image Aspect Ratio Aspect ratio is the ratio of the image width to image height TV screens are usua...

Page 33: ...ettings you customize are saved in the preset for each source To restore the factory default settings choose Fac tory Reset in the Settings Service menu There are also three user definable presets To set a preset for the current source adjust the image then choose Save User 1 2 or 3 You can recall these settings in the future by selecting the appropriate user presets Room Lighting This features op...

Page 34: ... different setting turn off Auto then choose RGB for computer sources choose either SMPTE240 REC709 or REC601 for component video sources Color Temperature changes the intensity of the colors Select a listed value or select User and individually adjust the intensity of the red green and blue colors The following 4 options are for computer sources only Phase adjusts the horizontal phase of a comput...

Page 35: ...ecks the sources in order until a source is found or until power down Sources RGB Video check this box if you are using a DVD player with RGB output System Rear reverses the image so you can project from behind a translu cent screen Ceiling turns the image upside down for ceiling mounted projection Auto Power When Auto Power is checked the projector automatically goes into the startup state after ...

Page 36: ...creen instead of the default screen at startup and when no source is detected It also allows you to capture and display a custom startup screen To capture a custom logo display the image you want to capture on your computer highlight Capture New then press Select twice While the cap ture is underway the LED on the keypad turns orange When ready the projector confirms the capture and the LED change...

Page 37: ...the image displaying dif ferent parts of it only if the image is magnified To return to the original size and cancel Zoom press the Effect button a second time About displays the About menu PiP Picture in Picture allows you to overlay a smaller window show ing the video source on top of the larger computer source window You must have both a computer and video source connected to use PIP You can t ...

Page 38: ...network configuration The Network Info menu is informational and cannot be edited It displays the current IP Address Subnet Mask Default Gateway and the projector s MAC Address Language allows you to select a language for the onscreen display of menus and messages Service to use these features highlight them and press Select Factory Reset restores all settings except Lamp Hours and Network set tin...

Page 39: ...ccessories on page 41 for ordering information 1 Turn off the projector and unplug the power cable 2 Set the projector upright with the lens facing upward place a screw driver or other narrow object in the release hole on the bottom of the projector then twist the lens counterclockwise to remove it 3 To install the new lens align the red dot near the base of the lens with the top of the projector ...

Page 40: ...ccessories on page 41 for information 1 Turn off the projector and unplug the power cable 2 Wait 60 minutes to allow the projector to cool thoroughly 3 Turn the projector upside down and remove the lamp door by removing the two screws and sliding the lamp door tabs out of the two tab bays 4 Loosen the three captive screws on the lamp module About menu computer 2 network audio in L computer in trig...

Page 41: ...aking sure that it is properly seated 7 Tighten the three screws 8 Replace the lamp door by inserting the tabs into the tab bays and tight ening the two screws 9 Plug in the power cable press the power switch then press the Power button to turn the projector back on 10 Reset the lamp hour timer Resetting the lamp timer If the lamp timer has reached the maximum number of hours for the projec tor la...

Page 42: ...a vacuum set on low power 6 Replace the dust filter and the lamp door Using the security lock The projector has a security lock for use with a cable lock system See Accessories on page 41 for ordering information Refer to the information that came with the lock for instructions on how to use it computer 2 network audio in L computer in trigger monitor out serial control R audio in computer 1 USB m...

Page 43: ...nal Accessories Part Number Shipping Case ATA approved CA ATA 017 Projector Mount SP CEIL 005 B False Ceiling Plate for Projector Mount SP LTMT PLT Extension Arm for Projector Mount 26 47 SP LTMT EXTP Short Throw Lens LENS 020 Long Throw Lens LENS 021 DVI D Cable 6 ft 1 8 m SP DVI D Component to VESA Adapter SP VESA ADPT VGA Cable Line Amp Extension 50 ft 15m Domestic SP VGAEXT50 D VGA Cable Line ...

Page 44: ...Technical Sup port for repair if replacing the lamp does not solve the problem Four 4 blinks The fan has failed Contact Technical Sup port for repair Five 5 blinks The projector is overheating Check for a blocked air vent Contact Technical Sup port for repair if clearing the air vents does not solve the problem Table 3 Image sizes for standard lens Distance to screen feet m Minimum Diagonal feet m...

Page 45: ... an interactive image size calculator Table 5 Image sizes for short throw lens fixed focus Distance to screen feet m Diagonal feet m 3 91 2 5 76 5 1 52 4 17 1 27 8 2 44 6 67 2 03 12 3 66 10 3 05 16 4 88 13 33 4 06 20 6 1 16 67 5 08 ...

Page 46: ... incorrect 21 component cable connector 13 computer connections optional 7 required 7 computer image optimize 27 troubleshooting 17 connector panel 6 contacting InFocus 23 Contrast 12 15 custom logo startup screen 34 customer service contact information 23 D Default gateway 36 DHCP 36 Display Messages 33 displaying computer image 9 PiP 35 video image 14 Drivers 10 USB 11 Windows 98 11 dust filter ...

Page 47: ...6 lens changing 37 cleaning 37 leveling foot 12 Low Power 33 M Main menu 29 menu system 29 Monitor connector 7 mouse using your 7 Mute 35 N Network 36 Network connector 8 Network Info 36 no computer image 18 no startup screen 17 O only startup screen appears 17 optional accessories 41 P Picture in Picture 35 Picture menu 30 PiP 35 Power button 14 power cable 7 13 Power Save 33 PowerPoint remote s ...

Page 48: ...solid green 16 solid red 16 Source 35 Source troubleshooting 17 Sources 33 standard accessories projector 41 Subnet mask 36 S video connector 13 T Tint 15 trigger screen 6 Troubleshooting 16 17 U USB using your mouse 7 V Video button 14 video connections optional 13 standard 13 Video connector 13 video images optimizing 28 W warranty 23 47 Windows 2000 11 Windows 98 10 Windows ME XP 11 X XGA 5 Z z...

Page 49: ...day or 500 hour warranty whichever comes first from the date the spare lamp is put into use WARRANTY LIMITATION AND EXCLUSION THIS WARRANTY SETS FORTH INFOCUS MAXIMUM LIABILITY FOR ITS PRODUCT THIS WARRANTY EXTENDS ONLY TO PRODUCTS PURCHASED FROM INFOCUS OR AN INFOCUS AUTHORIZED RESELLER InFocus shall have no further obligation under the foregoing Limited Warranty if the Product has been damaged d...

Page 50: ...the model and serial number of the Product Upon request of InFocus Corporation or an InFocus authorized repair center receiving the Product proof of legal importation must accompany the warranty repair Product otherwise the Product must be returned to the place of original purchase to the man ufacturer Purchaser must bear all tax duty and freight or the Purchaser must bear charges for the warranty...

Page 51: ...fee at 1 888 592 6800 Or send us an e mail at techsupport infocus com IN EUROPE call InFocus Corporation in The Netherlands at 31 20 579 2820 IN ASIA call InFocus Corporation in Singapore at 65 6334 9005 Many resources are available on our website at www proxima com Here s a sample product data sheet technical specifications an interactive image size calculator laptop activation commands connector...

Page 52: ......

Reviews: