ProSun AquaFrixio, User Manual
The ProSun AquaFrixio is a state-of-the-art tanning bed designed for maximum comfort and relaxation. Achieve the perfect tan with adjustable settings and innovative technology. Ensure you're getting the most out of your tanning experience by downloading the free User Manual from manualshive.com. Get your glow on!
Share
Download


Reviews:
No comments
Related manuals for AquaFrixio
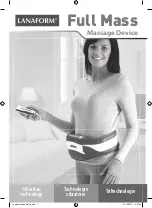
Full Mass
Brand: Lanaform Pages: 27

Back Massager
Brand: Zenkuru Pages: 7

88902
Brand: Medisana Pages: 88

BFGUN STEALTH
Brand: Heroproof Pages: 14

31996
Brand: Astralpool Pages: 20

KAMTMSGGUNA
Brand: Kogan Pages: 12

40.942
Brand: Beper Pages: 36

EC-555
Brand: Galaxy Pages: 20

LY-803A-2
Brand: elektronik star Pages: 7

EYE FOCUS
Brand: L+B Pages: 11

MF-20
Brand: PLANTA Pages: 28

Orbit Massage Lounger ORBT-1
Brand: Daiwa Pages: 12

ACRL5500
Brand: AccuRelief Pages: 32

207382
Brand: Sharper Image Pages: 4

FMS-315H
Brand: HoMedics Pages: 13

FMS-351HJ
Brand: HoMedics Pages: 13

FM-4
Brand: HoMedics Pages: 4

FB-350-EU
Brand: HoMedics Pages: 40


