Plastica Bayswater, Self Build Install Instructions
Find all the guidance you need with Plastica Bayswater self build install instructions. Our manuals are available for free download on manualshive.com, ensuring a seamless and stress-free installation process. Simply follow the manual for easy step-by-step instructions on setting up your product.
Share
Download


Reviews:
No comments
Related manuals for Bayswater
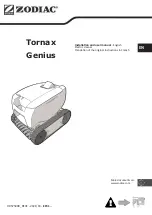
Genius
Brand: Zodiac Pages: 164
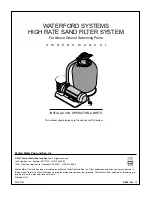
HIGH-RATE SAND FILTER SYSTEM
Brand: Pentair Pool Products Pages: 36
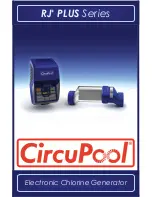
RJ PLUS series
Brand: CircuPool Pages: 32

BLM100
Brand: Aquant Pages: 26

KingShark
Brand: Hayward Pages: 20

UKD-200
Brand: Ultra Reef Pages: 12

Pool'N Box Junior
Brand: BWT Pages: 36

Dolphin DX35
Brand: Maytronics Pages: 2

WL698
Brand: Intex Pages: 9

NT6122
Brand: Blue Wave Pages: 4

Vac-Sweep 480 PRO
Brand: Polaris Pages: 64

Inground Suction Pool Cleaner
Brand: Pentair Pages: 20

UV-C Tech
Brand: Blue Lagoon Pages: 48

V35018
Brand: Piscine Solide Pages: 102

Saturn SX3
Brand: K-Bot Pages: 16

K-5-D
Brand: K-Star Pages: 6

RSP7
Brand: Water Ace Pages: 24

Aqua Active Magic
Brand: Fiap Pages: 89


