Pioneer AVIC-Z720DAB, Installation Manual
The Pioneer AVIC-Z720DAB is a cutting-edge in-car entertainment system. Ensure a seamless installation with the provided Installation Manual. Download it for free from our website and benefit from a step-by-step guide to setting up and maximizing the features of this exceptional product.
Share
Download


Reviews:
No comments
Related manuals for AVIC-Z720DAB

D3108M
Brand: Eonon Pages: 35

EQUALIZER
Brand: Patton Pages: 4

Corro Wicking Bed
Brand: WaterUps Pages: 3

VM 067
Brand: Phonocar Pages: 48

DT35 Series
Brand: Toro Pages: 12

DNN9350BTM
Brand: Kenwood Pages: 153
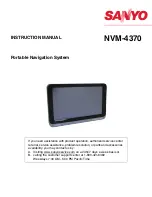
NVM-4370
Brand: Sanyo Pages: 42

NVM-4050
Brand: Sanyo Pages: 40

NVM-4030 - Easy Street - Automotive GPS Receiver
Brand: Sanyo Pages: 41
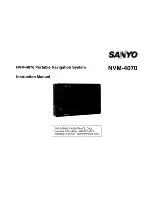
NVM-4070
Brand: Sanyo Pages: 45

D50 Series
Brand: Weathermatic Pages: 2

NCA-601
Brand: Naxa Pages: 13

VPC550R
Brand: VIETA Pages: 20

CDV7200BT
Brand: VIETA Pages: 58

JEEP 2014 KPLAY
Brand: KAP Pages: 24

FM Series
Brand: Task Force Tips Pages: 12

2012 Full-Size Truck
Brand: Chevrolet Pages: 102

MCD893
Brand: Caliber Pages: 342


