


Thank you for choosing our PIN Genie product.
Please read this manual carefully to ensure the Smart Lock is used safely and reliably.
You should keep it for future reference and maintenance.
U.S. Patent No. 9,665,706 & 9,853,815
Other Patents Pending With All Rights Reserved
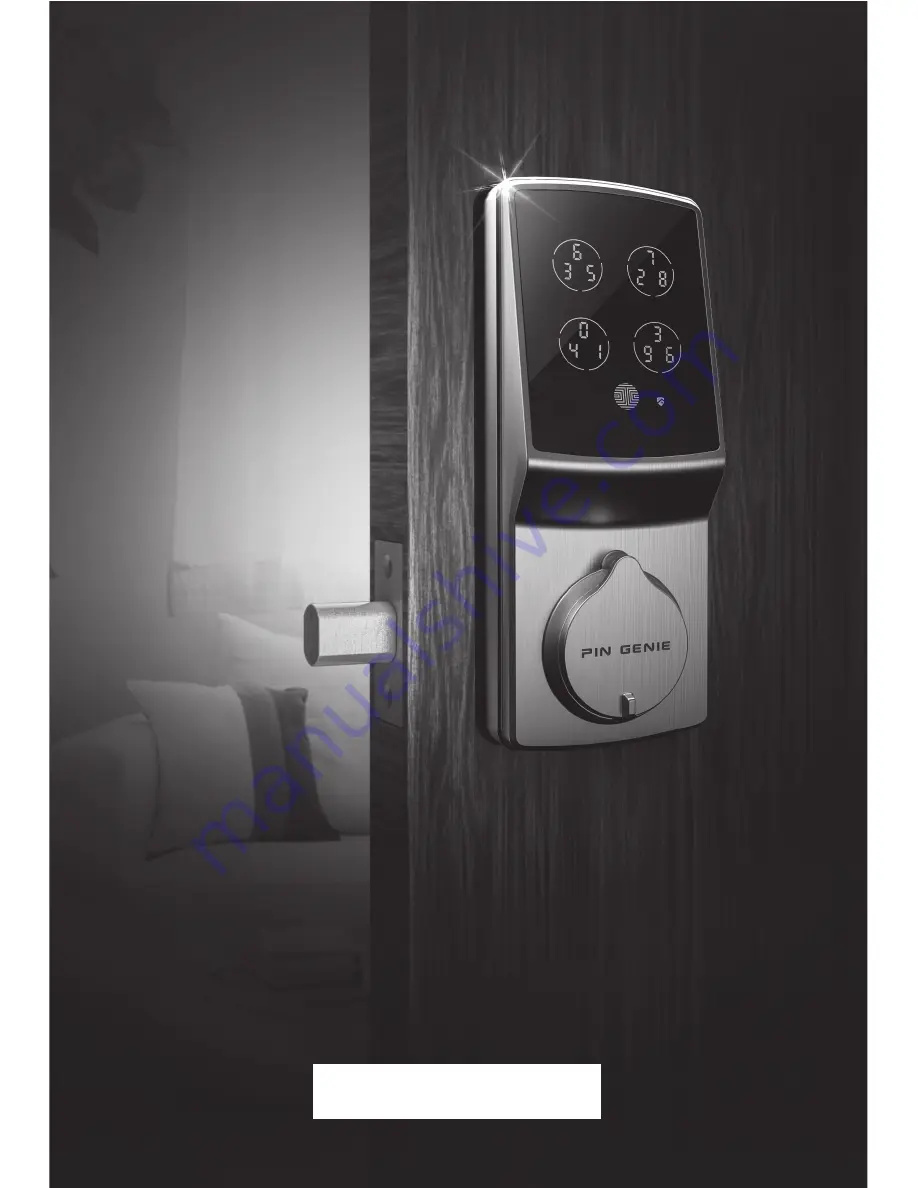
Smart Lock by PIN Genie
User Manual
Smart Lock PRO (PGD728)
Smart Lock Essential (PGD718)
PGD718&728_Rev.A_20180118
Summary of Contents for PGD718
Page 24: ......


