User manual
Manuel d’utilisation
| Benutzerhandbuch
| Manual del usuario
Gebruikershandleiding
| Manuale per l'utent
| Manual do usuário
Användar-handbok
9FF2
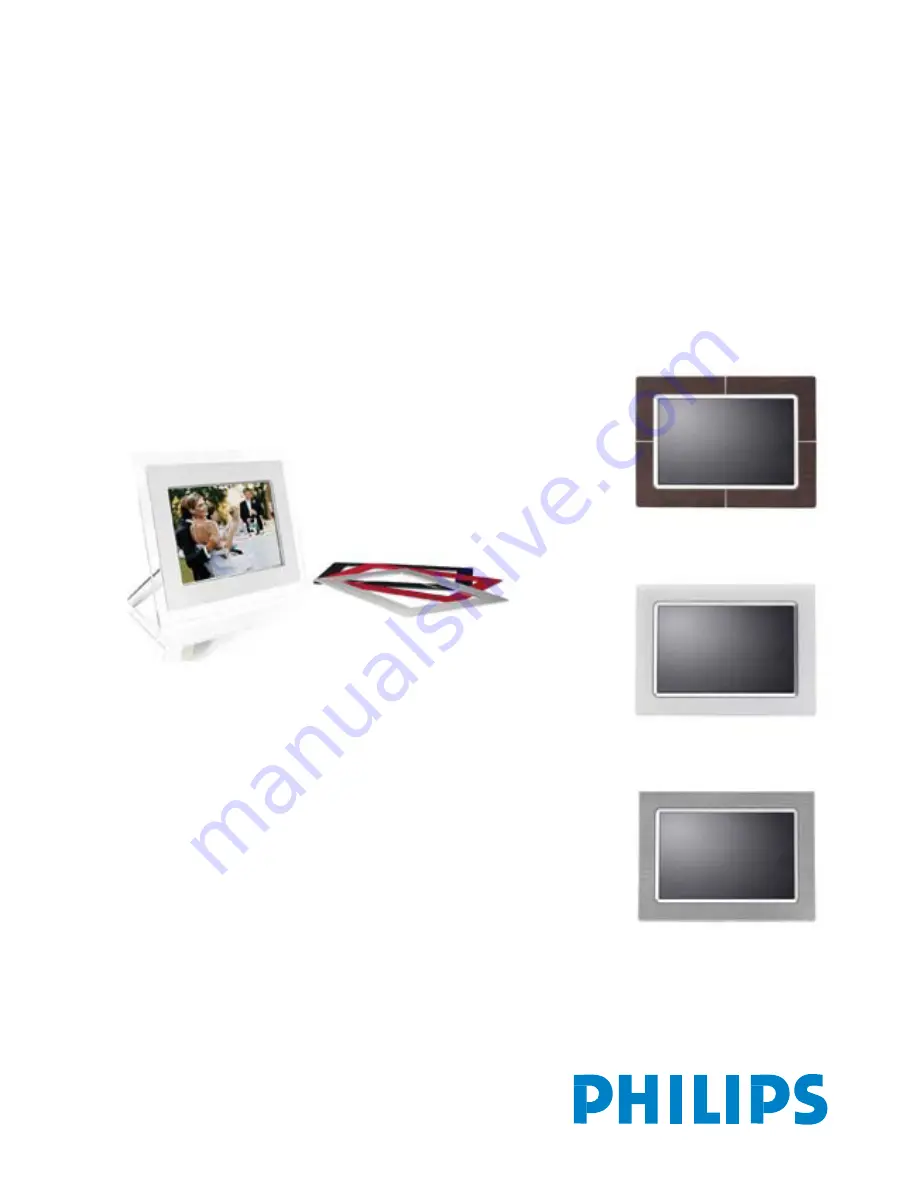
PhotoFrame™
Modern
Classic
9FF2CME
9FF2M4
9FF2CMI
9FF2CWO
One Year Limited Warranty (for US and Canada only)
Philips warrants that this product shall be free from defects in material, workman-
ship and assembly, under normal use, in accordance with the specifications and
warnings, for a period of one year from the date of purchase. This warranty
extends only to the original purchaser of the product, and is not transferable. To
exercise your rights under this warranty, you must provide proof of purchase in
the form of an original sales receipt that shows the product name and the date of
purchase. For customer support or to obtain warranty service, please visit our
website www.philips.com/welcome or Contact Philips Customer Care Center at:
1-888-PHILIPS (1-888-744-5477) IN U.S.A., Puerto Rico, or U.S. virgin islands.
1-800-661-6162 (French speaking), 1-888-PHILIPS (1-888-744-5477) (English or
Spanish speaking) in Canada. THERE ARE NO OTHER EXPRESS OR IMPLIED
WARRANTIES. Philips liability is limited to repair or, at its sole option, replace-
ment of the product. Incidental, special and consequential damages are disclaimed
where permitted by law. This warranty gives you specific legal rights. You may also
have other rights that vary from state to state.