background image

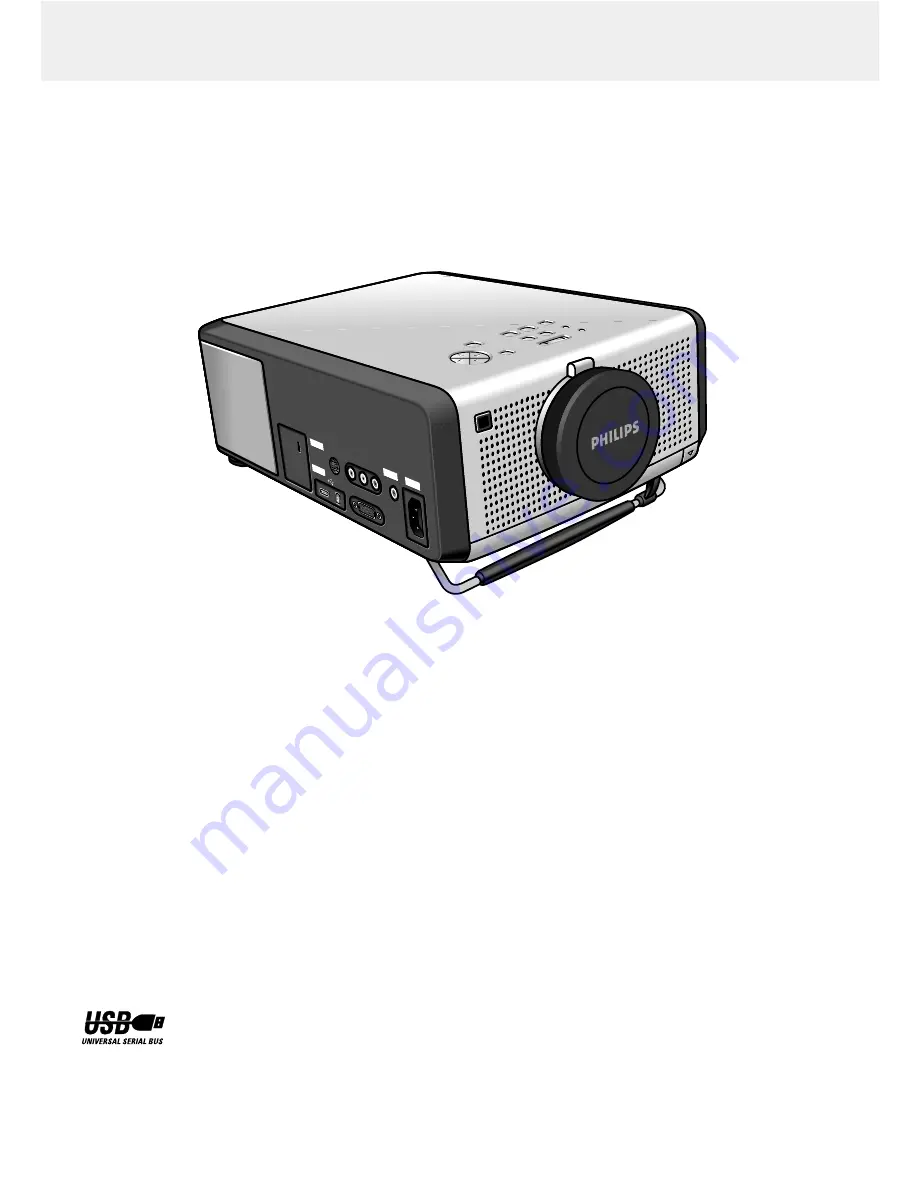
Philips Multimedia projector 

LC4246, LC4242, LC4236

User guide

English

Windows 98/NT/2000 compatible

OK

Menu

Data

Lamp

Mute

AVMute

RC

Volume

Standby

Video

On/Off

OK

Menu

Data

Lamp

Mute

AVMute

RC

Volume

Standby

Video

On/Off

Data in

S-Video in

Video in

Audio

Audio

out

Audio

out

L

R

Data in

S-Video in

Video in

Audio

L

R

Power

Data

Audio

Video

USB in

USB in

USB out

USB out

Summary of Contents for LC4236

Page 1: ... NT 2000 compatible OK Menu Data Lamp Mute AVMute RC Volume Standby Video On Off OK Menu Data Lamp Mute AVMute RC Volume Standby Video On Off Datain S Videoin Videoin Audio Audio out Audio out L R Datain S Videoin Videoin Audio L R Power Data Audio Video USBin USBin USBout USBout ...

Page 2: ...oin Videoin Audio L R Power Data Audio Video OK Menu Data Lamp Mute AVMute RC Volume Standby Video On Off OK Menu Data Lamp Mute AVMute RC Volume Standby Video On Off 0 Menu OK Video AV Mute Data Mute Volume Standby Lamp RC Menu OK Video AV Mute Data Mute Volume Standby Lamp RC 2 1 3 4 5 6 9 8 7 Power Data Audio Video USBin USBin USBout USBout Data in S Video in Video in Audio Audio L R Data in S ...

Page 3: ...e limits for a class A digital device in accordance with Part 15 of the FCC Rules as well as the European CE marking Operation is subject to the following two conditions 1 This device may not cause harmful interference and 2 This device must accept any interference received including interference that may cause undesired operation These limits are designed to provide reasonable protection against ...

Page 4: ...ety feature this projector is equipped with mains lead with a 3 pin grounded plug for USA versions only or a 2 pin grounded plug for European versions only The 3 pin 2 pin grounded plug will fit only into a grounding type power outlet If the plug does not fit use an adapter that is properly grounded or have an electrician install a grounded type outlet Do not attempt to modify this AC plug 13 For ...

Page 5: ... manipulate the mouse cursor on the connected computer as long as the menu is not active On the optional trackball remote control the trackball is used to manipulate the mouse cursor When the menu is active the Cursor Control controls the menu cursor The remote control and local keyboard provide direct access buttons for those functions that are most often used during presentations Source selectio...

Page 6: ...the remaining lamp life is less than 100 hours Lights up orange when the lamp life is expired Lights up red when the temperature measured in the set is too high or lamp start has failed Remote Control indicator Flashes green when the remote control is operated and the projector responds to this operation 0 ZOOM ring For adjusting the size of the projected image FOCUS ring For adjusting the focus o...

Page 7: ...nd amplifier and for muting the picture 0 Light button For switching on the button illumination The back light will switch off automatically after 5 seconds Connections fig 3 Data source connections a USB in downstream Socket for connecting USB peripherals like a document video camera a mouse a keyboard a wireless connection box a printer etc b USB out upstream Socket for connecting a PC or an App...

Page 8: ...reen appears for 5 seconds When the projection lamp is on the lamp indicator lights up green 4 To switch off the mains supply completely pull the mains plug out of the wall socket Note Before disconnecting the mains lead make sure that the cooling fan has stopped about 3 minutes after the projector has been switched to Power Standby Adjusting the focus and size of the image Use the ZOOM ring to ad...

Page 9: ...of the projector lens when moving the projector Note Never place the projector on the side where the connections are located Inserting the batteries in the compact remote control 1 Push and slide the lid in the direction of the arrow 2 Install two AAA batteries as indicated inside the battery compartment 3 Replace the lid and snap it into place Note The maximum range of the remote control is appro...

Page 10: ...es and adapter Programmable VGA MAC adapter VGA Y cable for external monitor D Sub M 15P male to 2x D Sub M 15P female 7 Installation 10 No CONNECTIONS Computer AV products side Projector side Computer VGA Cable CABLE ADAPTER Mini D Sub 15P male RCA pin male x 3 Mini D Sub 15P male RCA pin male x 3 4 3 USB computer cable RCA Audio Video Cable 1 2 Scart RCA AV Adapter USB connector 4P female USB co...

Page 11: ...document video camera a keyboard a wireless connection box or a printer are easily connected and operated Power for the peripheral is supplied by the projector PC Desk Top Lap Top MACINTOSH Desk Top Power Book Power Mac 1 Connect the DATA OUT terminal of the computer to the DATA IN terminal c of the projector and secure the plugs by tightening the thumb screws For this use the VGA cable 1 supplied...

Page 12: ...n optional S video connection cable 2 Connect the audio OUT L R sockets of the S VHS video recorder Laser Disc player video camera or TV to the AUDIO L R sockets f of the projector For this use the red and white audio connectors of the audio video connection cable Insert the white plug into the L socket and the red plug into the R socket In case your VCR Laser Disc player video camera or TV is equ...

Page 13: ...to the AUDIO OUT socket g of the projector Insert the white plug into the L socket and the red plug into the R socket Note When the projector is connected to an external audio amplifier you cannot control the volume via the projector or the remote control However the sound can still be muted via the projector or the remote control Data in S Video in Video in Audio Audio L R Data in S Video in Vide...

Page 14: ...ect the AUDIO IN sockets of the monitor to the AUDIO OUT socket g of the projector Insert the white plug into the L socket and the red plug into the R socket Some monitors have a single AUDIO IN socket for which a different audio connection cable with a 3 5 mm mini jack is required Notes One external monitor or projector can be connected at a time For further details on the operation with On Scree...

Page 15: ...hese messages will only be displayed when the menu option FEEDBACK is set to on in the SETTINGS menu All messages except the A V Mute message will be removed automatically after 4 seconds Some examples Data selected as source Video selected as source no input signal S Video selected as source Video selected as source A V muted Mute Error messages General explanation Error messages are displayed in...

Page 16: ...en Phase when connecting the projector to your PC for the first time be sure to adjust the phase control for optimal readability of the projected text Data and Video S Video For both data and video s video signal input the following adjustments can be made Digital Freeze captures a moving picture still picture Digital Zoom enlarges a part of the picture Pan selects another section of enlarged pict...

Page 17: ...s selected the level will be indicated graphically on a linear scale gauge The default output level conforms to the value set by the AUTO IMAGE function Switching to another data mode automatically restores AUTO IMAGE if the data mode is not part of the ten most recently used display modes Shift The SHIFT function adjusts the computer image in horizontal and vertical direction to center it on the ...

Page 18: ...s MENU to exit Audio Control The projector s sound is set to standard specifications at the factory However you can adjust the sound to suit your own preferences by using the AUDIO CONTROL feature The following adjustments can be made Volume adjusts the sound level Bass adjusts the bass tones Treble adjusts the high tones Mute mutes the sound of the projector or an externally connected loudspeaker...

Page 19: ...to SETTINGS 3 Select FEEDBACK by using Cursor Control 4 Select ON to have OSD screens displayed or OFF to suppress the display of OSD screens 5 Press OK to confirm and store the adjustment 6 Select the next item to be adjusted in the sub menu and adjust as described above 7 Press MENU to close the On Screen Display Key lock Key lock is used to de activate all remote and local controls You have to ...

Page 20: ...ent Loosen the sides of the filter so it will fall back in position under the clips b Position the handle under the clip c Slide the handle over the catch and click it back in position d 9 Replace the cover and tighten both the screws and the horizontal adjusters Notes We advise you to clean the filter every 100 hours Operating the projector with a torn or damaged filter may cause damage to the pr...

Page 21: ...handle and carefully pull the lamp holder out of the projector Caution Be very careful The lamp and lampholder may still be too hot to touch Keep lamp holder opening to your right Do not touch lamp or point lamp holder opening at anyone A high pressure lamp may break if handled improperly H o p p e r S V 1 0 H o p p e r S V 2 0 Da ta in S V ide o in Vid eo in Au dio L R Da ta in S V ide o in Vid e...

Page 22: ...Press MENU The menu bar appears on the screen 2 Use cursor control to select SETTINGS in the menu bar 3 Use cursor control to select LAMP COUNTER in the sub menu 4 Press OK for 3 seconds to reset the lamp counter 5 If required select another item you wish to adjust or press MENU to exit Da ta in S V ide o in Vid eo in Au dio L R Da ta in S V ide o in Vid eo in Au dio L R Po we r Da ta Au dio Vid e...

Page 23: ...mage is blurred Image is not focused Adjust focus ring Distance between projector and screen is not correct Adjust the distance between the projector and the screen Signal cable is not correctly connected Connect signal cable correctly Image does not match up with the projected screen SHIFT and or HORIZONTAL SIZE are not adjusted correctly Adjust SHIFT or HORIZONTAL SIZE See Display and Picture co...

Reviews: