background image

Register your product and get support at

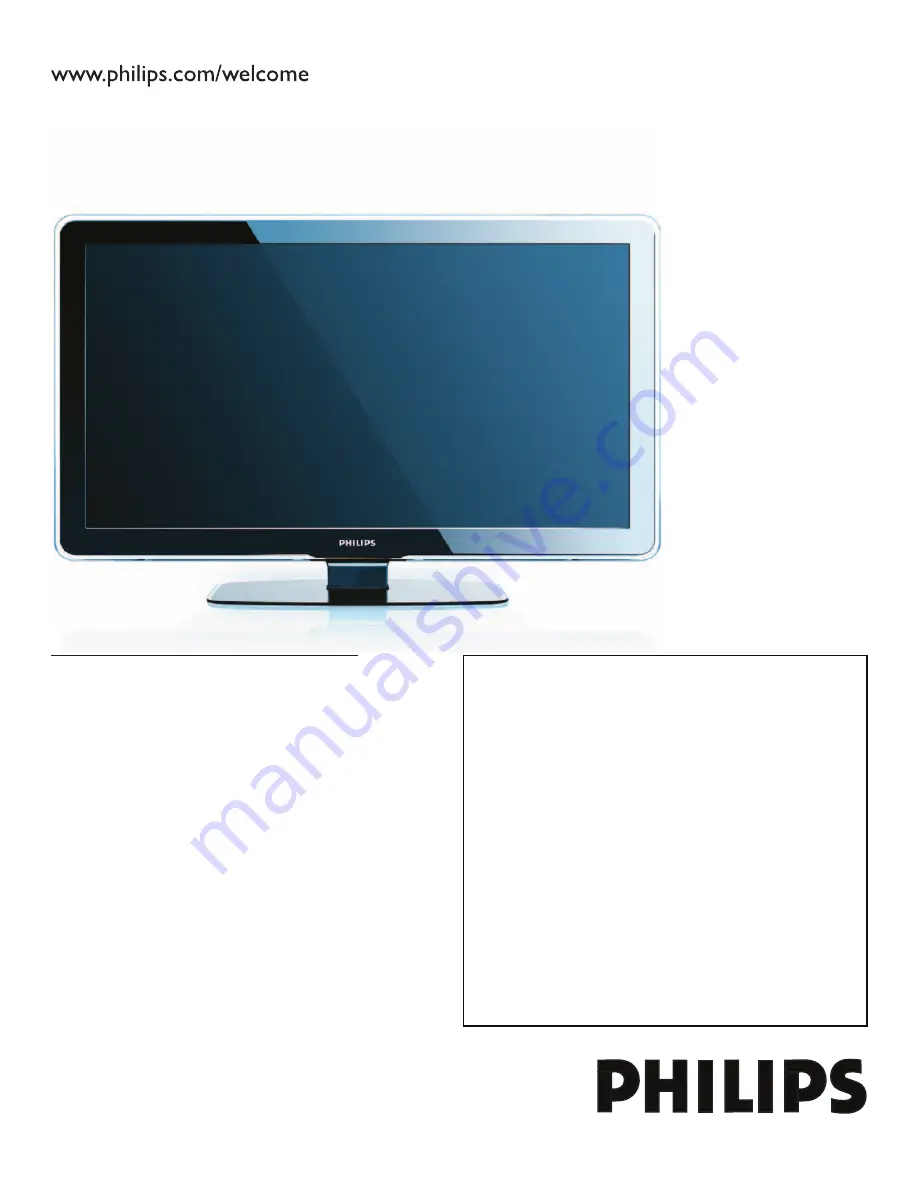
42TA648BX
47TA648BX
52TA648BX

EN

: For further assistance, call the customer support service in your country. 

U.S.A., PUERTO RICO, OR U.S.  VIRGIN ISLANDS: 

• 

1-888-PHILIPS (1-888-744-5477)
CANADA: 1-800-661-6162 (French speaking), 

• 

1-888-PHILIPS (1-888-744-5477) - (English or Spanish)

Enter below the Serial No. located on the rear of the cabinet. 

FR

: Pour obtenir de l’aide supplémentaire, communiquez avec le centre de service à la 

clientèle de votre pays.  

POUR OBTENIR DE L’AIDE AUX ÉTATS-UNIS, À PUERTO RICO OU AUX ÎLES 

• 

VIERGES AMÉRICAINES: 

1-888-PHILIPS (1-888-744-5477)
CANADA : 1-800-661-6162 (pour français), 

• 

1-888-PHILIPS (1-888-744-5477) - (pour anglais ou en espagnol) 

Entrez ci-dessous le numéro de série qui se trouve à l’arrière du boîtier du dispositif. 

ES

: Para obtener más información, llame al servicio de soporte al cliente de su país. 

LOS ESTADOS UNIDOS, PUERTO RICO O EN LAS ISLAS VÍRGENES DE LOS 

• 

ESTADOS UNIDOS: 

1-888-PHILIPS (1-888-744-5477)
CANADÁ:  1-800-661-6162 (en francés), 

• 

1-888-PHILIPS (1-888-744-5477) - (en inglés o español)

Escriba a continuación el Nº de serie, el cual se encuentra en la parte posterior del gabinete. 

Model / Modèle / Modelo :

Serial / Série / Serie: 

EN User Manual

FR  Manuel de l’utilisateur

ES Guía del usuario

Summary of Contents for 42TA648BX

Page 1: ...RTO RICO OU AUX ÎLES VIERGES AMÉRICAINES 1 888 PHILIPS 1 888 744 5477 CANADA 1 800 661 6162 pour français 1 888 PHILIPS 1 888 744 5477 pour anglais ou en espagnol Entrez ci dessous le numéro de série qui se trouve à l arrière du boîtier du dispositif ES Para obtener más información llame al servicio de soporte al cliente de su país LOS ESTADOS UNIDOS PUERTO RICO O EN LAS ISLAS VÍRGENES DE LOS ESTA...

Page 2: ...al No which is locat ed on the rear of the cabinet Retain this information for future reference Model No __________________________ Serial No ________________________ Know these safetysymbols This bolt of lightning indicates unin sulated material within your unit may cause an electrical shock For the safety of everyone in your household please do not remove product covering The exclamation point c...

Page 3: ...BITS A MARKED CHANGE IN PERFORMANCE OR 4HE APPLIANCE HAS BEEN DROPPED OR THE ENCLOSURE DAMAGED 4ILT 3TABILITY LL TELEVISIONS MUST COMPLY WITH RECOMMENDED INTERNATIONAL GLOBAL SAFETY STANDARDS FOR TILT AND STABILITY PROPERTIES OF ITS CABINETS DESIGN Ù O NOT COMPROMISE THESE DESIGN STANDARDS BY APPLYING EXCESSIVE PULL FORCE TO THE FRONT OR TOP OF THE CABINET WHICH COULD ULTIMATELY OVERTURN THE PRODU...

Page 4: ...cations Commission Notice This equipment has been tested and found to comply with the limits for a Class B digital device pursuant to part 15 of the FCC Rules These limits are designed to provide reasonable protection against harmful interference in a residential installation This equipment generates uses and can radiate radio frequency energy and if not installed and used in accordance with the i...

Page 5: ... Set the sleeptimer 17 Use child control and rating locks 17 View closed captions subtitles 21 View photos and play music on a USB device 21 Use your TV in HDTV mode 23 Use your TV as a PC monitor 23 Use Philips EasyLink 24 Use the demo mode 24 Change your TV installation 6 25 Select your menu language 25 Set your location to home 25 Tune channels automatically 25 Optimize the signal quality from ...

Page 6: ...is B apparatus should not be exposed to rain or moisture Objects filled with liquids such as vases should not be placed on this apparatus CAUTION To prevent electric shock match the wide blade C of the plug to the wide slot fully insert Important 1 Congratulations on your purchase and welcome to Philips To fully benefit from the support that Philips offers register your product at www philips com ...

Page 7: ...nect a pair of headphones or a USB memory device Back connectors SERV U SPDIF OUT VIDEO S VIDEO DVI AUDIO IN HDMI 3 HDMI 1 HDMI 2 AV 3 AV 1 AV 2 Y Pb Pr L R L R L R Y Pb Pr L R TV ANTENNA Cable Use the TV back connectors to connect to the antenna or cable and to permanent devices such as a high definition disc player DVD player or VCR For more information about TV connections see Connect your devi...

Page 8: ...ntrol 1 Insert the 2 batteries supplied Make sure the and ends of the 2 batteries line up correctly inside of case is marked Close the cover 3 Note D If you are not going to use the remote control for a long time remove the batteries 3 3 Connect the antenna or cable This section describes how to connect your TV to an antenna cable Direct Broadcast Satellite and to a set top box SERV U V V SPDIF OU...

Page 9: ...b Pr L R TV ANTENNA Connect a set top box through component video input or HDMI SERV U V V SPDIF OUT DV D I AUDIO D D IN AV 2 Y Pb Pr L R L R VIDEO S VIDEO AV 3 L R TV ANTENNA AV 1 Y Pb Pr L R HDMI 1 HDMI 2 HDMI 3 SERV U SPDIF OUT VIDEO S VIDEO DVI AUDIO IN HDMI 3 HDMI 1 HDMI 2 AV 3 AV 1 AV 2 Y Pb Pr L R L R L R Y Pb Pr L R SERV U V V SPDIF OUT VIDEO S VIDEO DV D D I AUDIO D D IN HDMI 3 AV 3 AV 2 ...

Page 10: ... Cable Satellite signal provider for High Definition signal options available in your area Next Follow the on screen instructions to select your language and complete your TV setup Installation takes approximately 10 minutes Note D If you connect your TV to a cable box or satellite set top box you do not need to install channels Press the red button on the remote control to exit the channel instal...

Page 11: ...er consumption WatchTV 4 2 Switch channels Press a number 1 to 999 or press 1 CH or CH on your remote control For digital channels press a number 1 to 999 followed by a dot and then the corresponding sub channel number 1 to 999 Ex 108 30 Press 2 PREV CH to return to the previously viewed TV channel Note D You can also switch channels by pressing CHANNEL or on the side controls of the TV Adjust vol...

Page 12: ... set top box to select channels 2 4 4 Watch connected devices Switch the connected device on 1 The picture from your connected device might appear automatically on the TV If the picture does not appear Press 1 SOURCE repeatedly to select the connected device and wait a few seconds for the picture to appear Watch a DVD 4 5 Insert a DVD disc in your player 1 Press 2 Play Æ on the remote control of y...

Page 13: ...d program or accessory device The quality and accuracy of the information on the information banner are transmitted from broadcasters You may see a difference in broadcast time if the broadcaster is from a different time zone area CH 10 Channel up down Switches to the next or previous channel MUTE 11 Mutes or restores sound Number keys 0 9 12 Selects a channel page or setting 13 Press the dot for ...

Page 14: ... Press 2 Æ to enter the TV settings menu TV settings Settings assistant Picture Sound TV menu TV settings Features Installation Press 3 ï and Æ to select the Picture menu Picture Contrast Brightness Color Tint Sharpness Color temperature Dynamic contrast TV Settings TV menu Settings assistant Picture Sound DNR Press 4 Î or ï to select one of the picture settings and press Æ to enter the setting Pr...

Page 15: ...ssible according to lighting conditions in the room You can switch Active Control to one of these settings Off On with light sensor or On without light sensor Picture format Changes the format of the picture Horizontal shift Adjusts the horizontal position of the picture Vertical shift Adjusts the vertical position of the picture Change picture format Press 1 FORMAT on the remote control Press 2 Î...

Page 16: ...tching from one channel to another Select on or off BBE Restore clarity for better speech intelligibility and musical realism Select on or off Delta volume Levels out volume differences between channels or connected devices Switch to the connected device as described in Watch connected devices on page 11 before changing the Delta volume 5 4 Use Auto Mode Press 1 Auto Mode to set your TV to a prede...

Page 17: ...Press 6 MENU to exit Set the time manually Press 1 MENU on the remote control and select Installation Clock Auto clock mode Press 2 Î or ï to select Manual and press Í to confirm your choice Auto clock mode Manual Automatic Clock TV menu I Installation Auto clock mode Time Day Press 3 ï to select Time and then press Æ to set the time Use the format HH MM Select AM PM for morning or afternoon Press...

Page 18: ... your PIN Press 1 MENU on the remote control and select Features Change PIN Enter a 4 digit PIN with the number keys on the remote control 2 If you have a PIN enter your current PIN If you do not have a PIN or if you have lost your PIN enter 0711 Enter your new 4 digit PIN and then enter it again to confirm 3 A message appears to confirm that your PIN has been changed Press 4 MENU to exit Lock the...

Page 19: ...d by HDMI you cannot use the TV ratings lock Your set top box or cable box must be connected through RF or AV connectors Press 1 MENU on the remote control and select Features Child lock TV ratings lock Enter your PIN 2 If you do not have a PIN set one as described in Set or change your PIN on the previous page Press 3 Î or ï and then press OK to lock or unlock one or more ratings Each rating has ...

Page 20: ...17 These programs may contain graphical violence explicit sexual activity and or crude or indecent language Language L Sex S Violence V Use the movie ratings lock This section describes how to control viewing of movies based on their Motion Picture Association of America MPAA rating Press 1 MENU on the remote control and select Features Child lock Select one of the menus for movie ratings lock 2 I...

Page 21: ...list are locked G Appropriate for all ages with little or no violence and little to no sexual content 8 ans Appropriate for children 8 and up which may contain little violence some foul language and or little to no sexual content 13 ans Appropriate for children 13 and up with moderate violence language and some sexual situations Persons under 13 should be accompanied by an adult 16 ans Appropriate...

Page 22: ...CC 3 and CC 4 Dialog and descriptions for the action on the captioned TV program show on screen Usually CC 1 is the most used CC 2 can be used for alternate languages if they are being transmitted T 1 T 2 T 3 and T 4 Often used for channel guide schedules bulletin board information for Closed Captions programs news weather information or stock market reports CS 1 CS 2 CS 3 CS 4 CS 5 and CS 6 Servi...

Page 23: ...ails IMAGE1 JPG Folder 1 Devicelabel1 Picture Folder 1 IMAGE1 JPG List Press 4 OK to view the picture or to start a slide show of the pictures in the album Press the color keys on the remote control to perform the function shown at the bottom of the screen If the function bar at the bottom disappears press any color key to make it reappear Press 5 Í and select another picture or another album You ...

Page 24: ...ribed in 1 Connect your devices on page 30 Press 2 MENU on the remote control and select Features Mode Selection Mode Selection PC HDTV Features TV menu Caption settings Sleeptimer Child lock Change PIN Demo Mode Selection Select 3 HDTV and press Í to confirm your choice If necessary adjust the TV picture settings as described in 4 Change picture and sound settings on page 13 Press 5 MENU to exit ...

Page 25: ...orrect channel to show the DVD content One touch standby When you connect your TV to devices that support standby you can use your TV remote control to put your TV and all connected HDMI devices in standby mode You can perform one touch standby using the remote control from any of the connected HDMI devices 5 14 Use the demo mode The demo mode enables you to demonstrate and learn about some of the...

Page 26: ...utoprogram Start Now Autoprogram Weak channel installation Installation mode Uninstall channels Channels TV menu Installation Press 2 OK to start the installation If you run Autoprogram when you have locked channels a message appears asking to enter your PIN code Enter your PIN code in order to complete the installation If you have forgotten your PIN reset it as described in Set or change your PIN...

Page 27: ...w and press OK to reset the AV settings Press 3 Menu to exit Show emergency alerts EAS 6 7 The SCTE18 standard defines an emergency alert signalling method for use by cable TV systems EAS can be broadcast to digital devices such as digital set top boxes digital TVs and digital VCRs The EAS scheme allows a cable operator to disseminate information related to state and local emergencies and warnings...

Page 28: ...the www philips com welcome website Use the type number of your TV e g 42TA648BX 37 to find information For information about using a USB device see Notes for the use of USB devices on page 35 7 1 Check your current software version Press 1 MENU on the remote control and select Installation Current software info Release version xxxxx Installation TV menu Language Channels Preferences Source labels...

Page 29: ...I Audio IN for HDMI 3 7 HDMI 3 In 8 HDMI in connector for Blu ray Disc player HD digital receiver or HD game console etc S Video 9 AV3 S Video input connector to be used together with Audio L R connectors for camcorder game console etc Note D When you use the S Video AV3 for video signals do not use the composite video input on AV3 for video signals HDMI 2 In 10 Second HDMI in connector HDMI 1 In ...

Page 30: ...onfirm your choice Press 6 MENU to exit 8 2 Select your connection quality This section describes how you can enhance your audio visual experience by connecting your devices with the best possible connectors HDMI Highest quality HDMI produces the best audio visual quality possible Both audio and video signals are combined in one HDMI cable providing an uncompressed digital interface between your T...

Page 31: ...cting composite or component cables match the cable colors to the connectors on the TV Connect a set top box and a DVD player recorder via composite connectors Warning B Do not place your recorder too close to the screen because some recorders can be susceptible to signals SERV U SPDIF OUT VIDEO S VIDEO DVI AUDIO IN HDMI 3 HDMI 1 HDMI 2 AV 3 AV 1 AV 2 Y Pb Pr L R L R L R Y Pb Pr L R TV ANTENNA Set...

Page 32: ...re quality connect a S Video cable with the S Video input of AV3 side AV and connect the audio cables to the audio L and R input jacks of AV3 side AV Warning B When using the S Video connector do not connect any device to the video jack of AV3 or the side AV Only the left loudspeaker reproduces sound for mono equipment Use a mono to stereo adapter not supplied for sound reproduction via all intern...

Page 33: ...DMI 3 HDMI 1 HDMI 2 AV 3 AV 1 AV 2 Y Pb Pr L R L R L R Y Pb Pr L R TV ANTENNA AUDIO OUT S VIDEO Connect a PC with an S Video connector at the side SERV U SPDIF OUT VIDEO S VIDEO DVI AUDIO IN HDMI 3 HDMI 1 HDMI 2 AV 3 AV 1 AV 2 Y Pb Pr L R L R L R Y Pb Pr L R TV ANTENNA HDMI 4 S VIDEO VIDEO L AUDIO R USB AUDIO OUT S VIDEO Connect a PC with a DVI connector SERV U SPDIF OUT VIDEO S VIDEO DVI AUDIO IN...

Page 34: ...tal audio video interface between the TV and any HDMI equipped audio video component such as set top box DVD player and A V receiver HDMI supports enhanced or high definition video plus two channel digital audio System Television pictures are not broadcast in the same way in all countries There are different standards BG DK I and LL The System setting is used to select these different standards Th...

Page 35: ... short fat black bars on the side or top Broadcast video format 1 Press the FORMAT button on the remote control to select the best picture format 2 For some accessory devices the picture format has to be set in the accessory device The picture is mostly red and green or the picture is missing red when the TV is connected to an accessory device via component cables Insecure incorrect connection 1 E...

Page 36: ...f the USB interface Make sure that the USB interface is switched on before connecting to the TV If you have a digital camera with only internal memory no removable memory you can try to copy the content manually to a USB memory device e g Philips KEY product using a personal computer Some digital cameras allow you to switch between PTP Picture Transfer Protocol or PC Link and USB Mass Storage or P...

Page 37: ...e Expand 14 9 Movie Expand 16 9 Super Zoom Wide Screen Unscaled PC input via HDMI Photo Slide Show Yes jpeg files only MP3 Playback Yes mp3 files only CONNECTIONS Component video input with Audio L R 2 supporting 480i p 576i p 720p 1080i 1080p 24Hz 60Hz Composite video input with audio L R and S Video 2 HDMI 4 ver1 3a HDMI supporting video 480i p 576i p 720p 1080i 1080p 24Hz 60Hz PC input up to WU...

Page 38: ...14 Temperature 14 Component cable 29 Composite cable 29 Configuring the TV in HDTV mode 23 Connection Antenna 7 Back connectors 6 Cable quality 29 DBS 8 Devices 30 Label 29 Overview 28 PC 32 Power cord 8 Set top box 8 Side connectors 6 Contrast 14 Controls 6 Customer support service 5 D DBS connect 8 Default return to 26 Delta volume 15 Demo mode 24 Device connect 30 Disconnect power 8 Display nat...

Page 39: ...on ratings 20 Register your TV 5 Remote control Advanced use 12 Basic use 6 Batteries 7 Retail store mode 25 S Screen care 5 Screen resolution PC mode 23 Settings 15 Settings assistant 13 Set top box connection 8 Sharpness 14 Shift Horizontal 14 Vertical 14 Side controls and connectors 6 Signal quality 25 Sleeptimer 17 Software Update 27 Version 27 Sound Auto modes 15 Surround mode 15 Specificatio...

Page 40: ...ENGLISH FRANÇAISE ESPAÑOL EN 39 Warranty 14 ...

Page 41: ...EN 40 ENGLISH FRANÇAISE ESPAÑOL ...

Page 42: ...12NC 3139 125 40203 2007 Koninklijke Philips Electronics N V All rights reserved Document order number ...

Reviews: