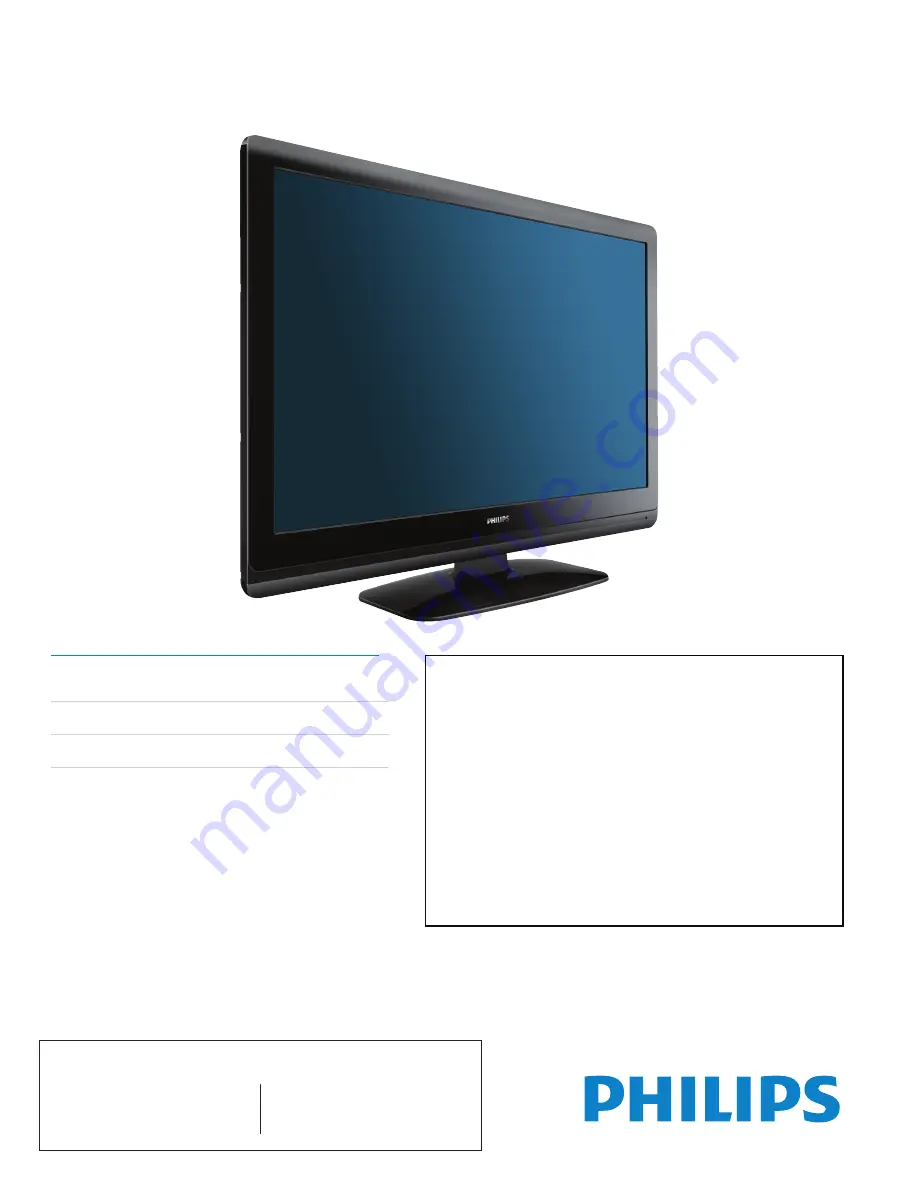
background image

MODEL NUMBER

SERIAL NUMBER

32PFL3505D

Register your product and get support at

www.philips.com/welcome

EN 

User manual 

FR 

Manuel d’utilisation 

ES 

Manual del usuario 

EN: 

For further assistance, call the customer support service in your country.

• 

To obtain assistance in the U.S.A., Canada, Puerto Rico, or the U.S. Virgin Islands, contact Philips 

Customer Care Center at 

1-866-309-0841

• 

To obtain assistance in Mexico, contact Philips Customer Care Center at 

01 800 504 62 00

Enter below the model and serial numbers located on the back and right side of the TV cabinet.

FR:

 Pour obtenir de l’aide supplémentaire, communiquez avec le centre de service à la clientèle de 

votre pays.

• 

Pour obtenir de l’aide aux États-Unis, au Canada, à Puerto Rico ou aux Îles Vierges américaines, 

communiquez avec le centre de service à la clientèle Philips au : 

1-866-309-0841


• 

Pour obtenir l’aide au Mexique, entrez en contact avec le centre de soin de client de Philips à 

01 800 504 62 00

Entrer ci dessous le modèle et le numéro de série situés dérrière à droite sur le dos du téléviseur.

ES:

 Para obtener más información, llame al servicio de soporte al cliente de su país.

• 

Para obtener asistencia en los Estados Unidos, en Canadá, Puerto Rico o en las Islas 

Vírgenes de los Estados Unidos, comuníquese con Centro de atención al cliente de Philips al 

1-866-309-0841

• 

Solo para Mexico CENTRO DE ATENCIÓN A CLIENTES LADA.     

01 800 504 62 00

  Solo 

Para México.

Escriba a continuación el modelo y número de serie que estan localizados en lado derecho y parte 

posterior de el gabinete de el televisor.

Summary of Contents for 32PFL3505D

Page 1: ...tenir de l aide aux États Unis au Canada à Puerto Rico ou aux ÎlesVierges américaines communiquez avec le centre de service à la clientèle Philips au 1 866 309 0841 Pour obtenir l aide au Mexique entrez en contact avec le centre de soin de client de Philips à 01 800 504 62 00 Entrer ci dessous le modèle et le numéro de série situés dérrière à droite sur le dos du téléviseur ES Para obtener más inf...

Page 2: ...13 Watching connected devices 13 Watching a Blu ray Disc 14 Switching audio mode 14 6 Use more of your TV 15 Changing picture and sound settings 15 Sleeptimer 18 Child and rating locks 18 Closed caption 20 EasyLink 21 Energy saving mode 21 Set your location to home 21 7 Install channels 22 Selecting your menu language 22 Autoprogram 22 Channel list 23 Add channels 23 Optimizing the signal quality ...

Page 3: ...__________________________ Know these safetysymbols This bolt of lightning indicates unin sulated material within your unit may cause an electrical shock For the safety of everyone in your household please do not remove product covering The exclamation point calls attention to features for which you should read the enclosed literature closely to prevent operating and maintenance problems WARNING T...

Page 4: ...damaged 17 Tilt Stability All televisions must comply with recommended international global safety standards for tilt and stability properties of its cabinets design Do not compromise these design standards by applying excessive pull force to the front or top of the cabinet which could ultimately overturn the product Also do not endanger yourself or children by placing electronic equipment toys on...

Page 5: ...ressed or implied Philips cannot be held responsible neither for any errors in the content of this document nor for any problems as a result of the content in this document Errors reported to Philips will be adapted and published on the Philips support website as soon as possible Pixel characteristics This LCD product has a high number of color pixels Although it has effective pixels of 99 999 or ...

Page 6: ...egistering your model with Philips makes you eligible for all of the valuable benefits listed below so don t miss out Complete and return your Product Registration Card at once or register online at www philips com welcome to ensure Proof of Purchase Returning the enclosed card guarantees that your date of purchase is on file so no additional paperwork is required from you to obtain warranty servi...

Page 7: ...purchase and welcome to Philips To fully benefit from the support that Philips offers register your product at www philips com welcome Side controls and indicators POWER CHANNEL MENU VOLUME e d c b a a Standby indicator remote control sensor b POWER Switches theTV on or off TheTV is not powered off completely unless it is physically unplugged c CHANNEL Switches to the next or previous channel d ME...

Page 8: ...You might see a difference in broadcast time if the broadcast is from a different time zone i CH Switches to the next or previous channel j MUTE Mutes or unmutes audio k Number buttons Select a channel page or setting l Dot Press the dot for digital channels m PREV CH Returns to the previously viewed channel n VOL Increases or decreases volume o MENU EXIT Turns the menu on or off p BACK Returns to...

Page 9: ...l on the screen Connect your devices before you position theTV Using a Kensington lock There is a Kensington security slot on the back of theTV Prevent theft by looping a Kensington lock between the slot and a permanent object such as a heavy table Installing the remote control batteries 1 Slide the battery cover off the back of the remote control 2 Insert the 2 supplied batteries AAA 1 5V Be sure...

Page 10: ...sound only if a stereo signal is broadcast If you connect to a cable When yourTV is connected to the cable socket you might receive free digital and high definition programs depending on your cable provider The channel number for digital and high definition channels includes a dot For example 11 1 46 30 108 201 Contact your cable provider for more information If you connect to a DBS Direct Broadca...

Page 11: ...is different Connect the AC power cord plug to the power outlet Ensure that the cord is tightly secured Managing cables Route your antenna cable and all other cables through the cable holder at the back of theTV The holder helps keep your cables tidy and easily manageable 1 Attach the cable holder as illustrated below 2 Keep the cable through this holder to avoid tangle them EN ...

Page 12: ...irst time you turn on theTV Initial Setup Initial Setup Select your menu language Seleccione el idioma para el menú Sélectionnez la langue du menu Français Español Select Skip MENU OK OK English Follow the on screen instructions to select your language and complete yourTV setup Installation takes approximately 10 minutes Press Í or Æ to select the desired mode for energy saving then press OK Exit ...

Page 13: ...iewed channel 5 Use your TV This section helps you perform basicTV operations Switching your TV on off or to standby POWER To switch on Press POWER at the side of theTV Press Standby On on the remote control To switch to standby Press Standby On on the remote control To switch off Press POWER at the side of theTV Note Energy consumption contributes to air and water pollution When the AC power cord...

Page 14: ... If the picture does not appear 1 Press SOURCE repeatedly to select the set top box and wait a few seconds for the picture to appear 2 Use the remote control of your set top box to select channels Watching connected devices To watch connected devices 1 Switch on the connected device The picture from your connected device might appear automatically on theTV screen 2 Use the remote control of the de...

Page 15: ... 1 Press SOURCE repeatedly to select the Blu ray Disc player and wait a few seconds for the picture to appear 2 Use the remote control of the Blu ray Disc player to play the disc Switching audio mode This section describes how to switch the audio language in the digital mode and how to switch the audio in the analog mode DTV 1 Press SAP to display the currently selected language and the number of ...

Page 16: ...ewing Sports Vivid picture settings for high action Movie Brilliant picture settings for a cinematic experience Game Optimized for PCs games consoles and playstations 6 Use more of your TV Changing picture and sound settings You must set Home in Location refer to page 21 Otherwise the settings you adjusted will not be memorized after you turn off the unit Changing picture settings 1 Press MENU on ...

Page 17: ...hed picture Sidebars appear on both edges of the screen Full Display a picture that is stretched out of proportion to fill the screen Dot By Dot Display a picture in its original size Changing picture format 1 Press FORMAT on the remote control 2 Press or to select a picture format and press OK to confirm your choice Summary of picture formats 5 types of display modes can be selected when the broa...

Page 18: ...TV to a predefined sound setting 2 Press or to select one of the following settings Personal The customized settings you defined by using the Sound menu Standard For normalTV viewing Movie Realistic sound settings for a cinematic experience Music Emphasize high and low freq for instrument sound News Clear sound settings for human voice Using your TV as a PC monitor Use an HDMI DVI cable or an HDMI...

Page 19: ...ger age categories are automatically blocked 3 Press MENU to exit Sleeptimer Sleeptimer switches theTV to standby after a pre defined period of time You can always switch off yourTV earlier or reset the sleeptimer during the countdown Press SLEEP to set the sleep timer Sleep Off Sleep timer display appears on theTV screen Press SLEEP repeatedly to change the amount of time until shut off Sleep 120...

Page 20: ...dren 16 and up with strong violence strong language and strong sexual content 18ans Only to be viewed by adults and contains extreme violence and graphic sexual content pornography Summary of TV ratings Age rating Content rating TV Y Appropriate for children of all ages with themes and elements suitable for children aged 2 6 None TV Y7 Programs designed for children age 7 and older FV FantasyViole...

Page 21: ...include closed caption information Refer to your areaTV program listings for theTV channels and times of closed caption shows The captioned programs are usually noted in theTV listings with service marks such as CC DTV Selecting DTV caption services 1 Select a caption service for digital channels Press MENU on the remote control and select Features Closed Caption Digital Caption Service Press or t...

Page 22: ...o not guarantee 100 interoperability with other brands of CEC compliant devices 1 Press MENU on the remote control and select Features EasyLink Auto Device Off Auto TV On On On On Device List Master EasyLink Sound Setup Language Features Picture 2 Press Î or ï to highlight the desired setting and press OK to select the setting 3 Adjust the following items Master EasyLink Set the CEC function On or...

Page 23: ...cable It searches for NTSC ATSC and QAM modulated channels available in your area Picture Sound Setup Features Language Antenna Cable Back Autoprogram will rescan all channels Auto programming will take up to 20 minutes to complete Select your signal source Antenna Cable Or Picture ANT IN When autoprogramming is complete the lowest memorized channel will be displayed 4 Follow the on screen instruc...

Page 24: ...signals and adjusting the antenna 1 Press MENU on the remote control and select Setup Antenna 2 Press OK to confirm your choice 3 Press a number 1 to 135 or press CH or CH to select the channel for which you want to check the digital signal strength 4 Press MENU to exit Channel list The channels selected here can be skipped when selecting the channels using CH Those channels can still be selected ...

Page 25: ...w philips com welcome using the type number of yourTV e g 32PFL3505D to find information Checking your current software version 1 Press MENU on the remote control and select Features Current Software Info The version and a description of the current software is displayed then press OK Release Version ZPBF2CA_001_0 Picture Sound Setup Language Features Back Picture 2 Press MENU to exit Preparing fo...

Page 26: ...t Connection overview ANT IN DIGITAL AUDIO OUT COAXIAL HDMI 1 IN AUDIO OUT AUDIO L R AUDIO L R AUDIO L Y Pb Pr R COMPONENT HDMI IN HDMI 1 HDMI IN HDMI 3 VIDEO S VIDEO VIDEO HDMI 2 SERVICE TERMINAL AUDIO L R b a c d e f g i j h a S VIDEO side S Video side input connector to be used with Audio L R connectors for camcorder game console etc When you use the S Video side for video signals do not use Co...

Page 27: ...nd audio signals are combined in one cable You must use HDMI for full high definition video and to enable Philips EasyLink Tip To connect to a PC without an HDMI connector use a DVI HDMI adaptor and a separate audio cable Note Philips HDMI supports HDCP High bandwidth Digital Contents Protection HDCP is a form of Digital Rights Management that protects high definition content in DVD or Blu ray Dis...

Page 28: ...deo connector do not connect any device to the Composite video jack Only the left loudspeaker reproduces sound for mono equipment Use a mono to stereo adapter not supplied for sound reproduction via all internal loudspeakers When you connect cables match the cable colors to the connectors on theTV Connecting your devices This section describes how to connect a selection of devices with different c...

Page 29: ...S Video cable to the S Video input ofVIDEO Connect the audio cables to the audio L and R input jacks of VIDEO Note When you use an S Video connector do not connect any device to the Composite video jack Only the left loudspeaker reproduces sound for mono equipment Use a mono to stereo adapter not supplied for sound reproduction via all internal loudspeakers When you connect cables match the cable ...

Page 30: ...nnector HDMI OUT IN IN IN PC Connecting a digital home theater amplifier DIGITAL AUDIO digital home theater amplifier IN OUT For legal reasons the digital audio signal can be muted for copy protected PCM audio qualities on accessory devices connected through HDMI Connecting a PC If you connect a PC with an S Video connector at the side OUT PC AUDIO L R S VIDEO IN IN IN IN IN IN OUT EN ...

Page 31: ... to the power Press POWER at the side of theTV or on the remote control Ensure that the AC power cord is connected tightly to theTV power connector and to the power socket outlet Remove the AC power cord from the power socket outlet wait 60 seconds and reconnect the AC power cord Connect theTV to a different power socket outlet Error message on the screen with HDMI connection HDCP authentication f...

Page 32: ...f use Video modes For 16 9 video signal Normal 4 3 Movie Expand Zoom Wide For 4 3 video signal Normal 16 9 Movie Expand Zoom Wide For PC input signal Normal Full Dot By Dot PC input via HDMI Connections Component video input with audio L R 1 supporting video signals 480i p 720p 1080i Composite video input with audio L R and S Video 1 HDMI 3 HDMI supporting video signals 480i p 720p 1080i For HDMI1...

Page 33: ...other information is not covered under this Limited Warranty This warranty does not apply a to damage caused by accident abuse misuse neglect misapplication or non supplied product b to damage caused by service performed by anyone other than company approved Authorized Service Location c to a product or a part that has been modified without written company per mission or d if any serial number has...

Page 34: ...toVolume Leveling 17 mute 13 W Warranty 32 Y YPbPr 26 13 Index A Antenna connect 9 Audio 17 Audio Setting 17 Auto device off 21 Auto picture mode 15 Auto sound mode 17 Auto TV on 21 Auto volume leveling 17 C Cables component 26 composite 26 connection quality 26 HDMI 26 Manage cables 10 S Video 26 YPbPr 26 Channels install 22 list 23 lock 18 Child lock Channel lock 18 PIN 18 ratings lock 18 19 Clo...

Page 35: ...34 EN ...

Page 36: ...ISOR A COLOR DE CRISTAL LIQUIDO LCD MODELO LCD IMAGENVISIBLE ENERGIA 32PFL3505D F7 32 81 28cm 80 00cm 120V 60Hz 145W Comercializado por P F MEXICANA S A DE C V IMPORTADOR SOJITZ MEXICANA S A DE C V Av Paseo de las Palmas No 239 302 Col Lomas de Chapultepec C P 11000 México D F Tel 52 55 5202 7222 EXPORTADOR FUNAI ELECTRIC CO L T D PAIS DE ORIGEN CHINA GARANTIA INCLUIDA EN EL INSTRUCTIVO DE USO LEA...

Reviews: