


Reviews:
No comments
Related manuals for BERNESE MOUNTAIN DOG G2
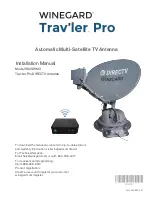
Trav'ler Pro SK2SWM3
Brand: Winegard Pages: 12

2M-440XPSS
Brand: M2 Antenna Systems Pages: 7

BevFlex-4X
Brand: Unified Microsystems Pages: 31

ANT-2009Y
Brand: H3C Pages: 6

LiteBeam LBE-5AC-23
Brand: Ubiquiti Pages: 28

airMAX Titanium Sector
Brand: Ubiquiti Pages: 20

GPSB Series
Brand: Panorama Antennas Pages: 2

2M-14C
Brand: KLM Pages: 12

i4 Inland
Brand: Intellian Pages: 63

AA7B
Brand: Ramsey Electronics Pages: 18

YAGI-1
Brand: Federal Signal Corporation Pages: 18

70802
Brand: Times-7 Pages: 10

9211
Brand: Hughes Pages: 80

AM-01/6
Brand: SPE Pages: 14

Valuline
Brand: CommScope Pages: 24

DY6
Brand: Hills Pages: 2

Yagi Y300 Series
Brand: ZCG Pages: 3

SK-600
Brand: Sokkia Pages: 2


