Installation
and Operating
Instructions
Model:
HX-1-75NF-CER-T
For your convenience, we recommend to attach
the serial number label HERE.
727626032017
Page 1: ...Installation and Operating Instructions Model HX 1 75NF CER T For your convenience we recommend to attach the serial number label HERE 727626032017...
Page 2: ......
Page 3: ...lly These will assist you appliance Please take special note of all detailed technical information and installation instructions It is essential that you follow these instructions to ensure the safety...
Page 4: ...ore using your Ceramic Hob 6 Using your Ceramic Hob 7 To start cooking 7 When you have nished cooking 8 Locking the controls 9 Using the timer 9 Auto Shutdown 10 Cooking guidelines 11 Heat settings 12...
Page 5: ...responding heating zone of the ceramic plate will be hot Do not touch the ceramic surface to avoid personal injury 10 We suggest you periodically check that there are no objects glass paper etc that c...
Page 6: ...appliance should be connected to a circuit which incorporates an isolating switch providing full disconnection from the power supply Failure to install the appliance correctly could void the warranty...
Page 7: ...r appliance as a work or storage surface Never leave any objects or utensils on the appliance Never use your appliance for warming or heating the room After use always turn o the cooking zones and the...
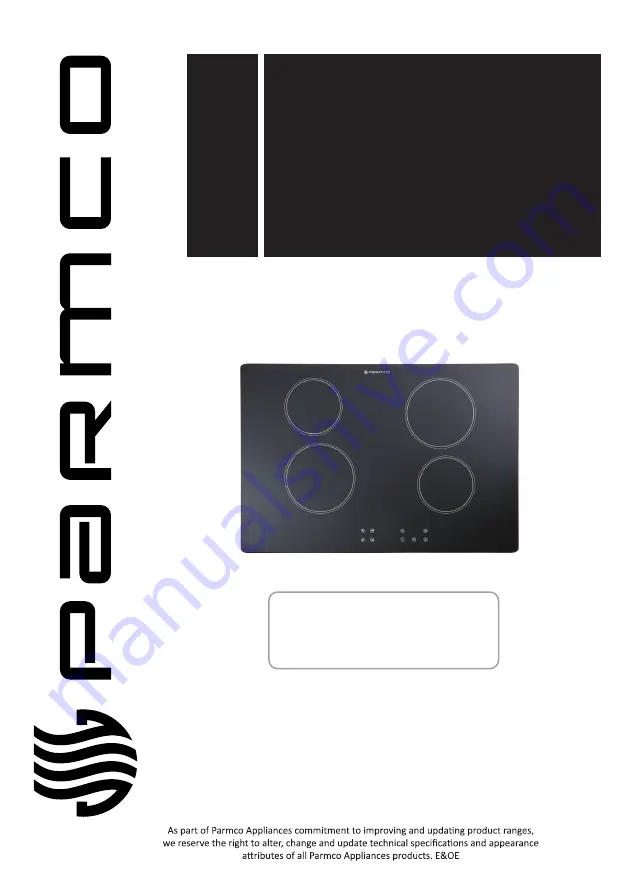
Page 8: ...5 Product Overview Top View Control Panel 1 Heating zone selection controls 2 Power Timer regulating controls 3 Key lock Child lock control 4 ON OFF control 5 Timer control...
Page 9: ...n the hob on for the rst time The smoke is due to the manufacturing residues left on the hob Choosing the right Cookware Do not use cookware with jagged edges or a curved base Make sure that the base...
Page 10: ...e sure the bottom of the pan and the surface of the cooking zone are clean and dry 3 Touch the cooking zone selection control An indicator next to the control key will light up 4 Select a heat setting...
Page 11: ...rnatively turn the whole cooktop o by touching the control 4 Beware of hot surfaces H will show which cooking zone is still hot to touch The signal will disappear when the surface has cooled down to a...
Page 12: ...hob is in lock mode all controls are disabled except the ON OFF control In an emergency you can turn the ceramic hob o with the ON OFF button but you will have to unlock the hob rst before the next us...
Page 13: ...e corresponding cooking zone will switch o automatically Other heating zone will keep operating if it had previously been turned on Auto Shutdown Auto shut down is a safety protection function for you...
Page 14: ...ing steak To cook juicy steaks 1 Stand the meat at room temperature for about 20 minutes before cooking 2 Heat up a heavy based bottom frying pan 3 Brush both sides of the steak with oil Drizzle a sma...
Page 15: ...only The exact setting will depend on several factors including your cookware and the amount you are cooking Experiment with the cooktop to nd the settings that best suit you Heat setting Suitability...
Page 16: ...h a scraper suitable for ceramic glass cooktop being careful of hot cooking zone surfaces 1 Switch o the power to the cooktop at the wall 2 Hold the blade or utensil at a 30 angle and scrape the soili...
Page 17: ...rface Unsuitable abrasive scourer or cleaning products being used Use cookware with at and smooth bases See Choosing the right cookware section See Care and cleaning section Some pans make crackling o...
Page 18: ...ply Voltage 220 240V 50Hz Power 1200W 145mm 1800W 180mm Product Size L W H mm 750x510x48 Cut out Dimensions A x B 494 W x 734 L mm Dimensions are approximate Because we continually strive to improve o...
Page 19: ...rger deformation caused by the heat radiation from the hotplate When installing the hob over drawers a board must be installed 10mm underneath the hob The board must be made of suitable heat resistant...
Page 20: ...oard above it or rangehood should be at least 650mm A mm B mm C mm D E 650 min 50 min 50 min Air intake Air exit 10 mm When installing a rangehood above an appliance all relevant current New Zealand b...
Page 21: ...just the position of the brackets to suit the thickness of the work surface Secure the other end of the bracket to the underside of the work surface in order to secure the hob into position Cautions T...
Page 22: ...th safety regulations 4 The cable must not be bent or compressed 5 The installer must use the supplied power cord Recommended type of connection lead CONNECTION DIAGRAM Caution Voltage of heating elem...
Page 23: ...y possible damage to the environment and to human health which might otherwise be caused if it were disposed of in the wrong way The symbol on the product indicates that it may not be treated as norma...