Panasonic RX-ES27, Operating Instructions Manual
The Panasonic RX-ES27 is a high-quality portable radio cassette recorder. For easy operation and optimal performance, it is essential to have the Operating Instructions Manual. Download the free manual from manualshive.com to learn how to use and maximize the features of your RX-ES27.
Share
Download


Reviews:
No comments
Related manuals for RX-ES27

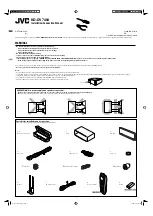
SC-CH72
Brand: Panasonic Pages: 89

SC-HC402
Brand: Panasonic Pages: 28

CMD220
Brand: Prology Pages: 27

ATS-606AP
Brand: Sangean Pages: 1

DETA 0040
Brand: POBEL Pages: 9

CS-AW7040 - 10 Inch Dual 4 Ohm 1800 Watts Subwoofer
Brand: JVC Pages: 10

CS-VP628
Brand: JVC Pages: 4

KD-R515
Brand: JVC Pages: 49
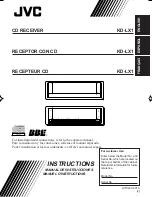
KD-LX1
Brand: JVC Pages: 36
KD-DV7404
Brand: JVC Pages: 4

ARSENAL CS-AW8240
Brand: JVC Pages: 16

CS-AW8520 - Arsenal 15" Subwoofer
Brand: JVC Pages: 19

Arsenal CS-AW7220
Brand: JVC Pages: 20

JVC KW-R910BT
Brand: JVC Pages: 31

FSUN3117-312 KD-S777R
Brand: JVC Pages: 46

KD-R705
Brand: JVC Pages: 42

KD-LHX555
Brand: JVC Pages: 69

GFK-2314H
Brand: JVC Pages: 55


