


ENGLISH
EN, CT
0109DTSMDTJEIN
© 2009 Victor Company of Japan, Limited
Having TROUBLE with operation?
Please reset your unit
Refer to page of How to reset your unit
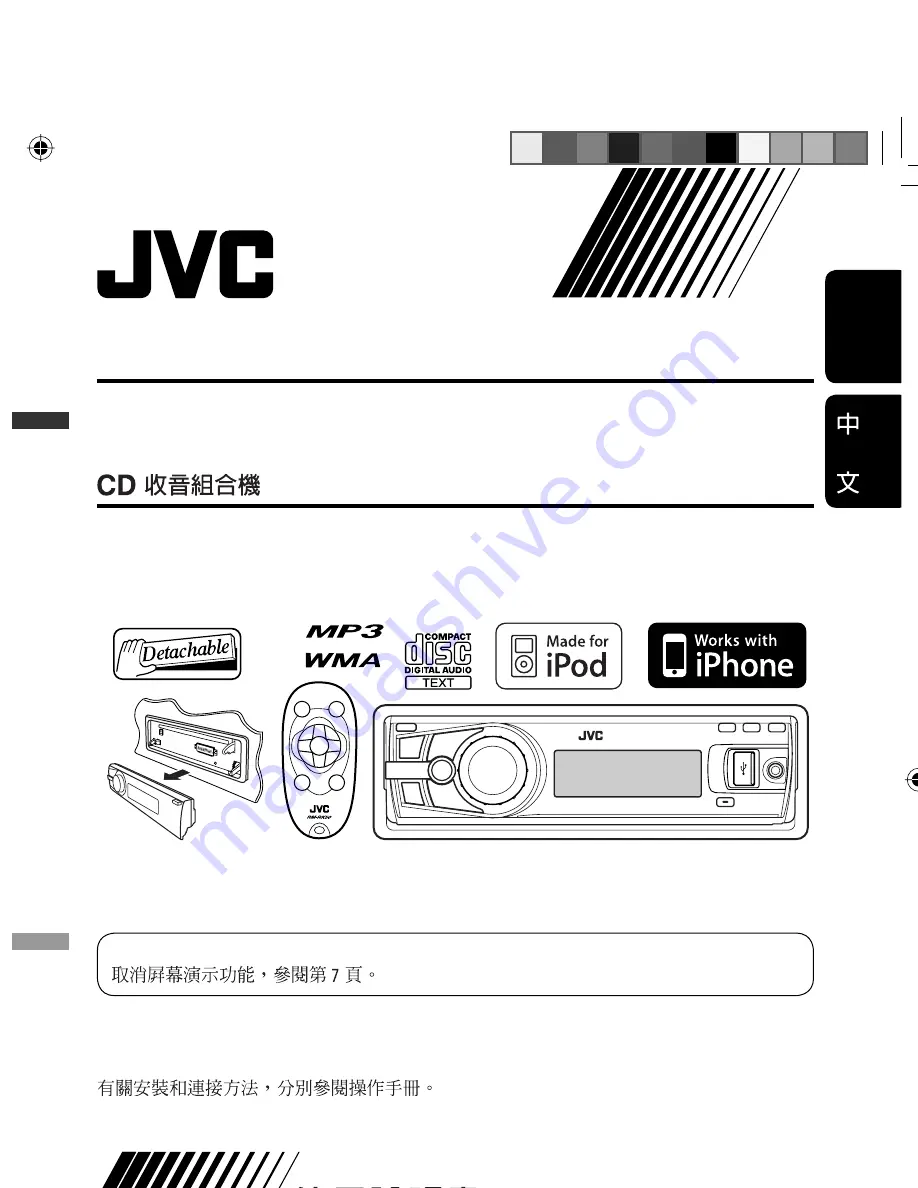
KD-R705
CD RECEIVER
KD-R705
INSTRUCTIONS
GET0595-005A
[UT]
For canceling the display demonstration, see page 7.
For installation and connections, refer to the separate manual.
CoverRear_KD-R705_005A_f.indd 1
CoverRear_KD-R705_005A_f.indd 1
6/1/09 12:12:41 PM
6/1/09 12:12:41 PM


