background image

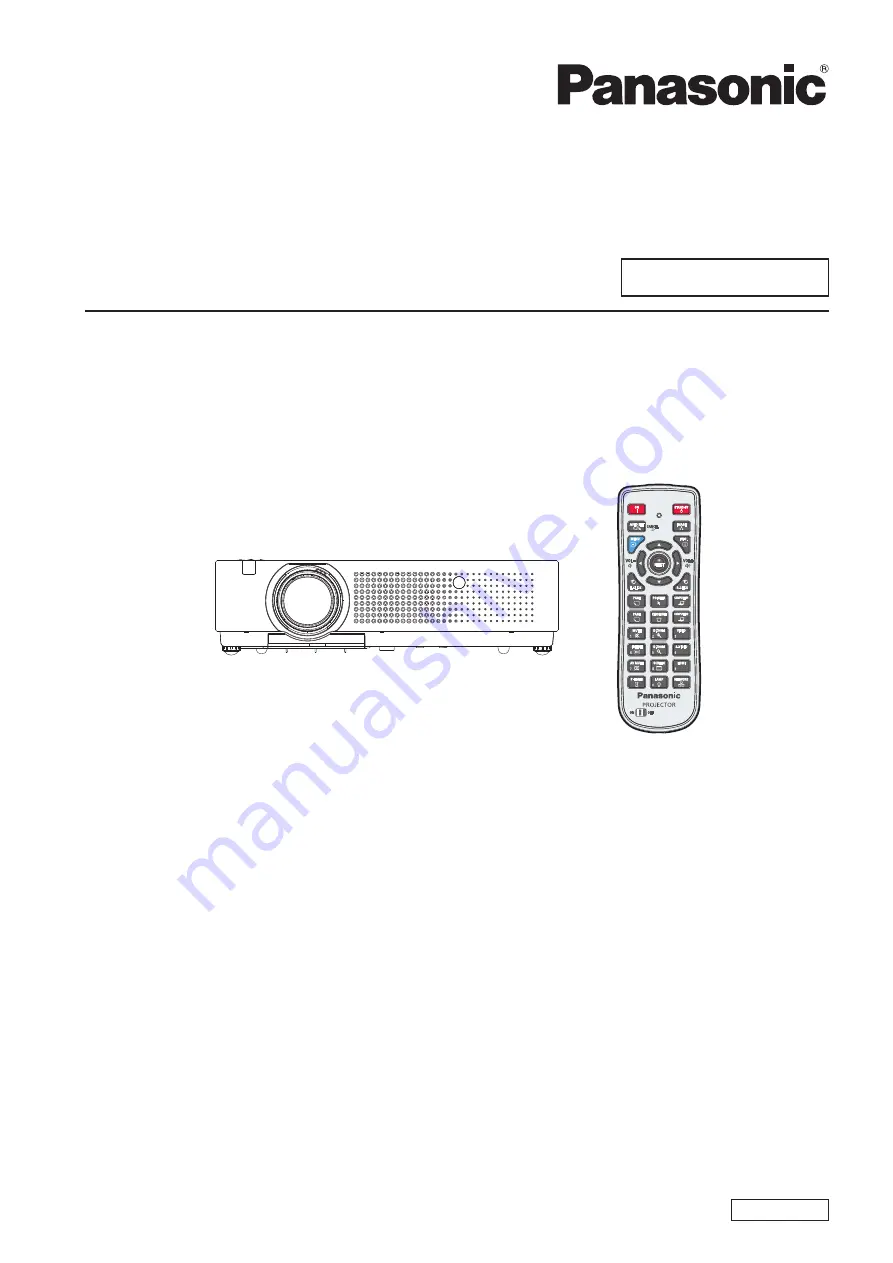
Operating Instructions

Projector Operations

LCD Projector  

Commercial Use

Thank you for purchasing this Panasonic Product.

Before operating this product, please read the instructions carefully and save this manual 


J

for future use.

For information on using the product via a network, refer to “Operating Instructions – Network 

Operations”.

Model No.

PT-VX400NTU

ENGLISH

KY8JC

Summary of Contents for PT-VX400NTU

Page 1: ...for purchasing this Panasonic Product Before operating this product please read the instructions carefully and save this manual J J for future use For information on using the product via a network re...

Page 2: ...ad symbol within an equilateral triangle is intended to alert the user to the presence of uninsulated dangerous voltage within the product s enclosure that may be of sufficient magnitude to constitute...

Page 3: ...a circuit different from that to which the receiver is connected Consult the dealer or an experienced radio TV technician for help The user may find the booklet Something About Interference available...

Page 4: ...ust Failure to observe this will cause a fire If dust builds up on the power plug the resulting humidity can damage the insulation z z If not using the projector for an extended period of time pull th...

Page 5: ...hands directly into this light z z Be especially careful not to let young children look into the lens In addition turn off the power and z z disconnect the power plug when you are away from the proje...

Page 6: ...g measures if necessary Battery fluid on your skin or clothing could result in skin inflammation or injury z z Rinse with clean water and seek medical advice immediately Battery fluid coming in contac...

Page 7: ...sing or internal components to deteriorate or result in fire Take particular care in locations exposed to direct sunlight or near stoves z z Always disconnect all cables before moving the projector Mo...

Page 8: ...ificar o lacre do inv lucro ou o vazamento provocar calor ruptura da blindagem e produzir fogo devido ao curto circuito dos terminais provocado internamente Evite o contato com o liquido que vazar das...

Page 9: ...pe GmbH Panasonic Testing Centre Winsbergring 15 22525 Hamburg F R Germany Ce produit est con u pour l utilisation dans les pays suivants Autriche Belgique Bulgarie R publique Tch quie Chypre Danemark...

Page 10: ...Read this first 10 ENGLISH Important Information Important Safety Notice ENGLISH 5 Important...

Page 11: ...resentation The MIC function and 10W audio output allows you to make a presentation without any external audio equipment Insert the dedicated USB thumb drive into the projector to project images or mo...

Page 12: ...e Projector 31 Enter a PIN code 32 PIN code Protection 32 Turning Off the Projector 33 Projecting 34 Adjusting the image manually 34 Adjusting the image automatically 34 Basic operations by using the...

Page 13: ...56 Auto setup 56 Background 57 Display 57 Logo 58 HDMI setup 58 USB terminal 58 Pointer 59 Terminal 59 Power management 59 Direct on 59 Standby mode 59 P timer 60 Closed caption 60 Lamp power 61 Remo...

Page 14: ...erature changes greatly z z Operating environment page 83 Doing so may shorten the life of the lamp or result in deformation of the outer case and malfunctions Near high voltage power lines or near mo...

Page 15: ...horized operation of this product by a malicious third party z z Interfering or stopping of this product by a malicious third party z z Security instruction J J page 61 Make your password as difficult...

Page 16: ...r details consult your dealer Lamp J J The luminous source of the projector is a mercury lamp with high internal pressure A high pressure mercury lamp has following characteristics The brightness of t...

Page 17: ...B signal cable x1 6103580425 Filter cover x1 6103568881 AC power cord holder x1 6103573700 6103573694 Lens cap x1 6103545790 String x1 6103430249 PIN Code Label x1 Soft Carrying Case x1 6103581620 Att...

Page 18: ...ch as company logos to be displayed when projection starts and transfer them to the projector Operation Manual Logo Transfer Software 2 0 Wireless Manager ME5 5 Windows Macintosh This software allows...

Page 19: ...s the left mouse button for wireless mouse operation page 37 9 Number Buttons Act as number buttons Use these buttons when setting the remote control codes page 24 or entering the PIN code numbers pag...

Page 20: ...re used to select the input signal page 38 25 KEYSTONE Button Correct keystone distortion page 37 Attention Do not drop the remote control z z Avoid contact with liquids z z Do not attempt to modify o...

Page 21: ...ons 9 Air outlet port Hot air is exhausted from the exhaust vent Do not put heat sensitive objects near this side 10 Speaker 11 AC IN 12 Terminals page 23 13 Air intake port Air filter cover page 66 1...

Page 22: ...tton Turn the projector on off 5 POWER indicator Indicate the power status 6 MENU Button Displays the MENU screen page 40 7 AUTO SETUP CANCEL Button Execute the setting of Auto setup in the setting me...

Page 23: ...PUTER IN 1 COMPONENT IN input signals 6 COMPUTER IN 2 MONITOR OUT Connects to COMPUTER IN 2 MONITOR OUT input signals or outputs the analog RGB signals input the projector 7 Security slot Attach the c...

Page 24: ...ID number to the remote control There are 7 different ID codes ALL Code 1 Code 6 the initial ID number is ALL J J Setting the ID number 1 While holding down the MENU button press the Number Buttons t...

Page 25: ...tor installed vertically or tilted right or left Use under such conditions could result in equipment z z damage The projector must be installed so that its inclination to the horizontal plane is 40 or...

Page 26: ...05 1 5 m 5 02 1 0 m 3 35 1 7 m 5 48 1 27 m 50 1 2 m 3 87 1 9 m 6 30 1 3 m 4 23 2 1 m 6 89 1 52 m 60 1 4 m 4 66 2 3 m 7 58 1 6 m 5 09 2 5 m 8 27 1 78 m 70 1 7 m 5 45 2 7 m 8 86 1 8 m 5 94 3 0 m 9 68 2...

Page 27: ...You can turn them in the opposite direction to contract them You can adjust the projection angle vertically Attention Heated air comes out of the air exhaust port while the lamp is lit Do not touch t...

Page 28: ...the projector supports see List of compatible signals z z page 78 Connecting example Attention When connecting with a video deck be sure to use the one with a built in time base corrector TBC or use...

Page 29: ...the power cord holder correctly as Picture 1 shown Attaching J J Attach the AC power cord with the power cord holder to the projector by following these steps Plug the power cord with the power cord h...

Page 30: ...plugged The projector is in stand by mode after the cooling is completed Flashing The projector cannot be turned on until the normal power off processing for fan cooling is completing and the POWER i...

Page 31: ...e displayed on the screen please move the pointer to input source desired by pressing the and the SELECT button And then follow the input signal guidance window to correct the signal and connection If...

Page 32: ...lete entering a four digit number the pointer moves to Set Press the SELECT button so that you can start to operate the projector If you fix an incorrect number use the button to move the pointer to t...

Page 33: ...red The waiting time to restart will be shortened when the normal power off processing for fan cooling is completed compared with the time the AC power cord is immediately unplugged after the power of...

Page 34: ...l Auto PC adj function starts to work and get an optimal image Next a test pattern for Focus assist appears on the screen and the focus assist bar appears in the center bottom of the screen Rotate the...

Page 35: ...ction is activated to get an optimal image Keystone Standard appears and it can be adjusted manually if it is necessary It will exit without any operation page 37 The conditions of Screen fit function...

Page 36: ...mage 3 and Image 4 Note For details see Image select of Main menu z z page 48 Using the MENU button This function allows you to open or close the On Screen Menu Button Press the MENU button on the rem...

Page 37: ...Pointer Button Press the POINTER button on the remote control Note For details see Setting of Main menu z z page 59 Using the KEYSTONE button This function allows you to correct keystone distortion Bu...

Page 38: ...input VIDEO Switches to Video input S VIDEO Switches to S video input NETWORK Switches to Network input Note Each press of the INPUT button on the Control Panel z z of the main unit switches the sett...

Page 39: ...from computer to the projector by Logo Transfer Software on the supplied CD ROM and is set as User in the Logo selection page 58 the screen changes each time you press the AV MUTE button as follows N...

Page 40: ...T button 3333 The submenu appears so that you can select the sub menu item Press to select the desired sub 4444 menu item Press the SELECT button or press 5555 to enter the desired item Press to set o...

Page 41: ...m Factory default Page Computer 1 RGB 43 Computer 2 RGB 43 HDMI 43 Video 43 S video 43 Network 44 PC adjust J J Sub menu item Factory default Page AUTO PC adj 45 Fine sync 46 Total dots 46 Horizontal...

Page 42: ...te Off 55 MIC Off 55 MIC gain 32 55 Standby MIC out Off 55 Setting J J Sub menu item Factory Default Page Language English 56 Menu position Center 56 Auto setup 56 Background Blue 57 Display On 57 Log...

Page 43: ...PC Systems Auto is displayed on the System Menu box and the Auto PC adjustment function works to display proper images If the image is not projected properly a manual adjustment is required There is n...

Page 44: ...component video signal format among 480i 576i 480p 576p 720p 1035i and 1080i Press to select System 1111 Press or the SELECT button to 2222 access the submenu Press to select the desired system 3333...

Page 45: ...re adjustment parameters The adjusted parameters from the Auto PC adjustment can be stored in the projector Once the parameters are stored the setting can be done just by selecting a Mode 1 10 in the...

Page 46: ...adjustment dialog box Press to adjust the value 3333 The value can be adjusted from 0 to 31 z z Total dots Press to select Total dots 1111 Press the SELECT button to display 2222 the adjustment dialog...

Page 47: ...projector Display area V Press to select Display area V 1111 Press the SELECT button to display 2222 the dialog box Press to adjust the vertical area 3333 displayed by this projector Reset To reset th...

Page 48: ...ojected z z on a blackboard This is mainly effective on a green colored board not truly effective on a black colored board Colorboard For the image projected on a colorboard Press to select Colorboard...

Page 49: ...lay 2222 the adjustment dialog box Press to adjust the setting value 3333 Operation Adjustment Adjustment range Press increase the intensity of the color Maximum value 63 Press decrease the intensity...

Page 50: ...s Press to select Sharpness 1111 Press the SELECT button to display 2222 the adjustment dialog box Press to adjust the setting value 3333 Operation Adjustment Adjustment range Press increase the sharp...

Page 51: ...ed Off Disabled L1 For an active picture L2 For a still picture Film For watching a film Note When input video signal to the projector Progressive z z will become available Reset To reset the adjusted...

Page 52: ...to select True and then 1111 press the SELECT button Press to pan the image 2222 When adjusted the arrows will turn red When z z reached to the correction limits the arrows will disappear Note When i...

Page 53: ...cannot be selected when True is z z selected in the Screen menu Digital zoom cannot be selected when Custom is z z selected in the Screen menu Digital zoom are disabled and cannot be displayed z z whe...

Page 54: ...1111 press the SELECT button Press to change the image 2222 When this function is set to On the picture will z z be left right reversed Reset To reset the adjusted data all adjustments will return to...

Page 55: ...Press to select MIC and then 1111 Press the SELECT button Press to switch the MIC function 2222 On Off When Off is selected in MIC function the MIC z z gain and Standby MIC out functions are not avail...

Page 56: ...p left the top right the center Auto setup Press to select Auto setup 1111 Press or the SELECT button 2222 Press to select these functions as 3333 follows J J Input search This function detects the in...

Page 57: ...nnot identify the state of screen J J Colorboard At the time of simple projection on the colored wall you can get the close color image to the color image projected on a white screen Colorbord functio...

Page 58: ...o your desired four digit number Press to select Logo PIN code 1111 change Press the SELECT button 2222 Current logo PIN code dialog box appears z z Press to enter the current code 3333 The New Logo P...

Page 59: ...SELECT button to 2222 access the submenu Mode J J Press and then press the 1111 SELECT button to select one mode among the items as below Ready When the lamp has been fully cooled down the POWER indi...

Page 60: ...ess the SELECT button Start It executes the count up or count down function 1 Reset Reset the P timer values 2 Exit To exit the P timer operation Press the SELECT button at Start and the indication ch...

Page 61: ...rol to fit the code on the projector Security This function allows you to use the Key lock and PIN code lock function to set the security for the projector operation Press to select Security 1111 Pres...

Page 62: ...or in non high altitude environment Select this mode when using the projector in high altitudes about 1 200 meters or more above the sea level where the fans have less cooling effect Select this mode...

Page 63: ...continue Another confirmation dialog box appears select Yes to reset the Total power savings Warning log This function records anomalous operations while the projector is in operation and use it when...

Page 64: ...signal V sync freq J J The selected V sync freq is displayed The vertical frequency of the input signal is displayed in Hz or Hz when no signal Numbers of Hz doubles when during Interlace Screen J J...

Page 65: ...inside the projector is abnormally high The projector cannot be turned on And the POWER indicator also blinks in red Check Unplug the AC power cord and plug it again to turn on the projector Did you p...

Page 66: ...has an abrasive surface or a cloth that is moist oily or covered with dust z z Do not use excessive force when wiping the lens as it is fragile z z Attention The lens is made of glass Impacts or exces...

Page 67: ...Do not put anything into the air vents Doing so may result in malfunction of the projector z z Do not wash the filters with water or any other liquid matter Otherwise the filters may be damaged z z At...

Page 68: ...ed If pieces of glass get into your eyes or mouth seek medical advice immediately The lamp contains mercury Consult your local municipality or your dealer about correct disposal of used z z lamp units...

Page 69: ...fixing screw and remove the lamp cover Remove the lamp cover by pulling it slowly toward z z the direction of the arrow Use a Phillips screwdriver to loosen 3333 three lamp unit fixing screws until th...

Page 70: ...extended period of time attach the lens cap Attach the lens cap according to the following procedures Thread the string through the hole on the 1111 lens cap and then tie a knot in the string to secur...

Page 71: ...ource which is connected to the projector may not be z z adjusted correctly RGB cable is damaged z z No sound from the internal speaker The input terminals may not have been correctly connected z z 28...

Page 72: ...ted devices Then turn z z the power of the projector and the connected devices back on Isn t unsupported signal cable connected z z 78 81 No sound is output from a HDMI device Set the sound channel of...

Page 73: ...Sub 9 pin male Outside view Pin No Signal name Contents NC RXD Received data TXD Transmitted data NC GND Earth NC NC NC NC J J Communication conditions Signal level RS 232C compliant Character length...

Page 74: ...colon is not necessary J J Basic format with sub command STX C1 C2 C3 ETX S1 S2 S3 S4 S5 E P1 P2 P3 P4 P5 P6 When transmitting a command which does not need a parameter the operation E and parameter a...

Page 75: ...ON POF Power OFF IIS INPUT selection Parameter VID Video SVD S video RG1 Computer 1 RGB RG2 Computer 2 RGB HD1 HDMI SCT Computer 1 Scart NWP Network OSH AV mute function Turning off the projection and...

Page 76: ...HD SYNC VD DDC clock Pin assignments and signal names of COMPUTER IN 2 MONITOR OUT J J terminal Outside view Pin No Signal names Not assigned GND terminals R PR G G SYNC Y B PB HD SYNC VD Pin assignme...

Page 77: ...Technical Information ENGLISH 77 Appendix USB CONNECTOR Type A Outside view Pin No Signal names 5V Data Data GND USB CONNECTOR Type B J J Outside view Pin No Signal names 5V Data Data GND...

Page 78: ...7 50 75 00 31 50 A 43 269 85 00 36 00 A 640 x 400 31 47 70 09 25 175 A 720 x 400 31 47 70 09 28 322 A SVGA 800 x 600 35 156 56 25 36 00 A 37 88 60 32 40 00 A 46 875 75 00 49 50 A 53 674 85 06 56 25 A...

Page 79: ...0 A 1280 x 1024 62 50 58 60 108 00 A 63 90 60 00 107 35 A 63 34 59 98 108 18 A 63 74 60 01 109 497 A 71 69 67 19 117 004 A 81 13 76 107 135 008 A 63 98 60 02 108 00 A 79 976 75 025 135 00 A 63 37 60 0...

Page 80: ...02 795 62 790 74 928 106 492 71 553 84 879 122 498 1366 x 768 48 36 60 00 86 67 A 1360 x 768 47 70 60 00 86 67 56 16 72 00 100 19 1376 x 768 48 36 60 00 86 67 WSXGA 1 1680 x 1050 65 290 59 954 146 250...

Page 81: ...00 148 5 D WXGA 1 1440 x 900 55 935 59 887 106 500 D WSXGA 1 1680 x 1050 65 290 59 954 146 250 D WUXGA 2 1920 x 1200 74 038 59 950 154 000 i added to the resolution value indicates an interlaced sign...

Page 82: ...80 60i Horizontal 33 75 kHz Vertical 60 Hz 625i 576i Horizontal 15 63 kHz Vertical 50 Hz 625p 576p Horizontal 31 25 kHz Vertical 50 Hz 750 720 50p Horizontal 37 5 kHz Vertical 50 Hz 1125 1080 50i Hori...

Page 83: ...ms to 2 0 V rms valuable output impedance 2 2 k and less USB Connectors USB connector Series A x1 Series B x 1 CONTROL PORT 1 D sub 9 pin RS 232C compliant for computer control use LAN 1 for RJ 45 net...

Page 84: ...conditions Remove an unused ceiling mount bracket promptly z z Ensure to use a torque driver and do not use an electrical screwdriver or an impact screwdriver z z For details see the work instruction...

Page 85: ...nit 68 Language 56 List of compatible signals 78 Logo 58 M Main menu 41 Maintenance 66 Managing the indicated problems 65 Manual PC adjust 46 Menu Navigation 40 Menu position 56 MIC 55 Mute 38 55 N No...

Page 86: ...this product please contact your local authorities or dealer and ask for the correct method of disposal Panasonic Solutions Company 3 Panasonic Way Secaucus NJ 07094 TEL 877 803 8492 Panasonic Canada...

Reviews: