


Operating Instructions
Multimedia Audio System
Model No.
MW-10
P
RQT9522-P
Table of contents
Getting started
IMPORTANT SAFETY INSTRUCTIONS .................... 2
About the internal memory, CDs and SDs ............... 4
Read this page
fi
rst ................................................... 5
Control guide ............................................................. 6
Connecting antennas and power source ................ 8
Setting the clock ........................................................ 9
Selecting the standard screen ................................. 9
Operations
Listening to a CD ..................................................... 10
Listening to an iPod ................................................ 11
Listening to the radio .............................................. 12
Setting the sound quality/sound
fi
eld, etc. ........... 14
Selecting photos to view ........................................ 14
Editing photos ......................................................... 16
Photo playback settings ......................................... 17
Using the setup menu ............................................. 18
Changing the dimmer .............................................. 18
Using the timer ........................................................ 19
Using with your PC .................................................. 20
Reference
Installation of this unit ............................................ 20
Troubleshooting guide ............................................ 21
Error message ......................................................... 22
Product Service ....................................................... 22
Limited Warranty ...................................................... 23
Speci
fi
cations ........................................... Back cover
Maintenance .............................................. Back cover
Dear customer
Thank you for purchasing this product.
For optimum performance and safety, please read these
instructions carefully.
Before connecting, operating or adjusting this product,
please read the instructions completely. Please keep
this manual for future reference.
If you have any questions contact
1-800-211-PANA (7262)
The warranty can be found on page 23.
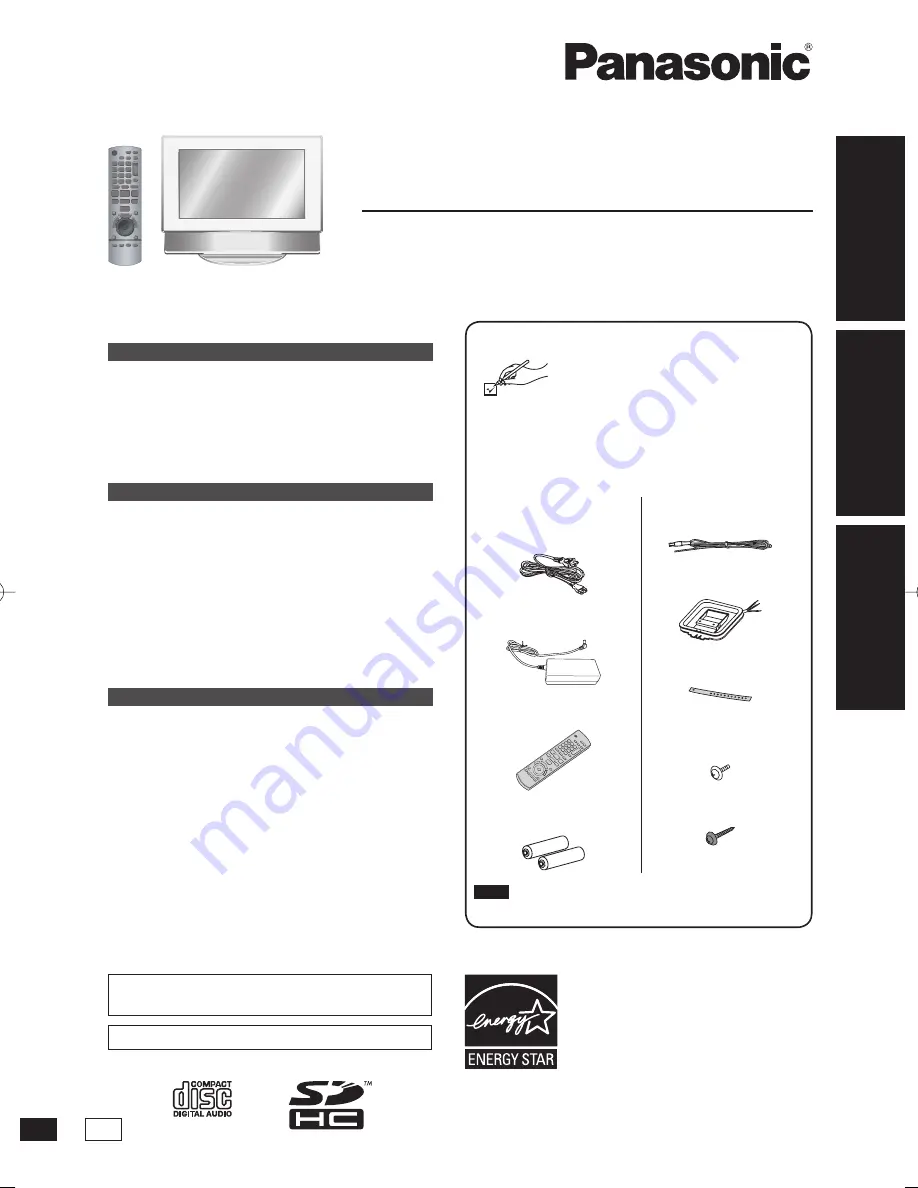
Supplied Accessories
Please check and identify the supplied
accessories.
Use numbers indicated in parentheses when asking
for replacement parts. (Product numbers correct as of
September 2009. These may be subject to change.)
To order accessories, refer to “Accessory Purchases
(United States and Puerto Rico)” on page 23.
Getting star
ted
Ref
erence
Operations
1 AC power supply
cord
(K2CB2CB00021)
1 AC adaptor
(RFEA220W)
1 Remote control
(N2QAYB000452)
2 Batteries for remote
control
1 FM indoor antenna
(RSAX0002)
1 AM loop antenna
(N1DYYYY00009)
1 Fall-prevention belt
(TKLA3401)
1 Screw for fall-
prevention belt
(RHD30090-1)
1 Wood screw
(XTW4+16AFJK)
Note
The actual shapes of accessories may be different.
•
As an ENERGY STAR
®
Partner,
Panasonic has determined that this
product meets the ENERGY STAR
®
guidelines for energy efficiency.
RQT9522-P̲MW-10̲P.indd 1
RQT9522-P̲MW-10̲P.indd 1
2009/08/28 19:13:02
2009/08/28 19:13:02


