Quick Start
Initial
Preparation
Telephone
Fax/Copy
Answering
Device
Multi-Function
Center/PC
Help
General
Information
Comienzo
rápido
en
español
(p.
147)
Multi-Function
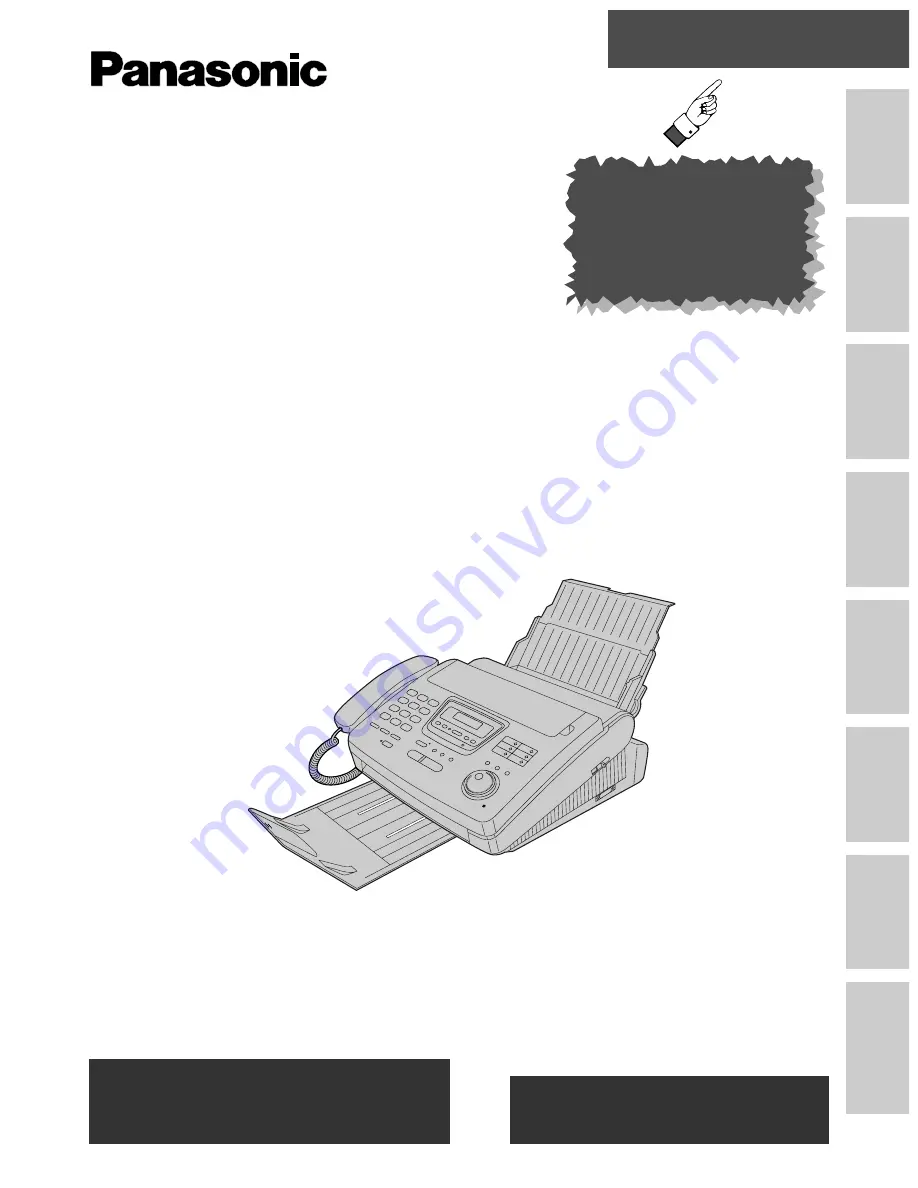
Plain Paper FAX
Model No.
KX-FM280
To get started,
please read the
Quick Start section
(pages 4 to 13).
OPERATING
INSTRUCTIONS
Please read these Operating Instructions
before using the unit and save for future
reference.
FOR OPERATION ASSISTANCE,
CALL 1-800-HELP-FAX (1-800-435-7329)
OR SEND A FAX TO 1-215-741-6376.
●
This unit is designed for use in the United
States of America, and may not operate in
other countries. (See page 146 for more
details.)
●
Este producto ha sido diseñado para su uso
en los Estados Unidos de América, y puede
no funcionar correctamente en otros países.
(Consulte la página 146 para tener más
detalles.)
Comienzo Rápido
(p. 147)
Summary of Contents for KX-FM280
Page 171: ...171 ...