


Quick Start
Initial Preparation
Telephone
Fax/Copy
PC Software
Help
General
Information
Comienzo rápido
en español
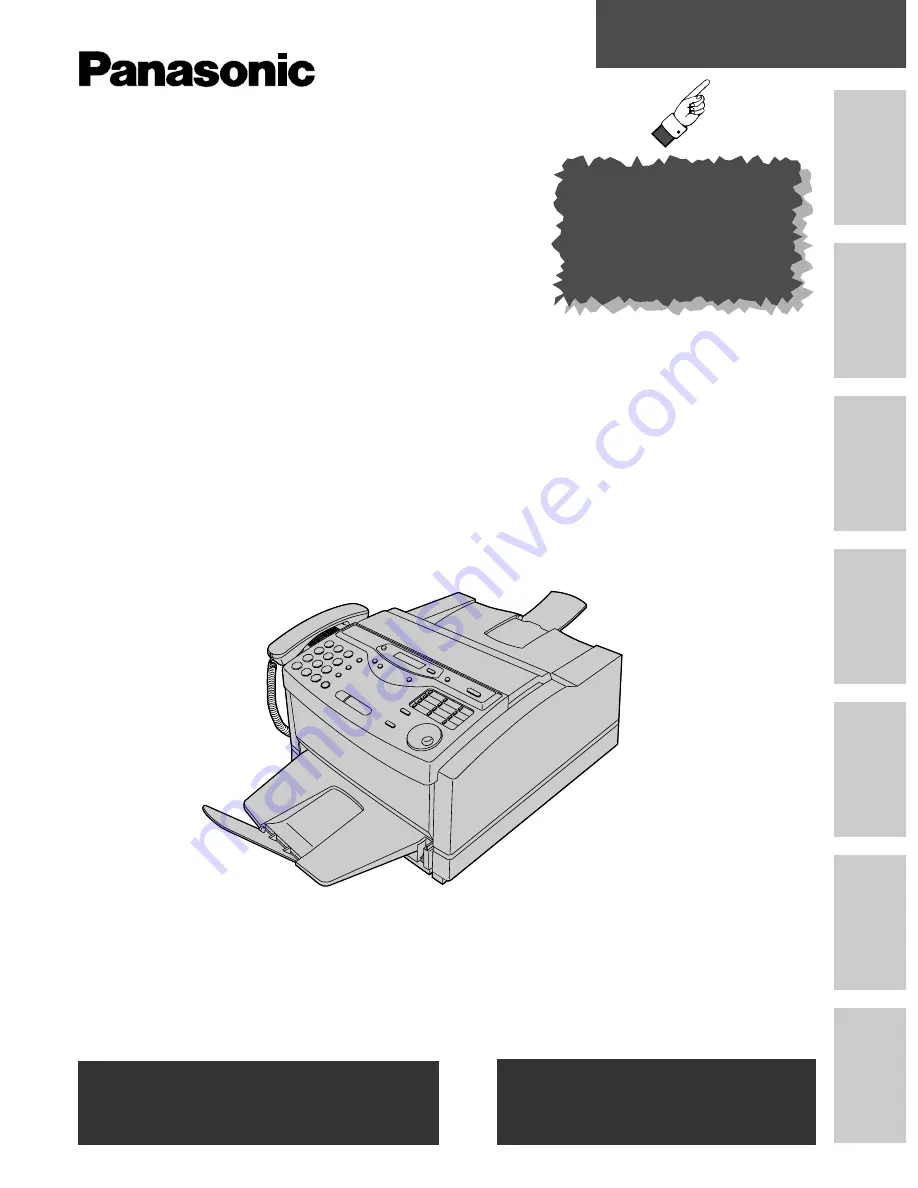
Multi-Function
Laser FAX
Model No.
KX-FLM600
To get started,
please read the
Quick Start section
(p. 6–13).
OPERATING
INSTRUCTIONS
Please read these Operating Instructions
before using the unit and save for future
reference.
FOR OPERATION ASSISTANCE,
CALL 1-800-HELP-FAX (1-800-435-7329)
OR SEND A FAX TO 1-215-741-6376.
Comienzo rápido
(p. 132)


