Panasonic KX-FLB753HK, Operating Instructions Manual
The Panasonic KX-FLB753HK is a versatile all-in-one printer designed for businesses. To maximize its functionality, make sure to download the comprehensive Operating Instructions Manual. This detailed manual can be easily downloaded for free from our website, providing you with essential guidance on operating and configuring your Panasonic printer.
Share
Download


Reviews:
No comments
Related manuals for KX-FLB753HK

KC SERIES 17
Brand: General Pages: 20

TASKI swingo 1260B Power
Brand: diversey Pages: 47

Me4
Brand: MDG Pages: 2

Easy 6000
Brand: Westomatic Pages: 41

Jet Blaster 900
Brand: PFX Pages: 9

Foldnak 80
Brand: Nagel Pages: 36

660A202
Brand: Singer Pages: 46

KING COBRA 300
Brand: U.S. Products Pages: 8

YP7065
Brand: YARDMAX Pages: 28

4181i-3
Brand: Duerkopp Adler Pages: 38

MO-6704DA
Brand: JUKI Pages: 84

PUNCH-BIND
Brand: JBI Pages: 36

MS-202
Brand: DS Produkte Pages: 68

GBC Ricoh StreamPunch Ultra
Brand: ACCO Brands Pages: 11
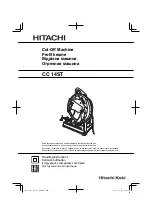
CC 14ST
Brand: Hitachi Pages: 32
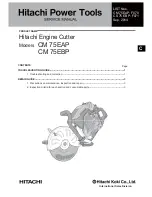
CM 75EAP
Brand: Hitachi Pages: 48
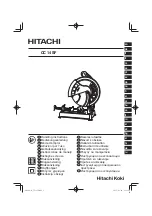
CC 14SF
Brand: Hitachi Pages: 148
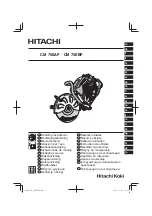
CM 75EAP
Brand: Hitachi Pages: 220


