background image

Facsimile

Quick Reference Guide
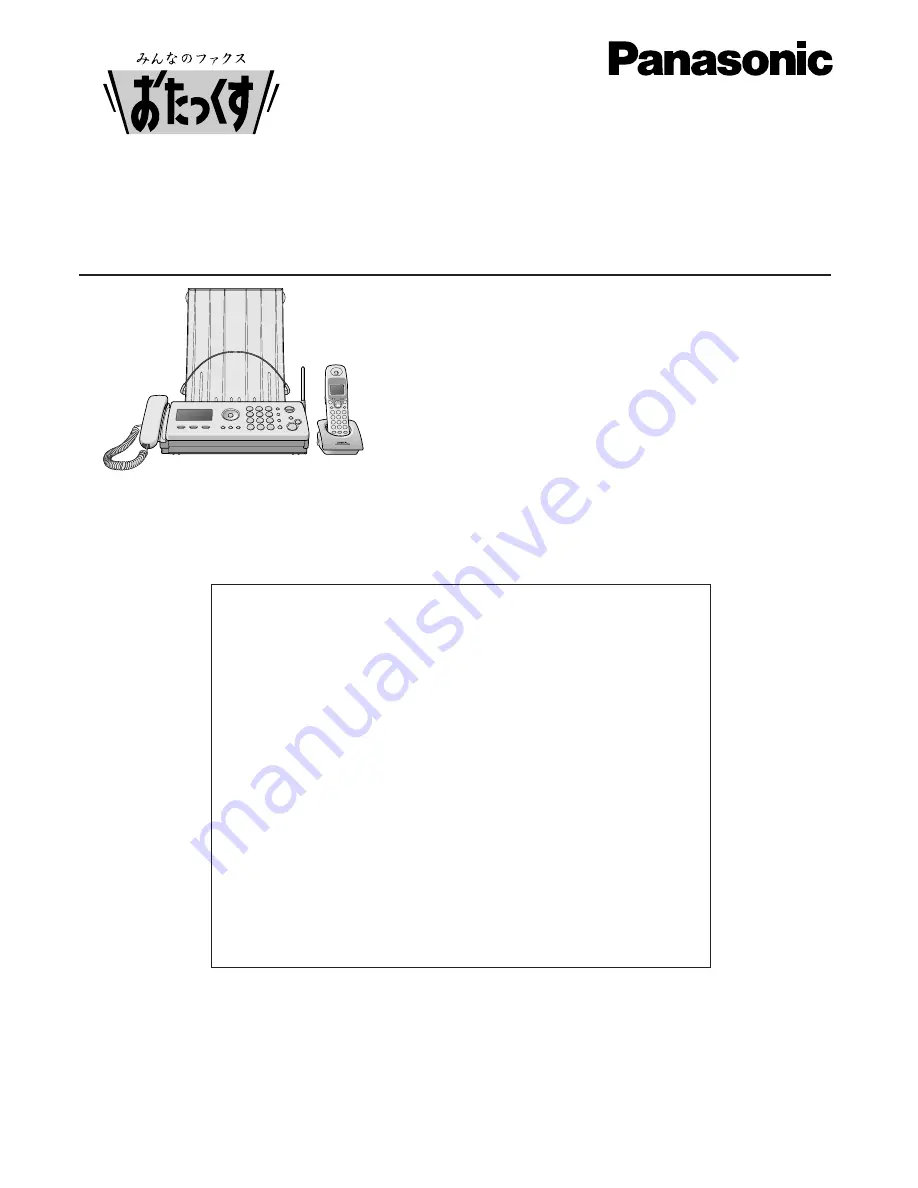
Model No.

KX-PW503DL
KX-PW503DW

KX-PW503DL

Thank you for purchasing a Panasonic facsimile. 

l


This guide explains some basic features and operations, but not all of them. 

For further details, see the Japanese operating instructions.

l


This product is designed for use in Japan.

Panasonic cannot provide service for this product if used outside Japan.

l


Any details given in this guide are subject to change without notice.

Table of Contents 

Finding the controls …………………………………………………………… 2

Installations and connections ………………………………………………… 4

Setting the date and time……………………………………………………… 7

Setting your facsimile telephone number …………………………………… 7

Setting your logo ……………………………………………………………… 8

Character input and command key table …………………………………… 9

Automatic dialing on the main unit ………………………………………… 10

Automatic dialing on the portable handset (KX-FKN521) ……………… 12

Intercom ……………………………………………………………………… 13

Sending faxes ……………………………………………………………… 14

Receiving faxes ……………………………………………………………… 15

Operating the built-in answering device

………………………………… 16

Specifications

……………………………………………………………… 18

Main unit:
Portable handset: 

KX-PW503
KX-FKN521

Summary of Contents for KX-FKN521

Page 1: ...duct if used outside Japan l Any details given in this guide are subject to change without notice Table of Contents Finding the controls 2 Installations and connections 4 Setting the date and time 7 Setting your facsimile telephone number 7 Setting your logo 8 Character input and command key table 9 Automatic dialing on the main unit 10 Automatic dialing on the portable handset KX FKN521 12 Interc...

Page 2: ...5 Auto Answer button indicator light on answering device activated light off used as a regular telephone 6 Replay button plays back recorded messages Record button records telephone calls 7 Stop button 8 Copy button starts copying 9 Start Fax button starts faxing 10 Hold button Call Memory button starts a search in the Number Display log For caller ID display service users 11 Monitor button 12 Ton...

Page 3: ... to the other party by pressing this button for about 2 seconds To release the mute press this button again To use the speakerphone Sharp button To use the phonebook and buttons refer to the function displayed on the bottom of the display They function differently depending on the mode Dial buttons Earpiece Liquid crystal display Microphone Do not cover the microphone while talking How to use butt...

Page 4: ...ntil it locks 2 Insert the ink film Insert the orange core into the right slot of the main unit Insert the orange gear into the left slot of the main unit l When the unit runs out of ink film the following message will be displayed Install a new ink film As of September 2004 Tax included フィルムガシナクナリマシタ コウカンシテクダサイシU23 フィルムガシナクナリマシタ ヒンバン KX FAN200 Replacement ink film KX FAN200 30 m 1 208 ...

Page 5: ...ize 1 Install the recording paper cover tray 2 Open the recording paper cover 3 Insert the recording paper into the recording paper tray Up to 20 sheets Fan the stack of recording paper 4 Close the recording paper cover Recording paper Printing side is on the back ...

Page 6: ...automatically select the dialing mode Tone Pulse 3Charge the battery in the charger for 10 hours 1 2 l After your Panasonic battery is fully charged it will last up to about 7 hours of conversation Battery Connector Black Red Battery cover Charger Plug Power outlet AC 100 V AC adaptor If you can not make a call Set the dialing mode with the main unit 1 Press Function Edit 2 Press 3 Press Search bu...

Page 7: ...er up to 20 digits Example 098 765 43 アナタノデンワバンゴウ TEL 0980765043 The Hold Call memory button replaces the digit with a space 3Enter the correct year month day Example October 1 2004 Press 2004年10月01日 20 10 2 2Press アナタノデンワバンゴウ TEL Cursor 4Enter the correct hour minute in a 24 hour clock entry Example 15 45 3 45 PM Press 2004年10月01日 15 45 2 5Press Set トウロク シマシタ 2004年10月01日 15 45 2 4Press Set ...

Page 8: ...on page 9 for instructions Setting your logo 1Press Function Edit キノウ トウロク モード ク オス 5Press Stop 10月 1日 15 45 ヨウケン ロクオン 00 ケン Example 2Press アナタノナマエ Cursor Example Micah 1 Press once アナタノナマエ M M Cursor 2 Press six times アナタノナマエ Mii 3 Press six times アナタノナマエ Mic c 4 Press to move the cursor to the next space and press four times アナタノナマエ Mica a 5 Press five times アナタノナマエ Micah h 4Press Set トウロクアシマシタ...

Page 9: ... タチツテトッ G H I g h i 4 ナニヌネノ J K L j k l 5 ハヒフヘホ M N O m n o 6 マミムメモ P Q R S p q r s 7 ヤユヨャュョ T U V t u v 8 ラリルレロ W X Y Z w x y z 9 ワヲンー ー 0 Command keys Main unit Portable handset Used to change the character input mode Main unit Portable handset Used to move the cursor to the left and right Main unit Portable handset Used to delete a character Main unit Portable handset Used to insert a space l T...

Page 10: ...Edit 4Press Flash Clear Erase 3Move the cursor to the number you want to edit Erasing a stored number in the one touch dial 2Press the desired one touch dial button to 1Press Function Edit 3Press and hold Flash Clear Erase until the telephone number has been erased 4Press Set 4Press Set 5Enter the number 6Press Set 3Enter the telephone number up to 24 digits l To correct a mistake press Flash Clea...

Page 11: ...number to 2Press Search button repeatedly until the desired name is displayed 3Lift the handset Editing a stored name or number in the phonebook 3Press Function Edit 4Edit the name see the table on page 9 for instructions l If you do not need to edit the name skip to step 5 5Press Set 6Edit the telephone number l If you do not need to edit the telephone number skip to step 7 8Edit the group number...

Page 12: ...u do not need to edit the name skip to step 5 5Press 6Enter the correct telephone number l If you do not need to edit the telephone number skip to step 7 9Press 1Press Phonebook 2Press Search button repeatedly until the desired name is displayed 2Press Search button repeatedly until the desired name is displayed 1Press Phonebook ケンサクハ オス 2Press l XXX shows the remaining station numbers you can sto...

Page 13: ...he portable handset number to which you want to call To call the main unit press To call the main unit and all the portable handsets press 3Press Off to end the intercom call 2Start talking ナイセンツウワアチュウ 1n For single portable handset users 1 Lift the handset 2 Press Intercom Character input mode n For multiple portable handset users 1 Lift the handset 2 Press Intercom Character input mode 3 Call th...

Page 14: ...CE DOWN until a single beep is heard To select the resolution Select the desired resolution according to the type of document by pressing Resolution ガシツ フツウ Standard for printed or typewritten originals with normal sized characters ガシツ チイサイ Fine for originals with minute printing ガシツ シャシン Photo for originals containing photographs 2Press the desired one touch dial button to l The unit will star...

Page 15: ...eption Using the main unit 1When you hear a ring lift the handset to answer the call Using the portable handset KX FKN521 1When you hear a ring lift the portable handset from the charger to answer the call l If the portable handset is not set on the charger press Talk 2When document reception is required a fax calling tone slow beep is heard or no sound is heard press then press l The main unit wi...

Page 16: ...played to callers instead of the pre recorded Japanese greeting message 3Press Set 5Press Set and speak your greeting message after a beep up to 16 seconds to the handset 6Press Stop and replace the handset l Your greeting message will be played back automatically 1Press Function Edit 2Press ジサクアオウトウアロクオン カイセシシシ ケッテイ オス Erasing your own greeting message 1Press Function Edit 2Press ジサクセオウトウセショウキョ...

Page 17: ... messages press サイセイシタヨウケンショウキョ スル アシナイ Erasing a specific message Press Flash Clear Erase while listening to the message you want to erase then press Erasing all of the recorded messages 2Press 1Press Flash Clear Erase スベテセショウキョシマスカ ハイ アイイエ Operating the answering device from a remote location Operation Listening to a recorded message from a remote location Turn the Auto answer light on before y...

Page 18: ...8 mm A4 Effective printing size 202 mm A4 size plain paper Transmission time Approx 15 s page Original mode 3 Modem speed 9 600 7 200 4 800 2 400 bps Automatic fallback Halftone level 64 level Scanning density Horizontal 8 pels mm Vertical 7 7 lines mm Fine Photo 3 85 lines mm Standard Scanner type Contact image sensor Printer type Thermal transfer printing on plain paper Data compression system M...

Page 19: ......

Page 20: ...PFQX2129ZA FK0904MN0 2004 Panasonic Communications Co Ltd All Rights Reserved C ...

Reviews: