


Model No.
KV-S1057C
KV-S1027C
KV-SL1066
KV-SL1056
KV-SL1055
KV-SL1036
KV-SL1035
Operating Manual
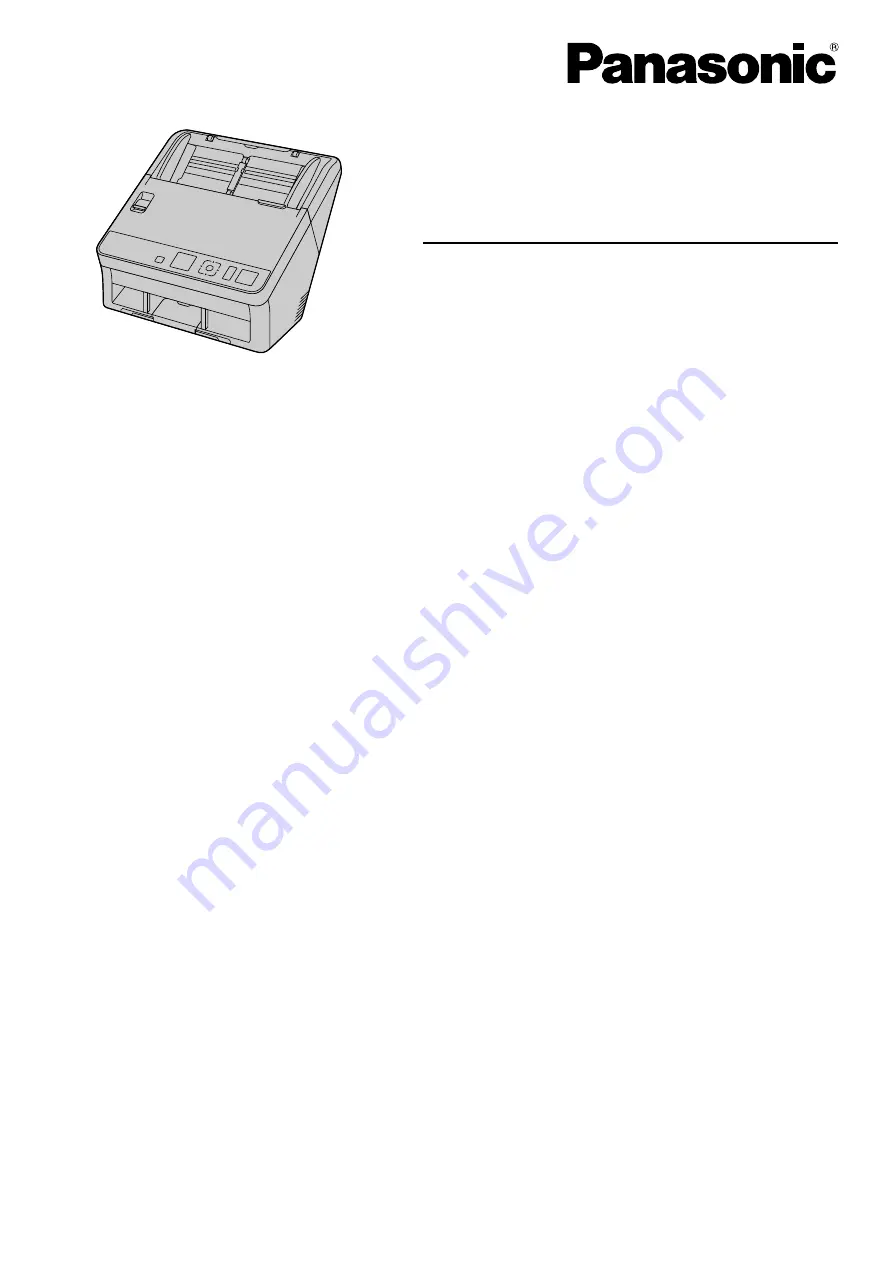
Document Scanner
These instructions contain information on operating the scanner. Before reading these instructions, please read
the Quick Installation Guide enclosed with this unit.
Keep all documentation in a safe place for future reference.
Current model availability depends on your country/area. Please contact your dealer.


