


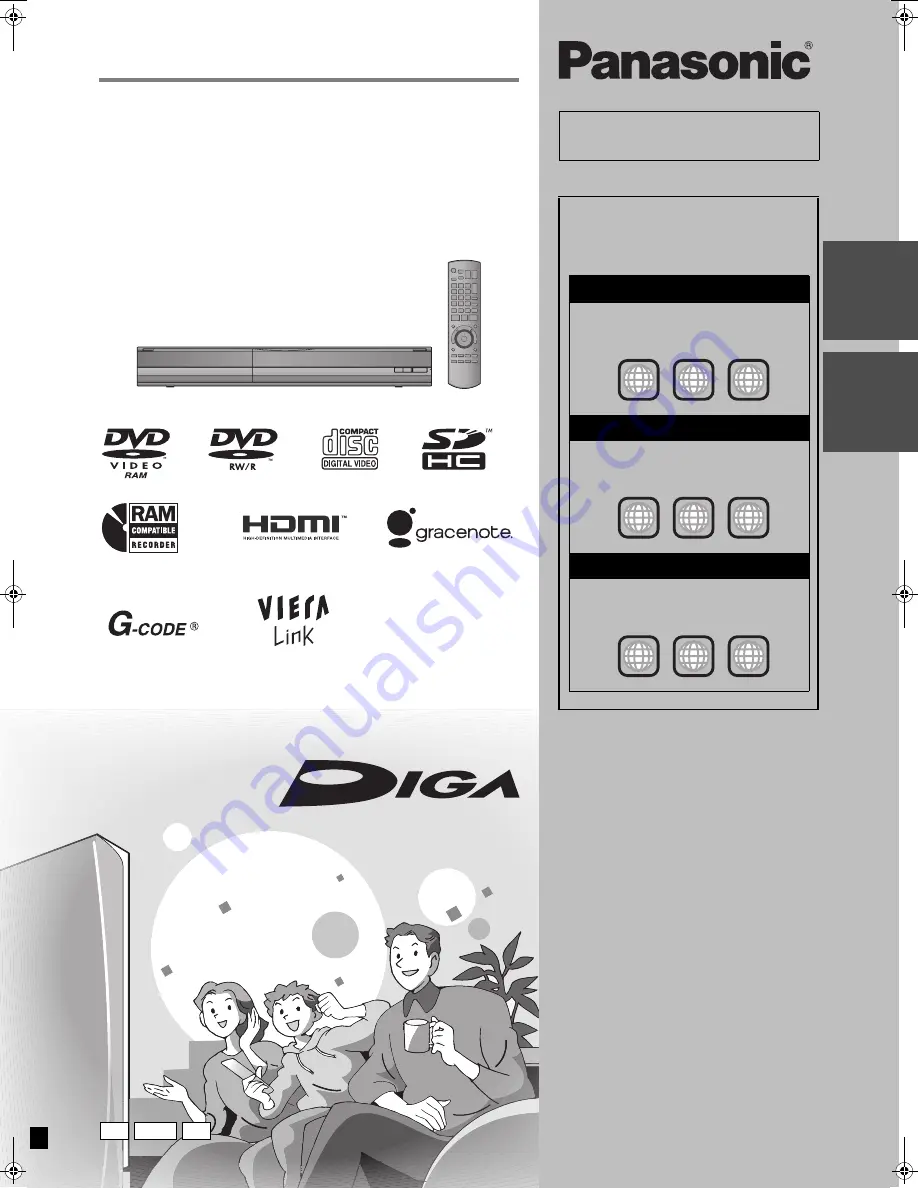
Operating Instructions
DVD Recorder
Model No.
DMR-EH68
DMR-EH58
The illustrations in these Operating Instructions show images of the black model of
DMR-EH58 for Australia and N.Z.
[For]Australia]and]N.Z.]
Dear customer
Thank you for purchasing this product. For optimum
performance and safety, please read these
instructions carefully.
Before connecting, operating or adjusting this
product, please read the instructions completely.
Please keep this manual for future reference.
Instructions/notes regarding SD Cards and
SD drive are applicable to the DMR-EH68
model only.
Region number supported by
this unit
Region numbers are allocated to DVD
Recorders and DVD-Video according to
where they are sold.
For Asia
≥
The region number of this unit is “
3
”.
≥
The unit will play DVD-Video marked with
labels containing “
3
” or “
ALL
”.
Example:
For Australia and N.Z.
≥
The region number of this unit is “
4
”.
≥
The unit will play DVD-Video marked with
labels containing “
4
” or “
ALL
”.
Example:
For Middle East
≥
The region number of this unit is “
2
”.
≥
The unit will play DVD-Video marked with
labels containing “
2
” or “
ALL
”.
Example:
3
ALL
3
5
2
4
ALL
3
4
2
2
ALL
3
5
2
GC GCS GN
RQT9075-L
Q
u
ic
k St
ar
t
Gu
ide
Basi
c
ope
ra
ti
o
n
s
until
2008/3/31
DMREH58&68GN_RQT9075-L_eng.book 1 ページ 2008年2月29日 金曜日 午前11時40分


