background image

Network Camera Management System

Installation/Troubleshooting
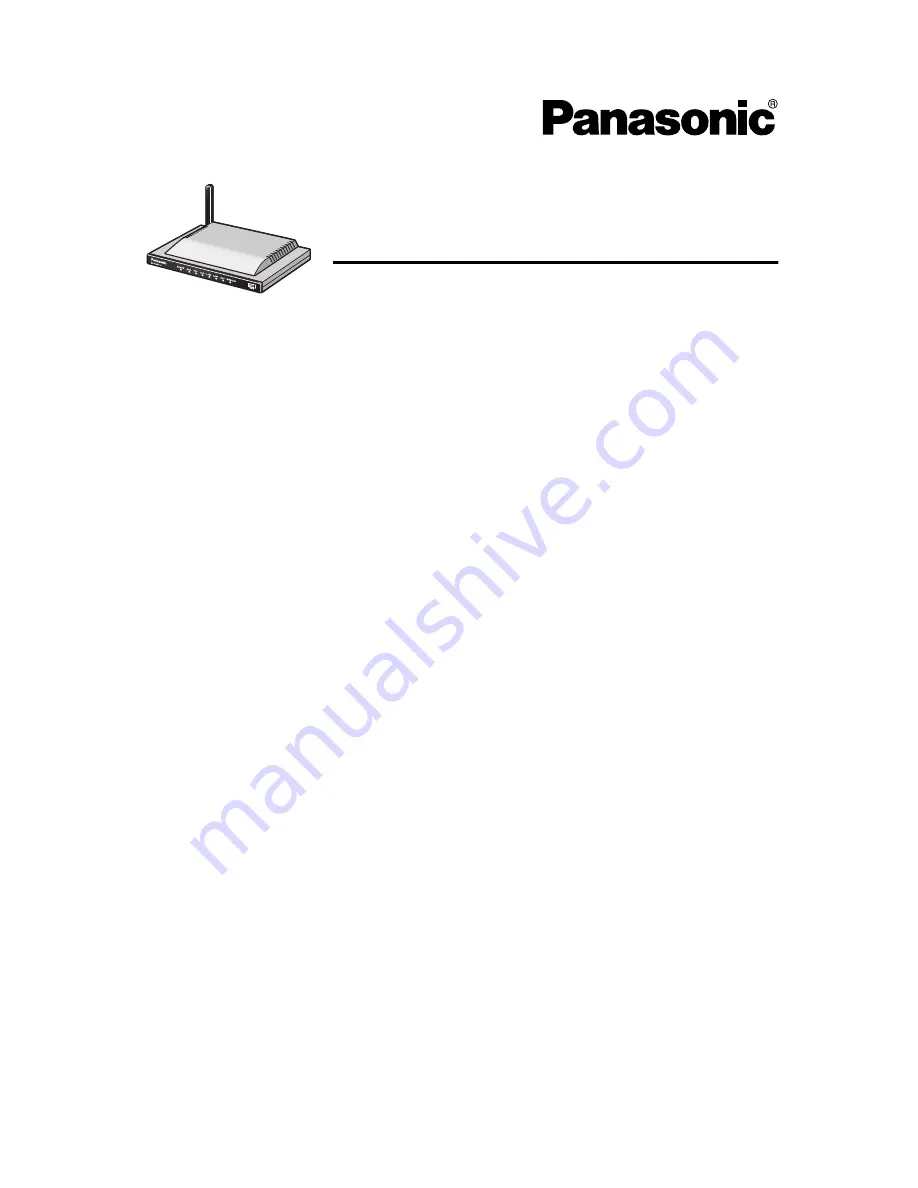
Model No.

 BB-HGW700A

1 Before Using ........................................................... 3

1.1 Important Safety Instructions ...............................................3

1.1.1 FCC and Other Information ............................................................. 4
1.1.2 Security Cautions ............................................................................ 6
1.1.3 Open Source Software .................................................................... 6

2 Installation .............................................................. 7

2.1 From Start to Finish..............................................................7

2.2 Check the Accessories.........................................................8

2.3 Connect This Product...........................................................9

2.4 Set Up the PC ....................................................................10

2.5 Register an ISP and Connect to the Internet .....................14

2.6 Connect a Network Camera ...............................................23

3 Troubleshooting ................................................... 26

Summary of Contents for BB-HGW700A - Network Camera Router

Page 1: ...ructions 3 1 1 1 FCC and Other Information 4 1 1 2 Security Cautions 6 1 1 3 Open Source Software 6 2 Installation 7 2 1 From Start to Finish 7 2 2 Check the Accessories 8 2 3 Connect This Product 9 2...

Page 2: ...ettings and functions of this product Abbreviations UPnP is the abbreviation for Universal Plug and Play CATV modems and ADSL modems are referred to as modems in this manual Network cameras are referr...

Page 3: ...where they exit from this product 7 The AC cord is used as the main disconnect device ensure that the AC outlet is located installed near the product and is easily accessible 8 Use only the included P...

Page 4: ...rence Move away from the electrical appliances Environment do not place the product in a room where the temperature is less than 0 C 32 F or greater than 40 C 104 F Allow 10 cm 4 inches clearance arou...

Page 5: ...mful interference and 2 this device must accept any interference received including interference that may cause undesired operation Responsible Party Panasonic Corporation of North America One Panason...

Page 6: ...arties outside the user group When sending this product to be repaired with a company not related to Panasonic make back up copies of files if necessary and reset this product to factory default When...

Page 7: ...2 1 From Start to Finish Notes Steps 1 to 5 are explained in this manual Steps 6 is explained in Operating Instructions on the CD ROM 1 Check the Accessories 2 Connect This Product 3 Set Up the PC 4 R...

Page 8: ...able category 5 straight cable 1 pc Network Camera PC Main unit 1 pc AC adaptor 1 pc Cord length approx 3 m 9 8 feet Order No PQLV202Y AC cord 1 pc Cord length approx 1 8 m 5 9 feet Order No PSJA1069Z...

Page 9: ...sert the AC adaptor cord into the DC IN jack of this product 5 Insert the AC cord into the AC adaptor socket and the plug into an outlet This product will be turned on automatically When using the sta...

Page 10: ...ight click the Local Area Connection icon and select Properties 3 Select Internet Protocol TCP IP and click Properties 4 Click Advanced 5 Check that the Default gateways field is empty and click OK If...

Page 11: ...Right click the Local Area Connection icon and select Properties 3 Select Internet Protocol TCP IP and click Properties 4 Click Advanced 5 Check that the Default gateways field is empty and click OK I...

Page 12: ...when using Windows Me 98SE click Display All Control Panel Applications 3 Select a TCP IP compatible with the LAN card and click Properties in the Network dialog box 4 Click the IP Address tab and se...

Page 13: ...13 For assistance please call 1 800 272 7033 Installation Troubleshooting 6 Click the DNS Configuration tab select Disable DNS and click OK 7 Click Yes and restart the PC...

Page 14: ...Notes It is important to always use your user name and password for authentication when using this product Access information user name password this product s setup information application setup inf...

Page 15: ...ompleted a connection with a compatible camera Customer provided See the camera s Operating Instructions for more details 4 Click Setup If the top page is not displayed Confirm that http bbhgw webpage...

Page 16: ...e It is necessary to enter the following data when using PPPoE connection Enter the user name and password referring to the ISP s setup information Enter the service name access concentrator name DNS...

Page 17: ...Connection Follow the steps below to set up PPPoE connection 1 Select ISP Registration 2 Click Register Edit on the ISP registration list 3 Select PPPoE Private address 192 168 0 2 Private address 19...

Page 18: ...er Name and Password and if specified by the ISP enter Service Name Access Concentrator Name DNS Server 1 2 and or Domain Name See the ISP s setup information To return to the original settings click...

Page 19: ...on list 3 Select DHCP 4 Enter ISP Name Enter no more than 20 characters In the example right abcde has been entered 5 If specified by the ISP enter Device Name Gateway DNS Server 1 2 and or Domain Nam...

Page 20: ...rt 6 When setup is complete click Save and Go to Connection Mode The connection mode page is displayed 7 Select the ISP entered in step 4 8 When setup is complete click Save The entered information is...

Page 21: ...ry if you are instructed by the ISP to enter the value of the IP address or gateway address into setup information 1 Select ISP Registration 2 Click Register Edit on the ISP registration list 3 Select...

Page 22: ...DNS server 1 2 and if specified by the ISP enter the Domain Name See the ISP s setup information To return to the original settings click Cancel 6 When setup is complete click Save and Go to Connecti...

Page 23: ...e AC cord into the AC adaptor socket and the plug into an outlet The camera will be turned on automatically Camera Automatic Setup If a Panasonic Network Camera Customer provided is connected and the...

Page 24: ...nnected If a single camera page is displayed setup is completed If an exclamation mark is displayed click it and the camera s password window is displayed Perform the settings on each page Setting All...

Page 25: ...sending or receiving data a key mark when camera authentication is set up or a blue unmarked window is displayed In this case after checking that the camera s power supply and connections are correctl...

Page 26: ...eck that the LAN card and driver are installed on the PC Problem Cause and Remedy A website is not displayed Check that the website address was correctly entered in the web browser s address bar Check...

Page 27: ...ge 123 of Operating Instructions on the CD ROM If it has not been assigned check that the PC has been set to Obtain IP Address Automatically and restart the PC If this product s IP address has been mo...

Page 28: ...page it may be necessary to set the web browser see page 122 of Operating Instructions on the CD ROM JavaScript is used on the setup page If JavaScript is disabled in the web browser settings enable...

Page 29: ...d Ensure that it is checked An IP address 192 168 0 151 192 168 0 166 is used for automatic camera registration Check that the IP address is not the same as an IP address for any of the other network...

Page 30: ...nistrator Only Access may be prohibited in Security on the setup page See Filtering Log in Log on the setup page and make it accessible When connecting this product under another router use a router t...

Page 31: ...ar http bbhgw webpage cannot be used 2 Update when the update firmware window is displayed see page 95 of Operating Instructions on the CD ROM The system has detected a conflict for IP address with th...

Page 32: ...unit to the Panasonic Consumer Electronics Company listed below or to executive or regional sales offices These locations do not repair consumer products When you ship the product Panasonic Servicente...

Reviews: