DVQP2730XA
W0222AM2082 -AV-PS
ENGLISH
Model No.
AW-HE20KP
Model No.
AW-HE20WP
Model No.
AW-HE20KE
Model No.
AW-HE20WE
Model No.
AW-HE20KED
Model No.
AW-HE20WED
Operating Instruction
Operations and Settings
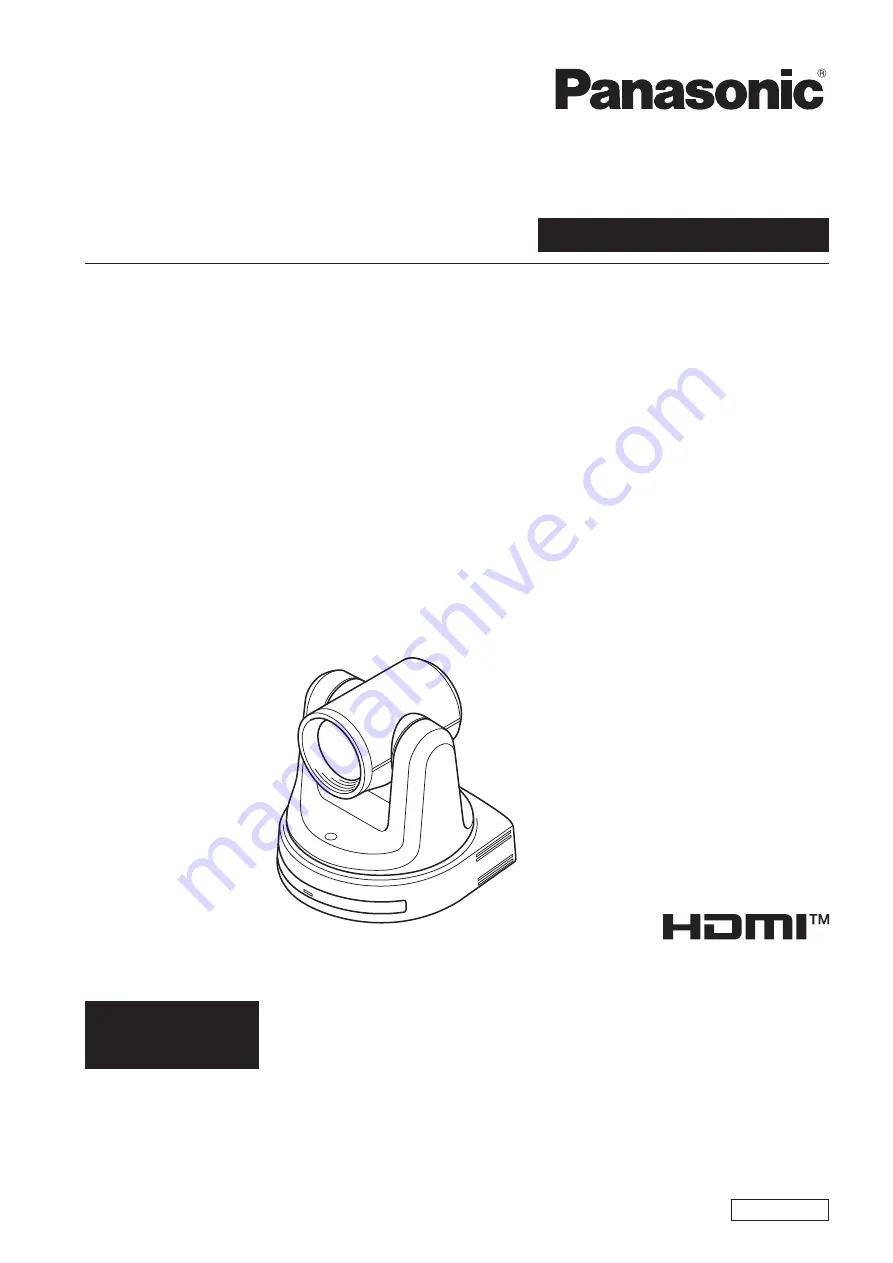
HD Integrated Camera
Operations and Settings
Operating Instructions
This "Operations and Settings" describes how to operate the unit and how to
establish its settings.
For more information on how to perform basic operation and installation, refer to
the Operating Instructions "Basics".
Summary of Contents for AW-HE20KE
Page 2: ...2 Operating Instructions Read this first For AW HE20KP AW HE20WP ENGLISH ...
Page 3: ...3 ...
Page 4: ...4 Read this first For AW HE20KE AW HE20WE AW HE20KED AW HE20WED ENGLISH ...
Page 7: ...7 ...
Page 13: ...13 Operation 115 Video 117 IP images 118 USB 118 Specification 119 Index 123 ...
Page 82: ...82 Image Image adjustment and preset position setup Click Setup Image Audio Image ...
Page 126: ...Web Site https pro av panasonic net en Panasonic Connect Co Ltd 2022 ...