Panasonic AG-HMC71E, Operating Instructions Manual
The Panasonic AG-HMC71E is an advanced camcorder that captures stunning high-definition videos. Ensure optimal performance and unleash its full potential by referring to the comprehensive Operating Instructions Manual. You can conveniently download the manual for free from our website, manualshive.com, and explore its rich features and functionalities.
Share
Download


Reviews:
No comments
Related manuals for AG-HMC71E

Legria mini
Brand: Canon Pages: 2

RM-Lite 1.0
Brand: Canon Pages: 163

MVX300
Brand: Canon Pages: 8

PICTBRIDGE DC22
Brand: Canon Pages: 3

Legria HF G25
Brand: Canon Pages: 38

VIXIA HF G10
Brand: Canon Pages: 184
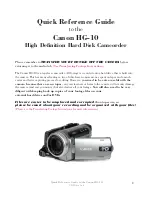
HG-10
Brand: Canon Pages: 20
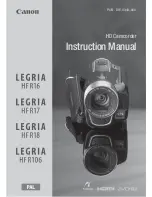
LEGRIA HF R16
Brand: Canon Pages: 172

Pixma G1000 series
Brand: Canon Pages: 72

FS200 - Camcorder - 680 KP
Brand: Canon Pages: 2

SCOOPIC 16- M
Brand: Canon Pages: 39

SCOOPIC 16- M
Brand: Canon Pages: 25
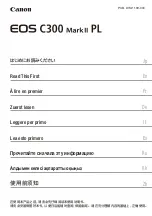
EOS C300 Mark II
Brand: Canon Pages: 42

E200 Series
Brand: Canon Pages: 84

FS30
Brand: Canon Pages: 116

VIXIA HF M30
Brand: Canon Pages: 26

DVR 430HD
Brand: Vivitar Pages: 37

NV-GS5EG
Brand: Panasonic Pages: 260


