DS-3300 2005.03.8 E1-BZ8094-01
Black
Cyan
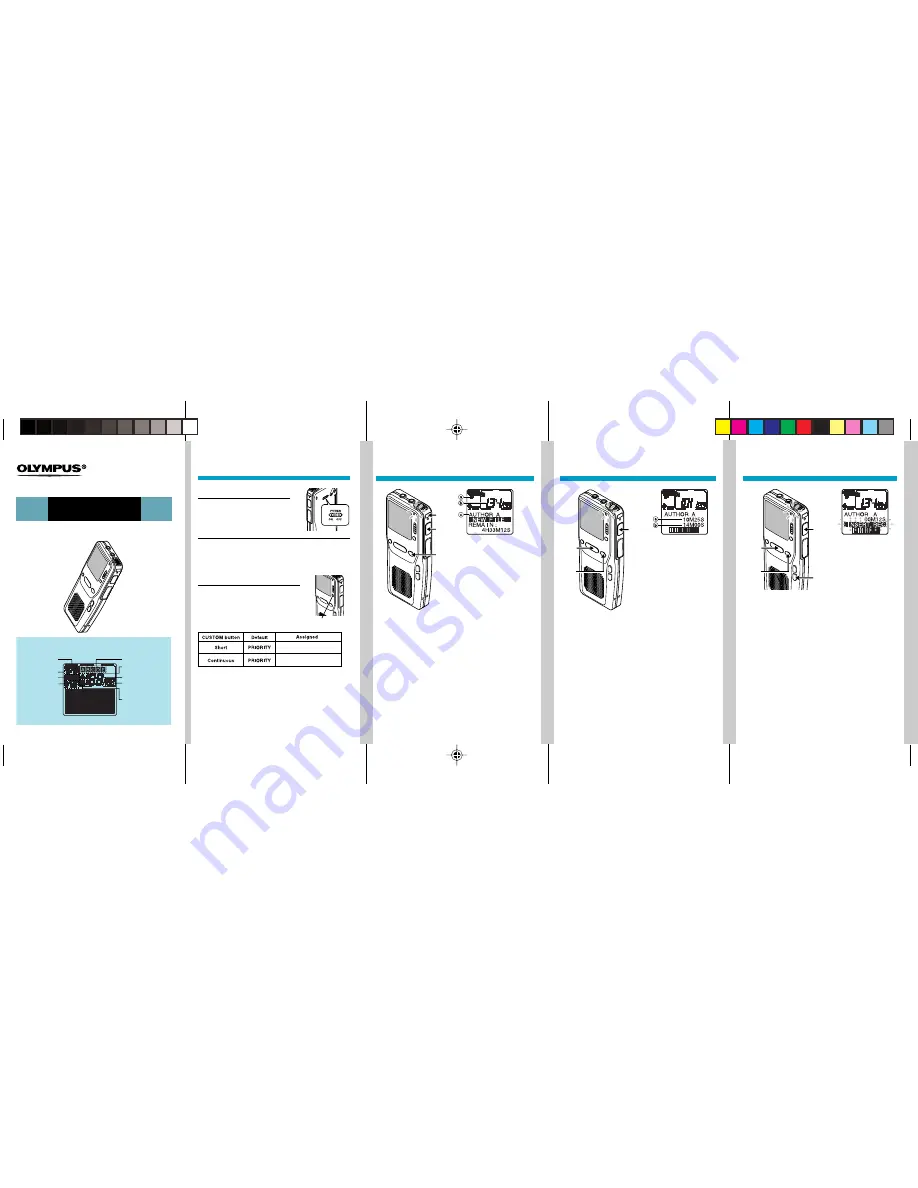
Recording
Overwrite Recording
1
Press the
NEW
button to create a new file.
2
Press the
REC
button to start recording.
The record/play indicator lamp glows red.
Aim the microphone at the sound source.
3
Press the
STOP
button to stop recording.
If you want to append additional recordings to
the same file, press the REC button again.
DIGITAL VOICE RECORDER
DS-3300
Quick Start Guide
Record mode
Battery
indicator
Microphone
sensitivity
VCVA indicator
Folder
Priority
indicator
Current file
Total number
of recorded of
files in the folder
Erase lock
indicator
Getting Started
Power Save Mode
When the recorder is ON but not in use for sometime,
it will switch to power save mode automatically. To
reactivate the recorder again, press any of the buttons
on the recorder.
a
Current recording mode
b
New file number
c
Selected Author ID
Insert Recording
1
Select and play the file you want to
overwrite.
2
Stop playback at the starting point of
overwrite.
3
Press the
REC
button to start overwriting.
The record/play indicator lamp glows red.
4
Press the
STOP
button to stop overwriting.
1
Select and play the file you want to insert
an additional recording into.
2
While playing the file, press the
FOLDER/MENU
button to insert an
additional recording.
“INSERT ?” appears on the display.
3
Press the
REC
button to start inserting
an additional recording.
The record/play indicator lamp glows red.
“INSERT REC” and the remaining recording
time will alternate on the display.
4
Press the
STOP
button to stop inserting
the additional recording.
Display (LCD Panel)
a
Current playback
time
b
Total recording
time of the file
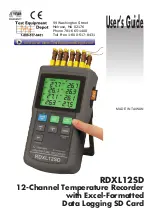
Turning ON the Recorder
Slide the power switch to the ON
position to activate the recorder.
CUSTOM Button (Programmable)
The CUSTOM button can be
assigned two kinds of functions by
being pressed in different ways. By
default, the button is programmed
on PRIORITY for both ways:
2
1
4
3
The following functions can be assigned to CUSTOM button.
- DISPLAY button
- Recording Mode setting button
- Microphone Sensitivity setting button
- VCVA setting button
- PRIORITY setting button
1
2,4
3
3
1
2
CUSTOM Button
*Insert here your settings.