background image

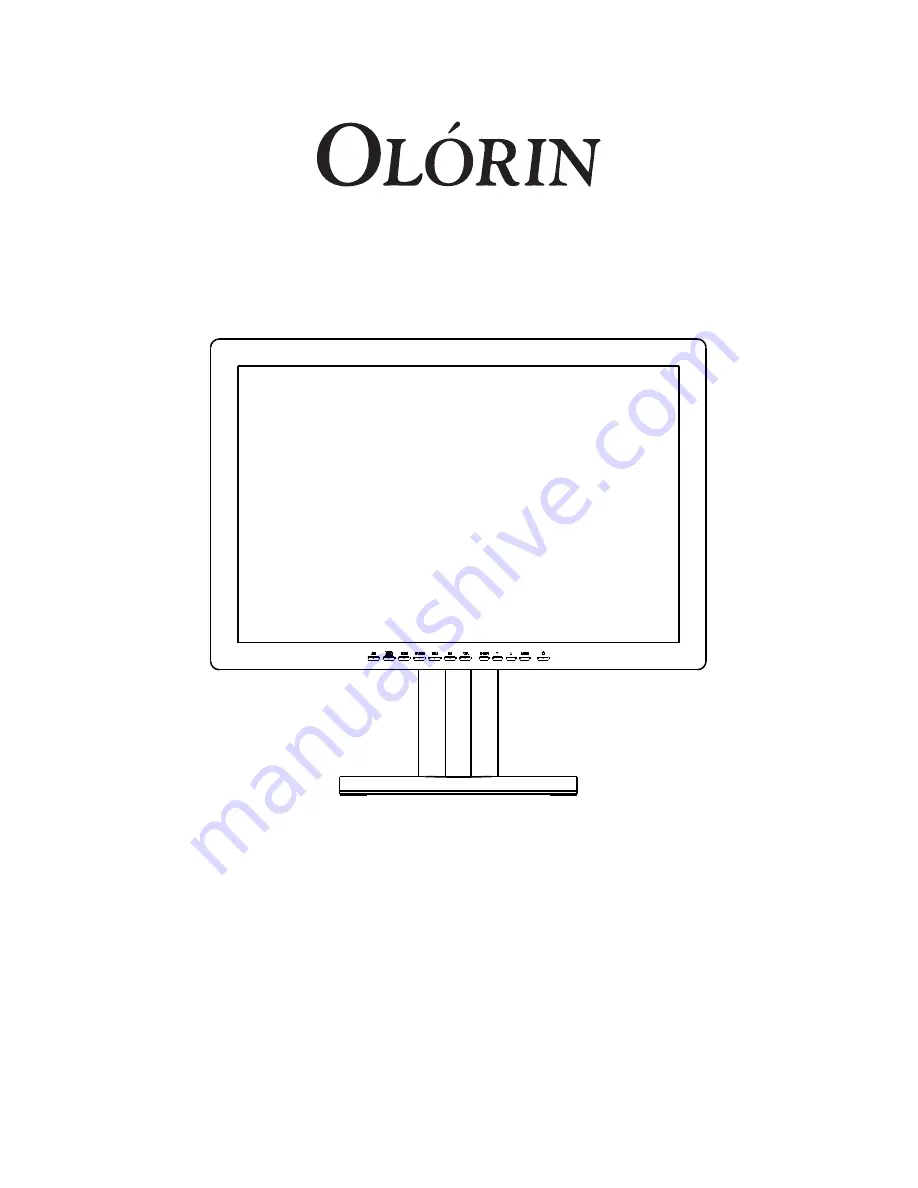
Display User’s Manual

MedicLine 

ML240D & ML420D

www.olorin.com

C onte nts

1. Safety Precautions
2. Equipment Symbols
3. Cleaning Instructions
4. Disposal of the Unit
5. Application and Function Description
6. Features
7. Connection Method
6. Adjustment Method
7. Reference
7. Compatible Signals
8. Specifications
9. Contact Information

Display User's Manual

ML240D

1
4
6
7
8
9

10
12
36
37
38
40

24-inch (61.1cm) Color LCD Display

Thank you for purchasing our color LCD 
Display.

Carefully read this User's Manual and use 

the product properly.  Before using it, also 
read "Safety Precautions."

Keep the User's Manual as close to you as 

possible and in safe custody.

If you have lost the manual, contact your 

dealer.  We will reissue a manual.

The names of companies and products are 

registered brand names or brand names.

Conformity according to the Council Directive 93/42/EEC concerning Medical 
Devices.

Use this product after carefully reading this Manual and understanding the 
contents.
Store this manual with care, as close as possible, so that you can read 
whenever necessary.

Summary of Contents for MedicLine ML240D

Page 1: ...6 24 inch 61 1cm Color LCD Display hank you for purchasing our color LCD splay Carefully read this User s Manual and use Conformity according to the Council Directive 93 42 EEC concerning Medical Devices Use this product after carefully reading this Manual and understanding the contents Store this manual with care as close as possible so that you can read whenever necessary ...

Page 2: ...2 ...

Page 3: ...tification 12 10 Cleaning of the Product 13 11 Disposal of the Product 13 12 Getting started 14 14 Mounting on a wall or LCD arm 15 16 Connection Method 16 17 Input signals 17 18 How to Operate 18 19 OSD Adjustment Functions 19 20 Applicable Signal Timings 25 21 Specifications 28 22 Special Considerations for LCD Panels 32 23 Longer life for your monitor 34 24 Troubleshooting 35 25 Reference 36 26...

Page 4: ...oduct or to other attached devices appliances Throughout this manual the following symbols are used to guide you to the proper use of the product Keep this Users Manual in an easy accessible and safe place for future reading of it If you lose your copy you may request a new one by contacting us at our internet home page www olorin com Olorin reserves the right to change the specifications of this ...

Page 5: ...utiful crystal clear images with high brightness and contrast ratio ML240D and ML420D both have wide viewing angles 178 degrees in both horizontal and vertical directions CR 10 The monitor has Olorin s automatic brightness stabilizing circuit that restrains deteriorations and brightness drifts when power is turned on Gamma curve adjustments can be made with the On Screen Display OSD This is for va...

Page 6: ...use bodily harm possibly even death Most certainly such electrical shock will damage the product The product can also be delivered with certain options installed Such options could be touch panel or other special accessories All other uses of the product including but not limited to attempts such as connection to other types of power sources using other types of mounting or placement of the produc...

Page 7: ...le or in an inclined place which might cause injuries if it falls down Do not place the unit where it is subject to direct sunlight or near any heating device This could cause overheating resulting in damage to the product and eventually causing a fire Cautions when using Do not put the unit in such a place where there is bad air circulation dust humidity oily smoke or steam It may lead to a fire ...

Page 8: ...ely turn off the power and disconnect the plug from the outlet Continuing to use the unit under such condition may lead to electric shock and or fire For assistance contact your local re seller In the event of thunder immediately turn off the power and disconnect the plug from the outlet Lightning strikes may cause electric shock and or fire In the event of broken panel and leaking liquid crystal ...

Page 9: ...ment and inspection Do not remodel or repair It may lead to fire electric shock or injuries Clean the dust inside the display once a year The dust that accumulates inside the unit may lead to fire Ask a re seller for adjustments and inspection Disconnect the plug from the outlet when you do not use the unit for a prolonged period Warning Caution Warning Caution ...

Page 10: ...an Union member states RoHS for use within the European Union member states Tests and Approvals for MedicLine Series Each product in the MedicLine series has additionally been tested for risk of electrical shock and to comply with MDD directive 93 42 EEC class 1 for the European Union member states EN60601 1 EN60601 1 2 IEC 60601 1 Some of the products have also been tested to comply with UL 60601...

Page 11: ...wing measures Reorient or relocate the receiving antenna Increase the separation between the equipment and receiver Connect the equipment into an outlet on a circuit different from that to which the receiver is connected Consult your re seller or an experienced radio TV technician for help FCC Warning To assure continued FCC compliance the user must use a grounded power supply cord and the provide...

Page 12: ...ly improper use of the product by the user or any use under other abnormal circumstances the use or inability to use this product the use for other purposes than the intended use as described in this document malfunctions caused by the combination of connected devices Product identification Affixed to the panel part of the product is a Product Identification Label It is normally affixed in the con...

Page 13: ...n cleaning the cabinet do NOT use thinner benzene or alcohol as these might damage the plastic and cause the paint to peel off Do NOT use organic solvent such as acetone and toluene when cleaning the panel If you use any liquid for cleaning you must first un plug the power to the monitor and not connect it again until you are certain that all the liquid particles have evaporated Failure to do so c...

Page 14: ...n your delivery Standard Items The LCD monitor panel User s manual Warranty booklet AC DC adapter ML240D only AC Power cord DVI to DVI cable Base unit Optional items Remote control ML420D only If any of the above items are found missing or if you wish to order the optional items please contact your reseller ...

Page 15: ...tandards Association VESA standard mounting holes tapped into the rear panel The standard holes are M4 set at 100 mm x 100 mm or 200mm x 100mm apart To mount the Monitor onto the wall or stand please follow the steps below Step 1 Select the location on the wall for the wall mounting bracket Listed VESA Step 2 Carefully mark the locations of the four screw holes in the bracket on the wall Step 3 Dr...

Page 16: ...ch input connectors there are available on your monitor and which cable you should connect depends on your source for the input signal VGA DVI HDMI or Displayport output from a PC If your source is VGA analog then use either a VGA to VGA cable for connection to the VGA connector or a VGA to DVI I cable for connection to the DVI I connector on the monitor If your source is DVI digital then use the ...

Page 17: ...able to a computer with a HDMI digital video output 8 Control input connector GPIO DIN 9 RS 232 9 Calibration connector USB Connect with PC to calibrate Gamma curve 10 HD SD SDI input output connector Connect SDI in connector of the LCD monitor and a SDI out device camcoder DVD etc with 75 Ohm coaxial cable uch key ON OFF ssing Power key turns on the LCD display ssing Power key for more than three...

Page 18: ...r cord is properly attached It turns amber when the monitor goes into a power saving mode Active Off On some models it will be switched off entirely after 10 minutes to avoid that the lamp will distract your vision C onte nts 1 Safety Precautions 2 Equipment Symbols 3 Cleaning Instructions 4 Disposal of the Unit 5 Application and Function Description 6 Features 7 Connection Method 6 Adjustment Met...

Page 19: ... on the control you selected a submenu of the control with a status bar will appear The status bar indicates in which direction from the factory preset your adjustments are being made Adjust the setting by using the arrow keys When you have finished making the adjustments the setting is saved automatically by exiting the control function If you do not touch the Touch keys for 20 seconds the OSD is...

Page 20: ... channel Black Level Adjust the black level offset for the Main channel Contrast Adjust the contrast for the Main channel Saturation Adjust the saturation for the Main channel Hue Adjust the hue for the Main channel Sharpness 2 Adjust the sharpness for the Main channel Display H Position Adjust horizontal screen position for Main channel V Position Adjust vertical screen position for Main channel ...

Page 21: ...et noise reduction to high Medium Set noise reduction to medium Low Set noise reduction to low Film Mode The video chip has the ability to take 3 2 film sequences of 24Hz original film content and convert this to an output of 48Hz or 72Hz vertical refresh rate This feature reduces the noticeable uneven judder seen on a 3 2 film that is converted to 60Hz 3 2 Set film mode to 3 2 3 2 2 2 Set film mo...

Page 22: ... SDI O O O O O O O X Main menu chart Color Mode Settings Color Temp Cool Select a cold color temperature of about 9300K Neutral Select a neutral color temperature of about 6500K Warm Select a warm color temperature of about 5400K User In a separate sub menu you can set individual values for Red Green and Blue Gamma Gamma 1 8 2 4 Set Gamma curve to 1 8 2 0 2 2 or 2 4 Monochrome Turn off color input...

Page 23: ... corresponding to Primary channel POP Position CENTER Adjust the position for Sub channel display to center TOP Adjust the position for Sub channel display to top BOTTOM Adjust the position for Sub channel display to bottom PIP Display Extended Only available if the PIP mode selected is Extended POP Size Main Size Adjust the full size for Primary display channel POP Size Adjust the full size for S...

Page 24: ...iming settings Execute Execute Blind mode timing that wasn t in the preset timing table Save Timing Save customized timing Clear timing Erase customized timing LED Drive Adjust LED lights brightness of touch and power indicators Recall If you execute Recall the monitor will be reset to values that are default values at time of delivery it will also remove any saved User settings ALS on off Auto Lu...

Page 25: ...8 08 72 19 800 600 46 88 75 00 800 600 53 67 85 06 XGA 1024 768 48 36 60 00 1024 768 56 48 70 07 1024 768 60 02 75 03 1024 768 68 68 85 00 SXGA 1280 1024 63 98 60 02 1280 1024 79 98 75 03 UXGA 1600 1200 75 0 60 0 WUXGA 1920 1200 73 4 59 5 720 x 400 720 400 31 47 70 09 1024 x 940 1024 940 30 69 30 1024 x 1024 1024 1024 31 22 25 Mac 640 480 35 0 67 832 624 49 7 75 1024 768 60 2 75 576 50i PAL 15 625...

Page 26: ...47 70 08 XGA II 720 350 37 96 85 04 SVGA 800 600 35 16 57 16 VESA 800 600 37 88 60 02 MAC 800 600 48 83 66 89 SVGA 800 600 48 08 72 19 VESA 800 600 46 88 75 800 600 53 67 85 06 IBM 8514A i 1024 768 35 52 43 48 VESA 1024 768 47 74 59 94 XGA 1024 768 56 48 70 1024 768 57 7 72 VESA 1024 768 60 02 75 03 1024 768 68 68 85 MAC 1152 864 67 5 75 VESA 1280 960 60 60 1280 960 75 75 1360 768 47 71 60 015 128...

Page 27: ...27 Applicable Video Signal Timings S video Composite YPbPr RGBS HDMI NTSC NTSC 1080p VGA 60hz 1080p PAL PAL 1080i SVGA 60hz 1080i 720p XGA 60hz 720p NTSC SXGA 60hz NTSC PAL NTSC PAL ...

Page 28: ...5V plus minus 2 HDMI 19 pin HDMI connector 3 DVI 24 pin DVI connector Conpliant with DVI 1 0 4 S Video connector Color signal 1Vp p 75 Ω Brightness signal 1Vp p 75 Ω composite sync signal 5 BNC connector Composite signal 1Vp p 75 Ω 6 BNC connector Compnent signal Y 0 714Vp p 75 Ω Pb Cb Pr Cr 0 35Vp p 75 Ω RGBS signal R G B 0 714Vp p 75 Ω S Sync 2 5Vp p 7 BNC connector SDI signal compliant to SMPTE...

Page 29: ...604x425x251 Product color White w gray front bezel Base unit Height adjustable Yes Tilting and swivel Tilt only Mounting Kensington lock No VESA standard 200 x 100 mm 100 x 100 mm Please note that values for Brightness Contrast Response time and Viewing angles are nominal values Due to delicate manufacturing techniques these values can be different for each individual monitor External Dimensions w...

Page 30: ... 5 5V plus minus 2 HDMI 19 pin HDMI connector 3 DVI 24 pin DVI connector Conpliant with DVI 1 0 4 S Video connector Color signal 1Vp p 75 Ω Brightness signal 1Vp p 75 Ω composite sync signal 5 BNC connector Composite signal 1Vp p 75 Ω 6 BNC connector Compnent signal Y 0 714Vp p 75 Ω Pb Cb Pr Cr 0 35Vp p 75 Ω RGBS signal R G B 0 714Vp p 75 Ω S Sync 2 5Vp p 7 BNC connector SDI signal compliant to SM...

Page 31: ...Appearance Net weight 30 kg Measurements WxHxD 1020x613x120 Product color Black Base unit Height adjustable No Tilting and swivel No Mounting Kensington lock No VESA standard 200 x 200 mm 400 x 200 mm Please note that values for Brightness Contrast Response time and Viewing angles are nominal values Due to delicate manufacturing techniques these values can be different for each individual monitor ...

Page 32: ...hite it could come down to 5000K Typical values In product specifications there are values for brightness contrast view angles etc The values are given as typical values meaning that actual value for any given product can vary by up to 20 from this value For instance a product specified to give 300 candela as typical maximum value for brightness may for individual samples vary from 240 candela to ...

Page 33: ...een saver that moves around on the screen so that no static image is constantly shown Slow operating in cold environments The thin film transistors contain some liquid that will cause them to operate slowly in cold temperatures When temperature inside the panel has increased to normal room temperature the speed will be up to normal again Cable length and input signal When using long cables from th...

Page 34: ...e of seconds PLEASE NOTE THAT A SCREENSAVER WILL NOT SWITCH OFF THE BACKLIGHT LAMPS AND THUS IS NOT A SOLUTION FOR LONGER LIFE The higher the luminance is set on the monitor the greater is the wear of the backlight lamps All monitors have the facility to adjust brightness Never set this at maximum since this will cause the lamps to decay faster A setting at 50 will be sufficient for use in office ...

Page 35: ... light If not the adapter might be broken If you have another adapter of the same type you can verify by using that adapter If yes there is a problem with the panel which should be repaired If yes then it is not a power problem Possible signal problem If picture is not stable or not shown at all or you get No Sync then check connection of the signal cable and graphic board settings If cable connec...

Page 36: ...during start up of Windows It sets the detailed information of the color LCD display in the system file in order to achieve Plug Play The video cable must be connected for reading of the information to take place 1 DDC Display Data channel and 2 VESA are registered trademarks of Video Electronics Standards Association DICOM Digital Imaging and Communications in Medicine DICOM is a standard for han...

Page 37: ...37 Contact Olorin AB Marios gata 11 SE 434 37 Kungsbacka Sweden Phone 46 0 300 566 780 Fax 46 0 300 566 789 E mail info olorin com www olorin com OLM0003EN_1206 ...

Reviews: