


www.oceasoft.com | [email protected]
P
ROFESSIONAL
M
EASUREMENT
T
ECHNOLOGY
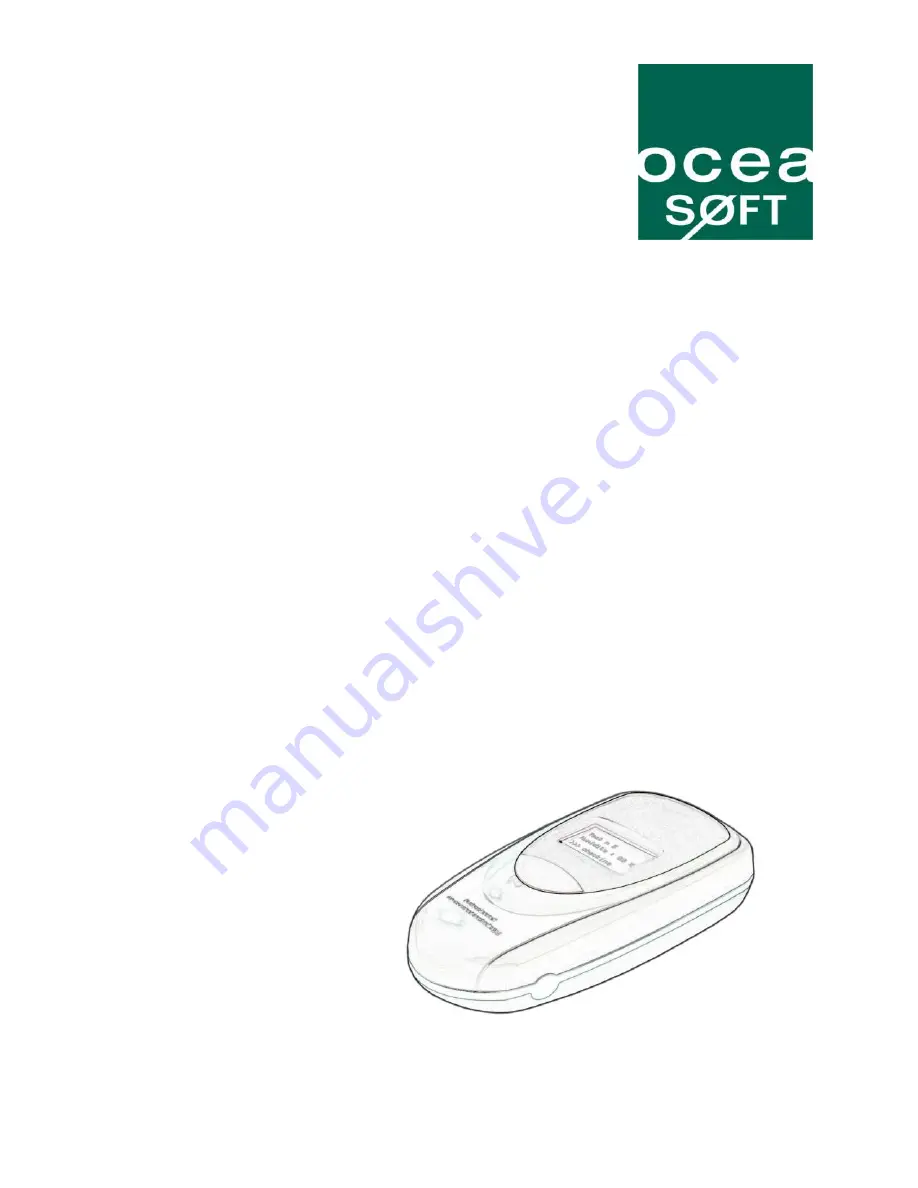
Cobalt
®
2 Temperature
Monitor
(Internal and External Digital Probes)
Installation guide
The Ocea Soft Cobalt 2 is a cutting-edge electronic device designed to enhance your user experience. To ensure a hassle-free installation process, we provide a comprehensive and easy-to-follow installation manual. This crucial manual is available for free download exclusively at manualshive.com, allowing you to maximize your product's potential effortlessly.
www.oceasoft.com | [email protected]
P
ROFESSIONAL
M
EASUREMENT
T
ECHNOLOGY
Cobalt
®
2 Temperature
Monitor
(Internal and External Digital Probes)
Installation guide


