


1
INSTALLATION GUIDE FOR
SUN KEYBOARD & MONITOR SPLITTERS
VOPEX-2KSUN
VOPEX-2KM-SUN
VOPEX-3KSUN
VOPEX-3KM-SUN
INTRODUCTION
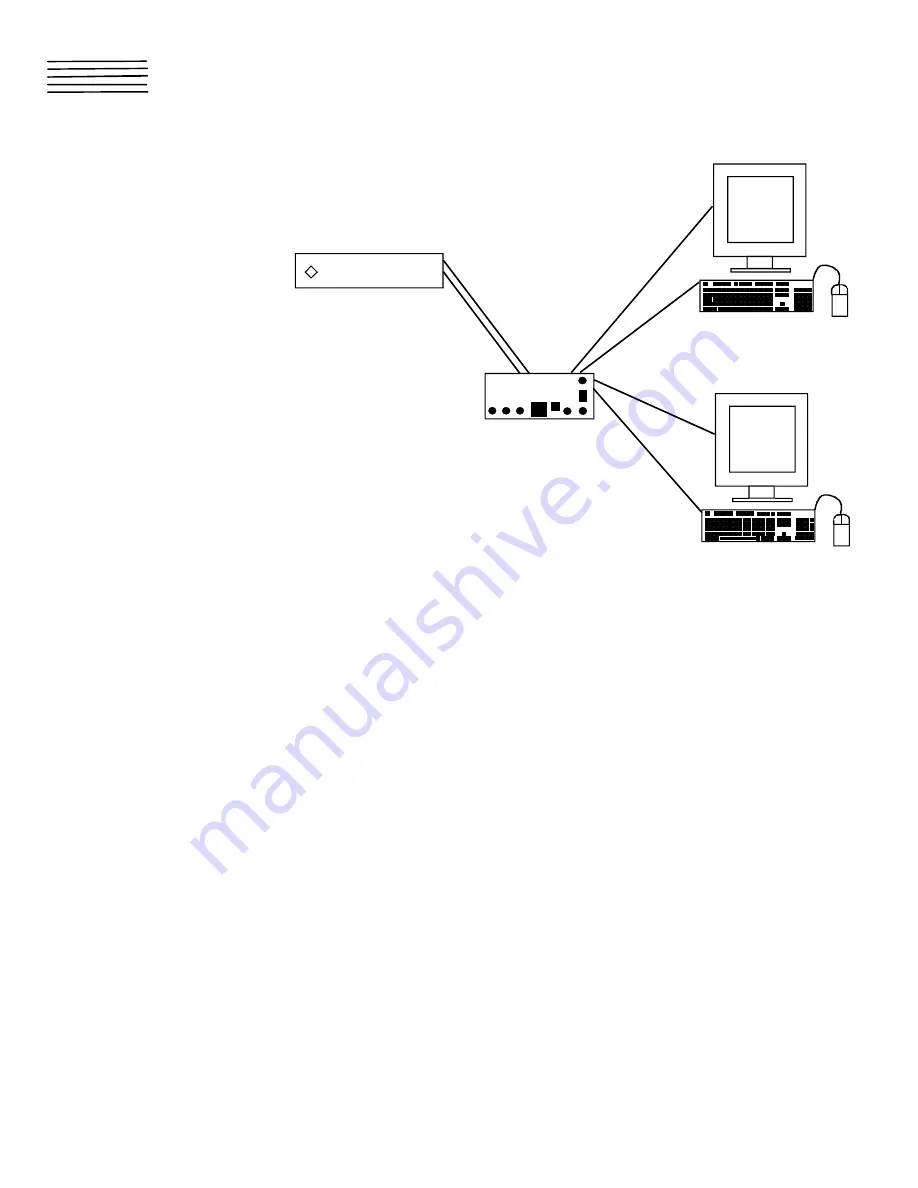
This VOPEX unit allows (1) SUN Workstation to support multiple users
(up to 3 – depending on the VOPEX model)
The VOPEX has 3 basic modes of operation: Instant Auto, Delayed Auto
and User. Press the mode button on the front panel of the VOPEX to
select the desired mode. The LED’s on the front panel show which mode
has been selected (see Fig 1). Only 1 mode can be selected at a time.
WARNING!
DO NOT PRESS THE MODE BUTTON WHILE THE COMPUTER IS BOOTING OR
WHILE AN APPLICATION IS LOADING.
USER MODES
The following is a description of the three available modes.
Instant Auto Mode
Any user can gain immediate access to the computer by pressing a key or moving a mouse.
Delayed Auto Mode
To gain access to the computer, a user need only press a key on the keyboard or move the mouse when the BUSY LED (located on the front
panel of the VOPEX) is not lit. When the active user’s keyboard and mouse are idle for 5 seconds, the VOPEX releases that port, and the BUSY
LED goes out. Any user can now gain immediate access to the computer by pressing a key or moving a mouse.
User Mode
The VOPEX has a User Mode for each keyboard port (USER 1, USER 2, etc..). When a User Mode is selected, then only the user connected to
that port can access the computer. All other users are locked out until the mode is changed.
MONITOR
All monitors connected to the VOPEX display exactly the same information. For example, if the user connected to Port 1 is inputting data, then all
users connected to the VOPEX see what the user is entering.
KEYBOARD CONFIGURATION
All keyboards connected to the VOPEX automatically have the same keyboard configuration as the user currently accessing the computer. For
example, if the user currently accessing the computer changes a status key (such as CAPS LOCK or NUM LOCK), then all keyboards will
immediately be updated.
AVAILABLE OPTIONS
VOPEX models are available that support any combination of the options:
1. 2 or 3 users
2. 13W3 video
3. 60 or 50 Hz and 110 or 220 VAC
MAN032
Revised 10/29/98
NTI
NTI
NETWORK
TECHNOLOGIES
INCORPORATED
Tel:330-562-7070
Fax:330-562-1999
1275 Danner Dr
Aurora, OH 44202
S U N W O R K S T A T I O N
V O P E X - 2 K M - S U N


