1
Important Safety
Instructions
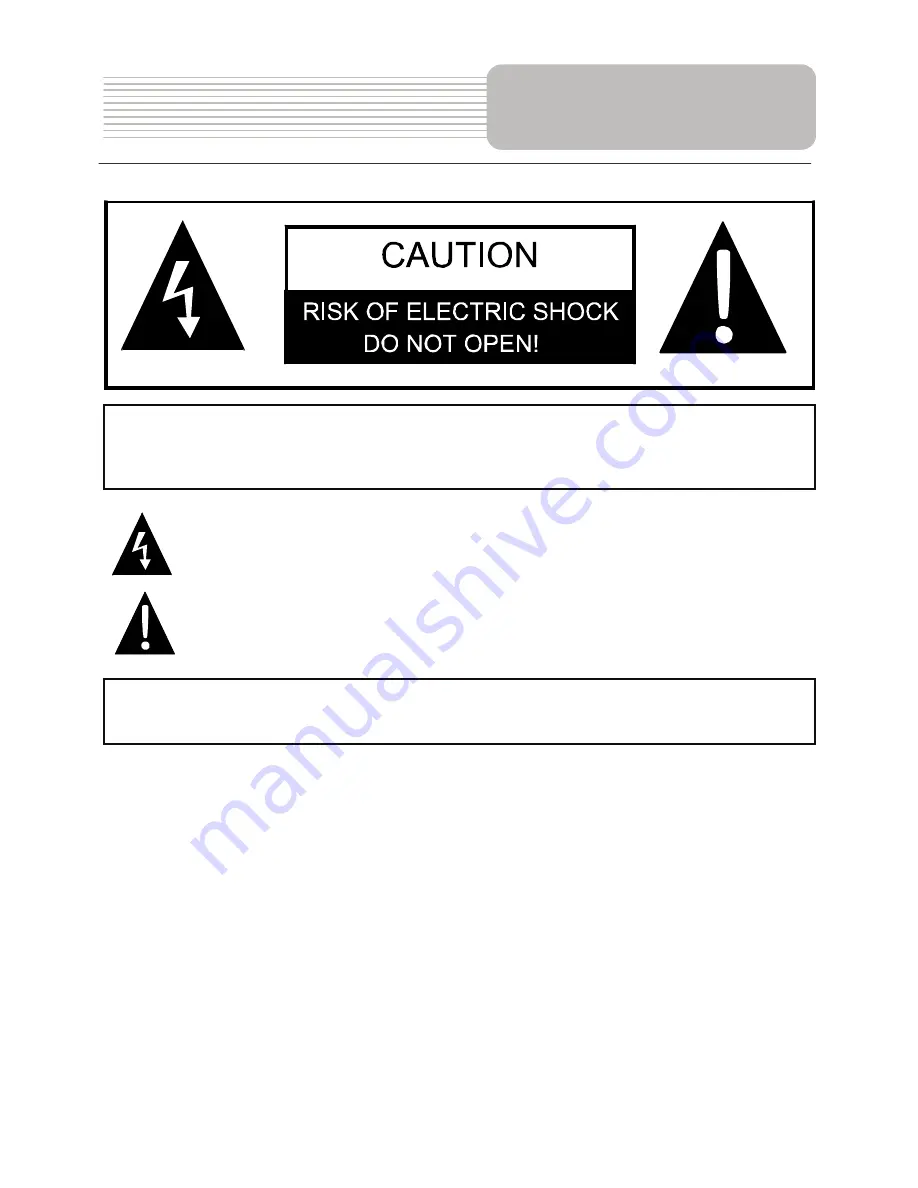
CAUTION:
TO REDUCE THE RISK OF ELECTRIC SHOCK, DO NOT
REMOVE COVER (OR BACK). NO USE-SERVICEABLE PARTS INSIDE.
REFER SERVICING TO QUALIFIED SERVICE PERSONNEL.
The lightning flash with arrowhead symbol, within an equilateral triangle, is
intended to alert the user to the presence of uninsulated “dangerous voltage”
within the product’s enclosure that may be of sufficient magnitude to constitute
a risk of electric to persons.
The exclamation point within an equilateral triangle is intended to alert the user
to the presence of important operating and maintenance (servicing)
instructions in the literature accompanying the appliance.
WARNING:
TO REDUCE THE RISK OF FIRE OR ELECTRIC SHOCK,
DO NOT EXPOSE THIS APPLIANCE TO RAIN OF MOISTURE.
POWER SUPPLY
:
Connect the supplied adapter to the side of the unit in the slot marked “DC 5V IN”. Plug
the two-prong end of the power cord to an AC100-240V outlet. If you have difficulty
inserting the plug, turn it over and reinsert it. If the unit will not be used for a long time,
disconnect the plug from the outlet.
NOTE:
Before plugging the power cord into an AC outlet, make sure that all the connections
have been made.
CAUTION:
These servicing instructions are for use by qualified service personnel only.
To reduce the risk of electric shock, do not perform any servicing other than that
contained in the operating instructions unless you are qualified to do so.
Refer to service manual for servicing instructions.