NETGEAR, Inc.
350 East Plumeria Drive
San Jose, CA 95134, USA
February 2013
Trademarks
NETGEAR, the NETGEAR logo, and Connect with Innovation are
trademarks and/or registered trademarks of NETGEAR, Inc. and/or its
subsidiaries in the United States and/or other countries. Information is
subject to change without notice. © NETGEAR, Inc. All rights reserved.
Intended for indoor use only.
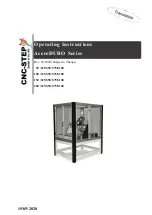
AC1450 Smart WiFi Router
Installation Guide
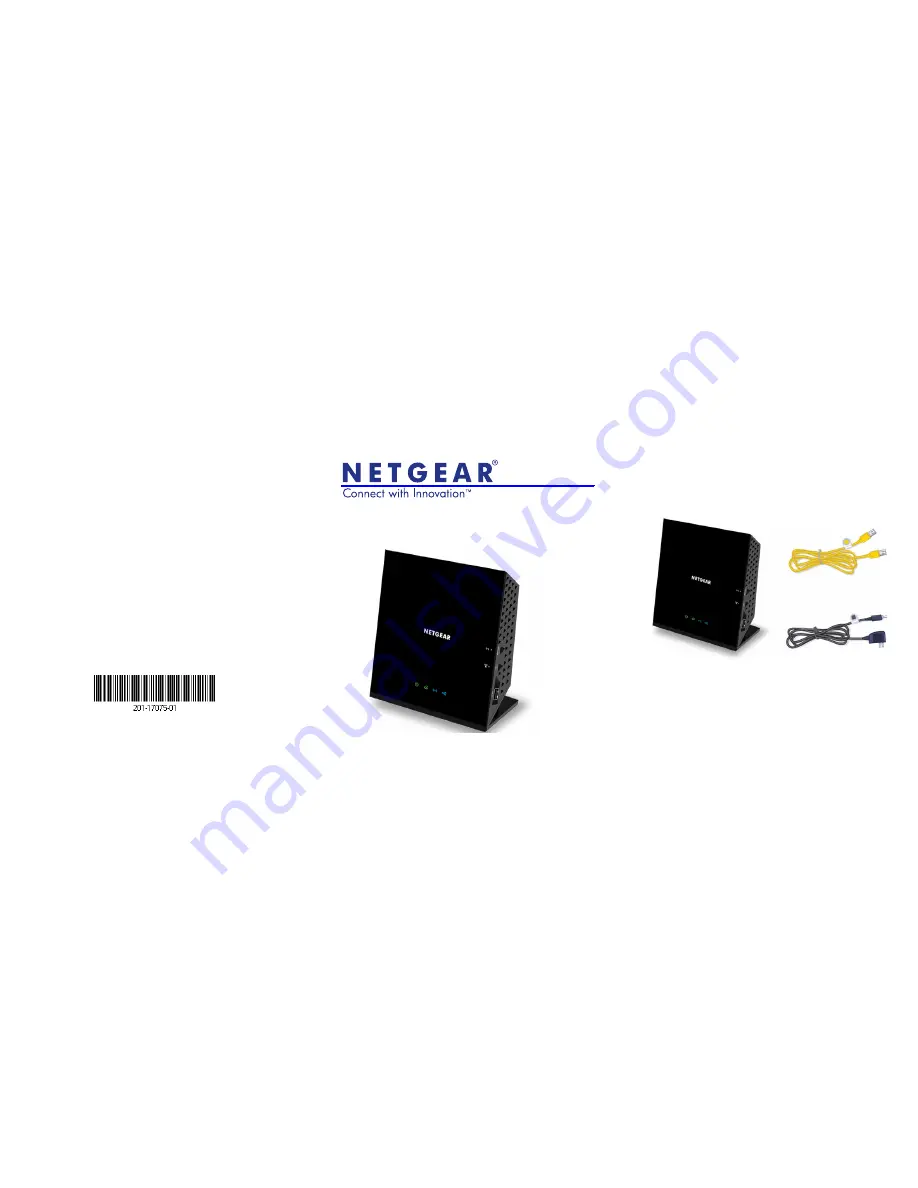
Package Contents
The box should contain the following items. If any items are
incorrect, missing, or damaged, contact your NETGEAR dealer.
Important
: Be sure to remove the plastic film from the router
before using it.
Ethernet cable
Power adapte
r
AC1450 Smart WiFi Router