


1/33
SI 72
FOLD AND
INSERTING MACHINE
SI 72
OPERATOR MANUAL
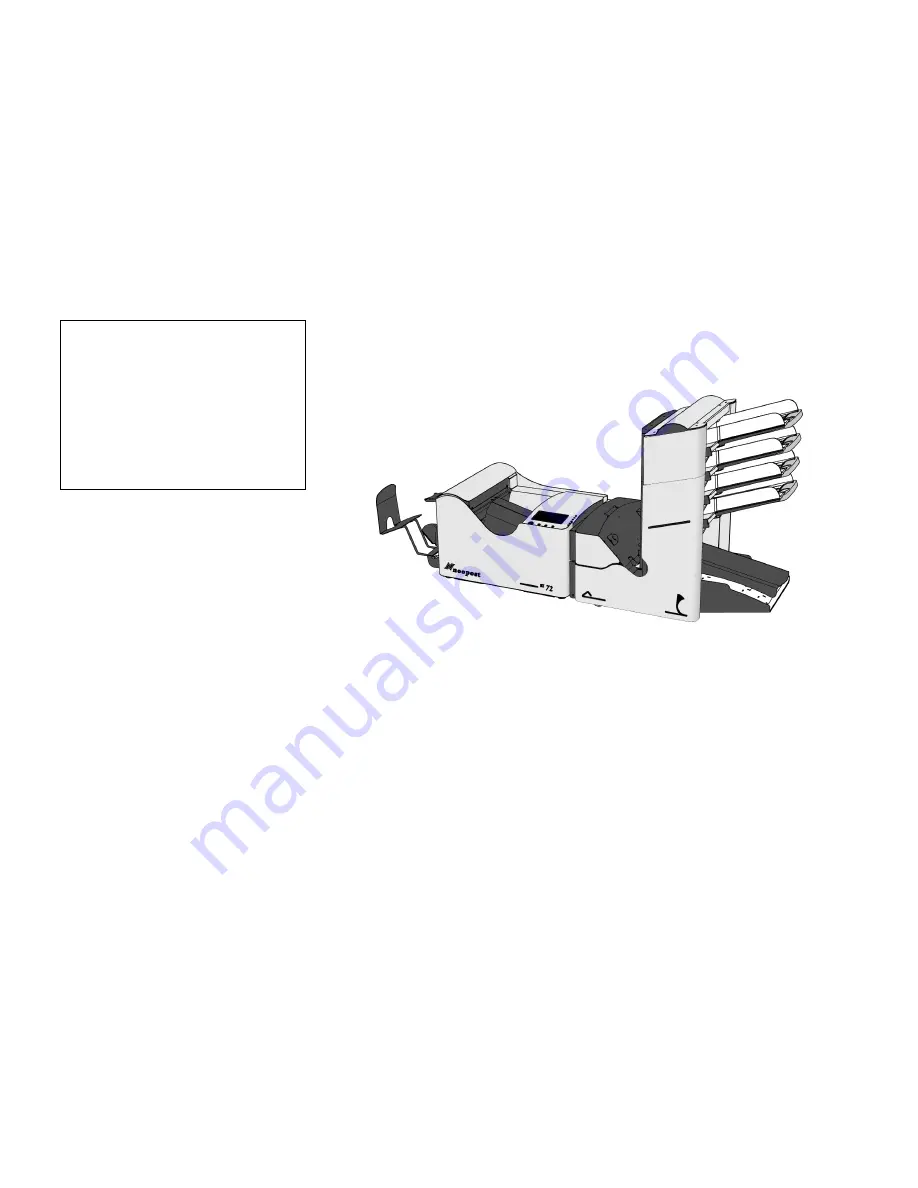
Fig. 1
1. FUNCTION
The machine inserts documents into envelopes and then seals
and stacks the envelopes. Automatic monitoring ensures the
correct number of inserts per envelope.
The machine is equipped with a variety of special features as
document thickness detection, programmable jobs,
Load “N Go
TM
, FlexFeed
TM
, double feed control,
hopper swap, multifeed, daily mail, IntelliDeck
TM
and
PowerFold
TM
.


