background image


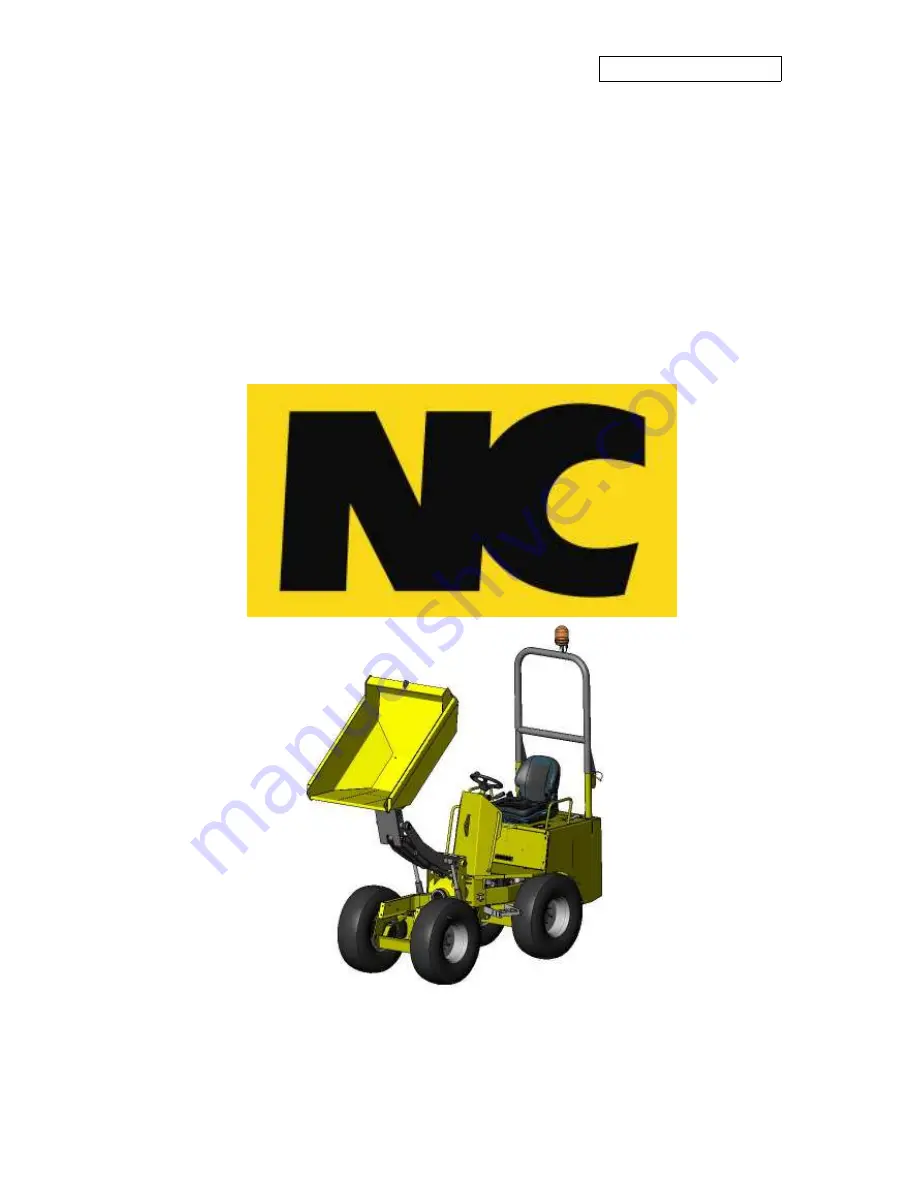
HT1.0 Site Dumper

HT1.0 Site Dumper

HT1.0 Site Dumper

HT1.0 Site Dumper    

MAINTENANCE 

MAINTENANCE 

MAINTENANCE 

MAINTENANCE     

INSTRUCTION 

INSTRUCTION 

INSTRUCTION 

INSTRUCTION 

MANUAL

MANUAL

MANUAL

MANUAL


NC ENGINEERING (HAMILTONSBAWN) LTD 

2 Killyrudden Road,   Hamiltonsbawn,   Co Armagh,    BT61 9SF 

Tel: 028 38871970   Fax:  028 38870362 

email:  

[email protected]


www.nc-engineering.com 

REVISION B 

ORGINAL


INSTRUCTIONS


Summary of Contents for HT1.0

Page 1: ...TENANCE MAINTENANCE INSTRUCTION INSTRUCTION INSTRUCTION INSTRUCTION MANUAL MANUAL MANUAL MANUAL NC ENGINEERING HAMILTONSBAWN LTD 2 Killyrudden Road Hamiltonsbawn Co Armagh BT61 9SF Tel 028 38871970 Fa...

Page 2: ...ore it is very important that your new equipment operations and instructions are explained to you by a Dealer Representative following delivery of your equipment This will explain the operating contro...

Page 3: ...rations used in this manual are correct at the time of issue NC reserves the right to make changes in this manual at any time without prior notice Copyright 2010 NC Engineering Hamiltonsbawn Ltd All r...

Page 4: ...fety Decals Descriptions 12 Introduction 14 Technical Specification 15 Service Record 23 Service Schedules 24 Torque Settings 27 Fluids Lubricants 30 Safety Information 35 Maintenance 36 Battery 37 Ai...

Page 5: ...tion 67 Engine exhaust smoke excessive Black smoke 68 Engine exhaust smoke excessive White Blue smoke 69 Engine will not shut off 70 Fuel consumption excessive 71 Fuel Oil leaking from exhaust manifol...

Page 6: ...en designed and manufactured in accordance with the following European Standards 2006 42 CE Machinery Directive Measured Sound Power Level 98 dB LWA Guaranteed Sound Power Level 99 dB LWA Net Installe...

Page 7: ...ise Level Declaration The noise levels are measured according to ISO6395 1998 The noise level of this machine is LWA 99dB A LPA 82dB A LWA A Weighted sound power level LPA A Weighted sound pressure le...

Page 8: ...rm aha m s 3 98 The above figures are for reference purposes only It is the responsibility of the employer to access vibration exposure based on the actual site conditions and operating practices at t...

Page 9: ...9 Technical Specifications...

Page 10: ...e replaced it can be obtained from the NC Spares department Ref No Symbols Description 1 Engine oil level 2 Engine coolant level 3 Fuel and water sedimentor 4 Axle service points 5 Hydraulic oil level...

Page 11: ...al Descriptions Ref No Symbols Description 15 Grease point Hi lift rams 16 Grease point Centre point articulation casting 17 Grease point Steering ram 18 Fuel filter 19 Hydraulic oil 20 Engine checks...

Page 12: ...eadable at all times if they need to be replaced they can be obtained from NC spares department Part No Symbol Descriptions DEC 1920 002 Hydraulic oil DEC 1920 003 Fuel DEC 1920 010 Ignition key posit...

Page 13: ...evels DEC 1920 034 Skip controls DEC 1920 035 Do not operate controls without reading manual DEC 1920 036 Safe gradients Lower skip before moving Visibility Transport No passengers Towing procedures R...

Page 14: ...f the machine ensure the service tasks are carried out at the correct intervals see service schedules If the machine is working in adverse conditions then the service intervals should be reduced Examp...

Page 15: ...to 0 0098in 0 40mm 0 0157in Valve Stem to Valve Guide Valve Stem Valve Guide Clearance O D I D 0 035 to 0 065mm 0 0014 to 0 0025in 6 960 to 6 975mm 0 2741 to 0 2746in 7 010 to 7 025mm 0 2760 to 0 276...

Page 16: ...n 20 000 to 20 021mm 0 7874 to 0 7882in 0 07mm 0 0028in Timing Gear Crank Gear to Idle Gear 1 Idle Gear 1 to Cam Gear Idle Gear 1 to Injector Pump Gear Idle Gear 1 to Idle Gear 2 Idle Gear 2 to Govern...

Page 17: ...0 51mm 0 0079 to 0 0201in 0 20 to 0 51mm 0 0079 to 0 0201in 0 80mm 0 0315in 0 80mm 0 0315in Camshaft Side Clearance Alignment 0 07 to 0 22mm 0 0028 to 0 0087in 0 30mm 0 0118in 0 01mm 0 0004in Cam Heig...

Page 18: ...n Connecting Rod Alignment 0 05mm 0 0020in Crankshaft Alignment 0 02mm 0 0008in Crankshaft to Crankshaft Bearing 1 Oil Clearance O D I D 0 034 to 0 114mm 0 0013 to 0 0045in 47 934 to 47 950mm 1 8872 t...

Page 19: ...Clearance O D I D 0 029 to 0 091mm 0 0011 to 0 0036in 51 921 to 51 940mm 2 0441 to 2 0449in 51 974 to 52 019mm 2 0462 to 2 0480in 0 20mm 0 0079in Crankpin to Crankpin Bearing Crankpin Crankpin Bearin...

Page 20: ...ance 0 100 to 0 180mm 0 0039 to 0 0071in Inner Rotor to Cover Clearance 0 025 to 0 075mm 0 0010 to 0 0030in Cooling System Item Factory Specifications Allowable Limit Fan Belt Tension 7 0 to 9 0mm 98N...

Page 21: ...iming 60 Hz 1800 min 1 rpm 0 27 to 0 31rad 15 5 to 17 5 Before T D C Pump Element Fuel Tightness 13 73MPa 140kgf cm Delivery Valve Fuel Tightness 10 seconds 13 73 12 75MPa 140 130kgf cm 1991 1849psi 5...

Page 22: ...0315in 16 0mm 0 630in 29 0mm 1 142in 0 05mm 0 0020in 0 20mm 0 0079in 10 5mm 0 413in Starter Electromagnetic Drive Type Commutator Difference Mica Brush O D O D Undercut Length 28 0mm 1 102in Less tha...

Page 23: ...500 Hr Date Hour Reading First 5000 Hr Date Hour Reading First 6000 Hr Date Hour Reading First 6500 Hr Date Hour Reading First 7000 Hr Date Hour Reading First 7500 Hr Date Hour Reading First 8000 Hr D...

Page 24: ...Inspect Fuel Injection Timer 6 Check 1 The oil level should be checked twice a day for the first 200 hours then once a day is sufficient 2 Check change if noticeable performance related problems due t...

Page 25: ...drostatic Drive Hydraulics Pre start Cold Checks Operation 10 Hr 50 Hr 100 Hr 500 Hr 1000 Hr Hydraulic oil level Check Return to tank filter element Change Suction strainer wash with paraffin if neces...

Page 26: ...on 10 Hr 50 Hr 100 Hr 500 Hr 1000 Hr Skip Pivot Pins 1 Pin 2 No Points Hi Lift Arm Pins 4 No Points Parallel Link Arm Pins 2 No Points Tipping Ram Pins 2 No Pins Hi Lift Rams 4 No Points Centre Point...

Page 27: ...3 4 117 87 9 16 14 3 13 16 170 125 5 8 15 9 15 16 238 175 3 4 19 1 1 8 407 300 7 8 22 2 1 5 16 650 480 1 25 4 1 1 2 970 715 1 1 4 31 7 1 7 8 1940 1430 1 1 2 38 1 2 1 4 3390 2500 METRIC Grade 8 8 Bolts...

Page 28: ...rew and bolt material grades are shown by numbers punched on the screw and bolt heads Prior to tightening be sure to check out the numbers as shown below Punched number Screw and bolt material grade N...

Page 29: ...5 Idle gear shaft screws M6 x 1 0 9 8 to 11 3 1 00 to 1 15 7 2 to 8 3 Fan drive pulley screw M14 x 1 5 235 4 to 245 2 24 0 to 25 0 173 6 to 180 8 Bearing case cover mounting screw M6 x 1 0 9 8 to 11...

Page 30: ...I4 however a minimum of API CF grade can be used NC do not recommend the use of high sulphur diesel fuels if these are used an engine oil with a TBN Total Base Number of 10 or greater must be used Sup...

Page 31: ...or industrial waste water for conditioning the coolant Specifications of the water quality are made by the local water board The water must be conditioned if it deviates from the above specification...

Page 32: ...lead to greater leakage uneven running and poor fuel delivery WATER Water can enter the fuel through poor storage or careless handling and will condense in fuel tanks The smallest amounts of water can...

Page 33: ...ended level If the dumper runs out of fuel it will be necessary to bleed the fuel system before the next engine start Fuel gauge Low fuel light 1 Loosen the vent plug on the top of the Fuel Injection...

Page 34: ...HVZ 46 High Viscosity Blue Colour DIN51524 3 Viscosity index 150 NC use a UV dye in the hydraulic oil for testing for leaks this colours the oil a green brown DONOT USE ZINC FREE HYDRAULIC OILS GENERA...

Page 35: ...t heavy objects on your own WHEN REPAIRING Safety prop raised tipped skips Always wear eye protection Always wear ear protectors when in a noisy environment Release any pressure from the hydraulic sys...

Page 36: ...ect a pressurised water jet on electrical equipment CHANGING OILS Ensure the machine is on solid level ground Only carry out lubrication tasks in a clean area free of contamination of the air Draining...

Page 37: ...terminals at the same time or allow them to touch the positive terminal E and the vehicle chassis simultaneously When charging the battery hydrogen gas is produced Ensure the area is well ventilated t...

Page 38: ...gine was to be started or the electrical system activated When the battery isolator lever is in the ON A position the machine electrical circuit is fully activated The electrical circuit is isolated i...

Page 39: ...ial from the pre cleaner drop tube To service the air cleaner first clean its surrounding area and then rotate the end cover D and then pull away to open the housing Remove the primary filter E by pul...

Page 40: ...cocks one on engine D and one on the radiator E Allow the coolant to drain into a suitable container Flush the system by pouring clean water into the radiator filler neck Screw closed both drain cock...

Page 41: ...clean source and the container is clean Check the oil level frequently when adding oil too much oil can damage the engine Allow approx 5 minutes for the oil to drain to the sump before checking the le...

Page 42: ...t engine damage Through the filler point fill the engine with the recommended oil to the MAX mark on the dipstick Wipe up any spilt oil and replace the filler cap ensuring it is secure Operate the eng...

Page 43: ...this condition the oil level should always be above the suction strainer in the tank ideally just below the top A of the visual indicator Do not over fill the hydraulic tank as it needs room to vent a...

Page 44: ...lug The dumper may only be towed using suitable towing equipment such as a towing bar or cable These must be fixed to either the towing hitch optional or the tying down eyes at the front or rear axle...

Page 45: ...ependant and for a smoother operation a restrictor is used in the hydraulic tank return line ensuring softer engagement of the brakes The main brake system on this dumper is provided by hydrostatic re...

Page 46: ...tive pressure of 0 5 bar to the pump This pre charge improves start up and cold start characteristics of the dumper and the risk of cavitation can significantly reduced The gear pump draws oil through...

Page 47: ...47...

Page 48: ...f both ends do not have a plastic cap fitted to seal them Fit new valves pumps motors filters etc if all the ports have not been plugged Use dirty containers for oil storage Use dirty containers or fu...

Page 49: ...e the bung C on the underside of the tank and drain the oil into a suitable container approx 30L of volume Ensure tank is free of contamination and clean if required Replace the filter according to th...

Page 50: ...ed Remove the element D it may be a bit tight to remove from its seating in the housing Replace with a new element and refit the components B C Crank the engine over but do not let it start this will...

Page 51: ...the fuel Store the machine on flat level ground which is not liable to flooding standing water or airborne contamination Smear any exposed metal parts hydraulic ram rods with grease Remove the batter...

Page 52: ...Belt driven The alternator is very sensitive to temperature High temperatures will affect the performance of the alternator and may eventually cause damage to it Never remove the exhaust lagging as th...

Page 53: ...53...

Page 54: ...harts are designed to identify causes through a process of elimination starting with the simplest and most easily rectified faults There are many reasons why the dumper may malfunction Due to the leve...

Page 55: ...1 Bar Air intake or exhaust system is blocked Visually check the air intake and exhaust intake for blockage or obstruction remove as required Check the air filter elements for signs of blocking replac...

Page 56: ...cted properly Verify that the fuel return line is not obstructed and connected to the top of the fuel tank Check the fuel inlet restriction Maximum inlet restriction to the fuel transfer pump must not...

Page 57: ...ure that the alternator is functioning correctly and charging the battery No electrical connection to the starter solenoid Check voltage to solenoid Crankshaft rotation restricted Manually turn the en...

Page 58: ...uel system Fuel lift pump not operating correctly fuel supply inadequate Check that the lift pump is operating and delivering fuel to the injection pump Fuel is waxing due to extremely cold weather Ve...

Page 59: ...to Fluids Lubricants section for recommended diesel fuels If the fuel is suspect verify by operating the engine with clean fuel from a temporary tank Inlet and exhaust valve clearances set incorrectl...

Page 60: ...place the fuel filter s Check fuel lines for restriction Fuel is contaminated or incorrect grade of diesel used Refer to Fluids Lubricants section for recommended diesel fuels If the fuel is suspect v...

Page 61: ...y by operating the engine with clean fuel from a temporary tank Inlet and exhaust valve clearances set incorrectly Set the valve clearances to the recommended clearances Inlet and exhaust valve spring...

Page 62: ...rom a temporary tank Injection pump timing incorrect If the pump has recently been removed and replaced the timing could be incorrect if the correct removal procedures were not followed The timing can...

Page 63: ...d and wear protective glasses If fluid penetrates your skin seek medical help immediately Fuel filter s blocked fuel supply restricted Check replace the fuel filter s Check fuel lines for restriction...

Page 64: ...njector sealing washer Inlet exhaust valve clearances set incorrectly Set the valve clearances to the recommended clearances Injection pump timing incorrect If the pump has recently been removed and r...

Page 65: ...dequate Check that the lift pump is operating and delivering fuel to the injection pump Fuel is contaminated or incorrect grade of diesel used Refer to Fluids Lubricants section for recommended diesel...

Page 66: ...clear of pressurised fluid and wear protective glasses If fluid penetrates your skin seek medical help immediately Fuel tank cap vent breather blocked Inspect rectify as required Replace cap if necess...

Page 67: ...d torque figures Engine mounts loose or broken Check replace the engine mounts Refer to correct installation procedure and torque figures Inlet exhaust valve clearances set incorrectly Set the valve c...

Page 68: ...lace with new Worn or malfunction fuel injection pump FIP Injection pump not delivering fuel Check for operation of the FIP The FIP must be taken to a local FIE specialist to have the fuel delivery ti...

Page 69: ...has recently been removed and replaced the timing could be incorrect if the correct removal procedures were not followed The timing can only be checked by a FIE specialist using the correct equipment...

Page 70: ...peration of the fuel solenoid valve Worn or malfunction fuel injection pump FIP Injection pump not delivering fuel Check for operation of the FIP The FIP must be taken to a local FIE specialist to hav...

Page 71: ...rify by operating the engine with clean fuel from a temporary tank Intake air or exhaust leaks Refer to Charts A13 A14 Engine compression low in one or more cylinders Check the engine compression Inje...

Page 72: ...or a cracked manifold Valve guide seals are leaking Replace valve guide stem seals as required One or more injector worn or malfunctioning Check and externally clean the injector If the problem still...

Page 73: ...ty from dilution with fuel Fuel dilution in lubricating oil can originate from fuel injection pump driveshaft seal or fuel transfer pump Review reduce the lubricating oil change intervals Lubricating...

Page 74: ...g resulting in the engine running below normal temperature Fuel lift pump leaking Repair or replace the fuel lift pump One or more injector worn or malfunctioning Check and externally clean the inject...

Page 75: ...Review reduce the lubricating oil change intervals Pressure switch or gauge fault Verify the pressure switch is functioning correctly Lubricating oil filter blocked Change lubricating oil filter Revie...

Page 76: ...Look for reduced viscosity from dilution with fuel Fuel dilution in lubricating oil can originate from fuel injection pump driveshaft seal or fuel transfer pump Review reduce the lubricating oil chan...

Page 77: ...ine and components for seal gasket or hose connection leaks Make sure all hose clips are in good condition and torqued to the recommended figure Overheating or compression gasses leaking resulting in...

Page 78: ...with water Temperature gauge sensor faulty Verify that the gauge and temperature sensor are correct Thermostat faulty incorrect or missing Check replace thermostat Air or combustion gasses in the cool...

Page 79: ...ct Thermostat faulty open not sealing Check replace thermostat Coolant not flowing by temperature sensor A total coolant loss may result in the gauge showing a low temperature initially Check coolant...

Page 80: ...k move off rpm adjust if necessary Test pressure on G port on pump Test pressure on ports M1 M2 on pump Contact NC regarding refurbishment or replacement Dumper will not move drive Check FNR lever is...

Page 81: ...81 Fault Finding CHART E2 Noisy wheel motor...

Page 82: ...82 Fault Finding CHART E3 Wheel motor does not revolve...

Page 83: ...83 Fault Finding CHART E4 Wheel motor does not revolve at its normal speed under load...

Page 84: ...84 Fault Finding CHART E5 Wheel motor revolves irregularly CHART E6 Wheel motor leaks...

Reviews: