


1
Chevrolet Tahoe 2012-2014
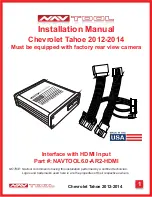
Installation Manual
Chevrolet Tahoe 2012-2014
Must be equipped with factory rear view camera
NOTICE: Navtool recommends having this installation performed by a certified technician.
Logos and trademarks used here in are the properties of their respective owners.
Interface with HDMI Input
Part #: NAVTOOL6.0-AR2-HDMI


