background image

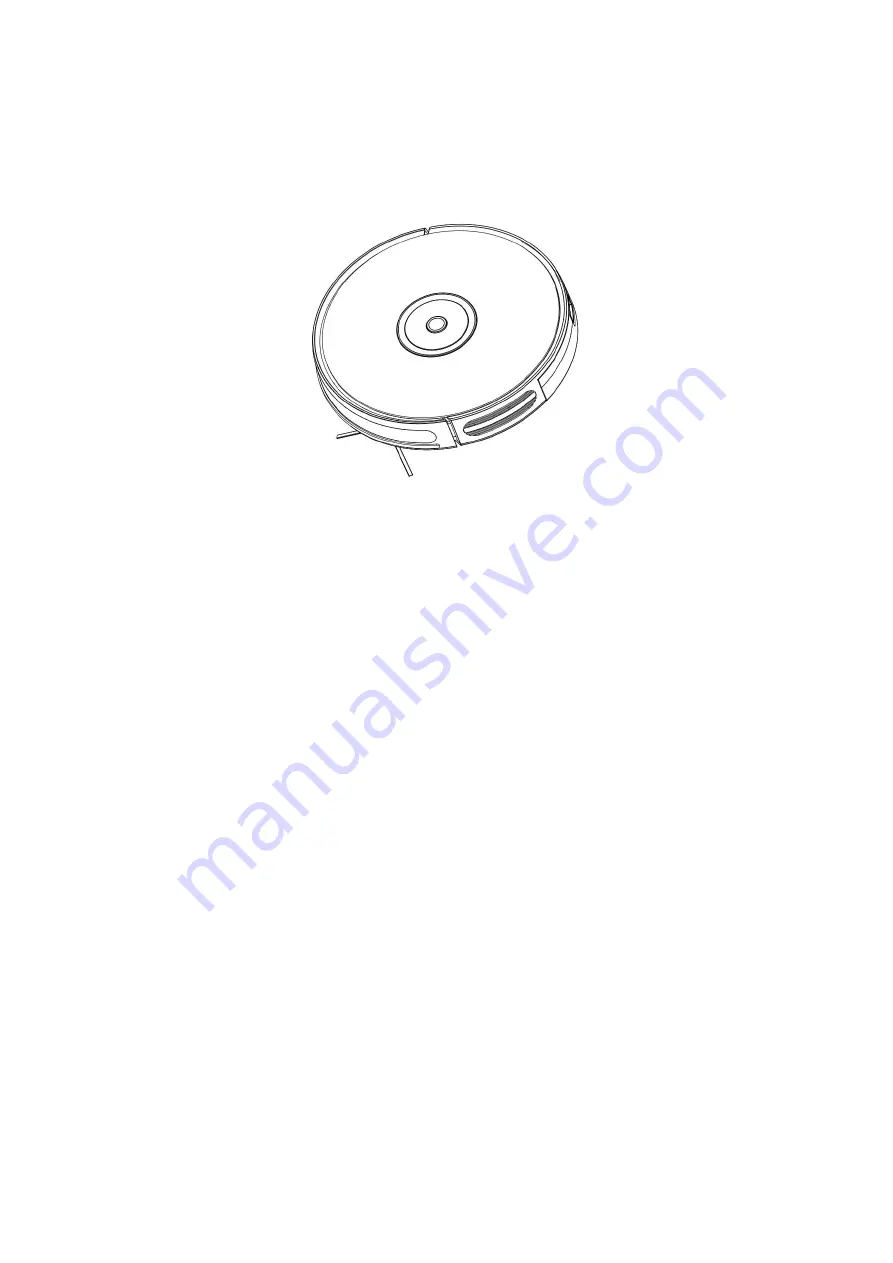
ROBOT VACUUM CLEANER

User Manual
Model: G9070

Important Safety Instructions

To reduce the risk of injury or damage, keep these safety precautions in mind when
setting up, using and maintaining your robot vacuum cleaner:

Read all safety and operating instructions before operating your robot.

Retain the safety and operating instructions for future reference.

Pay attention to all warnings on your robot, battery, charging dock and in the user
manual.

Follow all operating and use instructions.

The external flexible cable or cord of the power supply unit can not be replaced;
if the cord or plug is damaged, the power supply unit shall be disposed of.

This product is designed to be plugged into a standard outlet only. Product may
not be used with any type of power converter. Use of power converters will
immediately void the warranty.

CAUTION

: Only charge one of the following robot batteries: maximum 14.4V,

Summary of Contents for G9070

Page 1: ...ference Pay attention to all warnings on your robot battery charging dock and in the user manual Follow all operating and use instructions The external flexible cable or cord of the power supply unit can not be replaced if the cord or plug is damaged the power supply unit shall be disposed of This product is designed to be plugged into a standard outlet only Product may not be used with any type o...

Page 2: ...local environmental regulation WARNING Fire or Explosion Hazard Do not crush or dismantle battery packs Do not heat or place the battery pack near any heat source or direct sunlight Do not incinerate or short circuit the battery pack Do not subject batteries to mechanical shock Contact your local waste management authority for battery recycling and disposal regulations in your area Your robot is n...

Page 3: ...hard floor surfaces or low pile carpet This device has been designed to be used on floors without scratching them We still recommend that you test this device on a small area of the room to be cleaned to ensure no scratches are made before cleaning the whole room Battery and Charging Information Lithium ion Battery Important Lithium ion batteries and products that contain Lithium ion are subject t...

Page 4: ...authority for information regarding the collection systems available If electrical appliances are disposed of in landfills or dumps hazardous substances can leak into the groundwater and get into the food chain damaging your health and well being Please contact your local or regional waste authority for more information on collection reuse and recycling programs 1 About Your Robot 1 1 Robot 1 2 Ac...

Page 5: ...ion as marked in the battery compartment When using the remote control please aim at the robot and the effective distance is 0 5m 1 5 LED Indicator LED light Status Purple light flashes Charging Blue light ON Standby cleaning fully charged Light OFF Robot is OFF To save power the light automatically turns off when robot is not docked to the charging dock and it is inactive within 5 minutes ...

Page 6: ...the charging dock on a hard level surface and against a wall 2 Place the charging dock again the wall and make sure the place is open uncluttered area leaving at least 2 meters 6 feet in front of the charging dock 1 meter 3 feet on both sides of the charging dock 3 Connect the round connector of the adapter into the power socket on the charging dock and the other end into a wall outlet Note Please...

Page 7: ...tal charging contacts on the charging dock match up with those underneath the robot If successful you will hear a series of tones Once the power button illuminates robot is ready for use 6 Start Cleaning Cycle Press the power button once to wake up the robot Press the power button again or press the button on remote control to start a cleaning cycle 7 Pause To pause the robot during a cleaning cyc...

Page 8: ...o Cleaning Press the button on robot or press the button on remote control to start auto cleaning If the battery is low while the cleaning is not finished the robot will return to the charging dock for charging Warm Tips During the recharging process there may be a phenomenon that the charging dock cannot be found At this time the robot will flash red light and BEEP four times Please manually put ...

Page 9: ...debris and press Spot on the remote control 3 Max Vacuuming Cleaning Robot increases its vacuum power to provide a deeper clean when press the button on remote control max vacuuming cleaning if off by default 4 Edge Cleaning After robot finishes cleaning the open areas of your floor it uses edge clean to ensure that it has cleaned along walls and around furniture Legs If you prefer a quicker edge ...

Page 10: ... mode Attach the cloth and fill in the water tank with water Remove the dust bin Put the water tank back to robot and start the robot Note If you are using a dry sweeping cleaning mode skip the step of filling water 2 3 Cleaning Schedule Robot has cleaning schedule settings which allow you to customize when Robot cleans your home 1 Set the Remote Control s Clock Press button on remote control and ...

Page 11: ...ss the button the robot will BEEP when the clock setting completed 2 Setting Cleaning Schedule Press button on remote control and then the hour section begins to hash in the cleaning schedule display setting window Press the or button to select the minute or hour section Press or button to select the desired figures ...

Page 12: ...wing care procedures If you notice robot picking up less debris from your floor then empty the bin clean the filter and rolling brush Recommended cleaning replacement frequency Robot part Cleaning Replacement frequency Dust bin After each use Filters Once every week Every 2 months Rolling brush Once every week Every 6 12 months Side brushes Once every month Every 3 6 months or when visibly worn Br...

Page 13: ...nce every month 3 1 Empty Robot s Bin 1 Press bin release button to remove the bin 2 Open bin s door to empty it 3 2 Clean Robot s Filter 1 Remove filter by grasping the white tab Shake off debris by tapping the filter against your trash container ...

Page 14: ... cloth 2 Clean the rolling brush Cut down the hair winded in the rolling brush with the provided cleaning tool s knife 3 Remove the side brush use a cloth to remove the dust from the brush 4 Pull out the swivel wheel then clean the swivel wheel with the cleaning tool 5 Dust off the cliff sensors to maintain the best performance ...

Page 15: ...links and says Likely cause What to do Always red indicator light BEEP once Front caster wheel is stuck Clean the front caster wheel and press the power button to restart the robot BEEP twice Robot s side brush is probably stuck Clean the side brush and press the power button to restart the robot BEEP triple Robot s vacuum fan is stuck or its filter is clogged Remove and empty robot s bin and clea...

Page 16: ...e activated Make sure the main power switch is in the ON position Make sure the battery is fully charged Replace the batteries 2 AAA in the remote control Make sure the remote control is within range 16 ft 5 m of robot If you still have trouble turn off the main power switch and then turn it back on The remote control does not work Replace the batteries in the remote control Make sure the robot is...

Page 17: ...ot contact the service center to repair or replace the charging dock Dust off the charging contact pins with a dry cloth Check if you can hear a beep when robot is return the charging dock If not contact the service center to repair or replace the charging dock Robot can t return to the charging dock Remove objects within 3 ft 1 m to the left and right side and within 6 ft 2 m of the front of the ...

Page 18: ...urning the power switch off and on AFTER SALE SERVICE Our customer service is friendly and hassle free please contact us if you need our help as following Technical Support Package is Not in Perfect Condition Orders beyond the deadline of the Amazon Return Window are also accepted Email support muzilitec com ...

Reviews: