miniland baby Chefy 5, Manual
The "Miniland Baby Chefy 5" user manual is available for free download on our website. This comprehensive manual provides step-by-step instructions for optimal use of the Baby Chefy 5, ensuring convenience and safety for you and your little one. Access the manual at manualshive.com for a hassle-free experience.
Share
Download


Reviews:
No comments
Related manuals for Chefy 5

FPSTFP5273-DFL
Brand: Oster Pages: 20

S500LBW
Brand: Gorenje Pages: 35
FP1435
Brand: Black & Decker Pages: 15
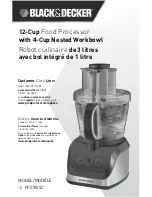
FP1450
Brand: Black & Decker Pages: 21

FP1335
Brand: Black & Decker Pages: 15
FP1550SDC
Brand: Black & Decker Pages: 17
FP5050SC
Brand: Black & Decker Pages: 20

FP2510SKT
Brand: Black & Decker Pages: 23

FP1500
Brand: Black & Decker Pages: 19
FP550
Brand: Black & Decker Pages: 32
FP1610
Brand: Black & Decker Pages: 23

FP700
Brand: Black & Decker Pages: 28

FP1510
Brand: Black & Decker Pages: 23
FP1600B
Brand: Black & Decker Pages: 24
FP6010
Brand: Black & Decker Pages: 68
FP2700SC
Brand: Black & Decker Pages: 11

KSM110
Brand: KitchenAid Pages: 42
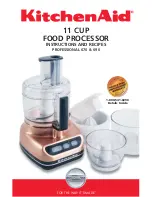
PROFESSIONAL 670
Brand: KitchenAid Pages: 92


