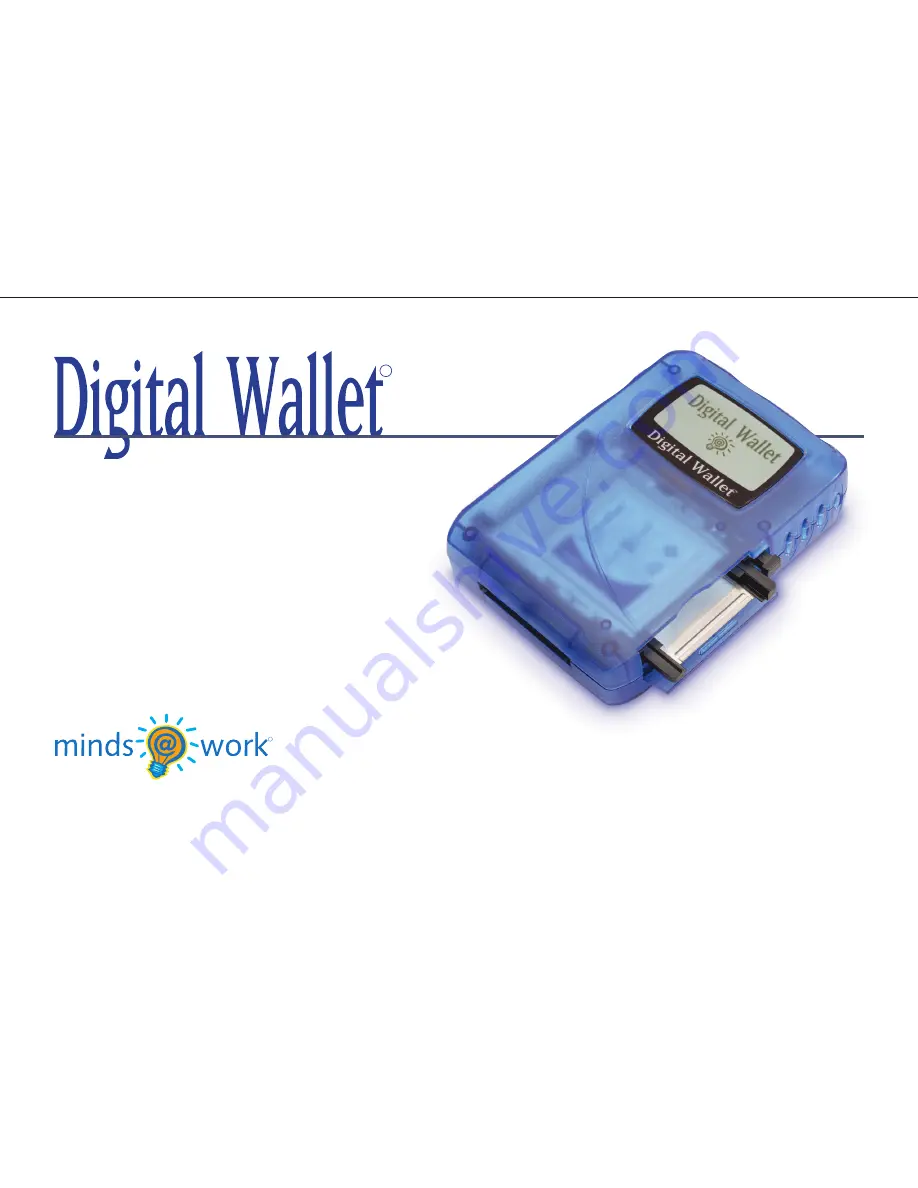
background image

R

Owner’s Manual


VERSION 2.0


Installation Guide


Operational Tips and Care


Interfacing with Your Computer


Operating Menu Options

©2002 Minds@Work, LLC.  MindStor™ and Minds@Work™ are both trademarks of Minds@Work.  
All other trademarks and registered trademarks are the property of their respective owners. 

Minds@Work LLC

15550 Rock

fi

 eld Blvd, Suite C, Irvine, CA 92618

Phone:  800-459-5799, 949-707-0600

Technical Support:  866-269-0655, 949-330-3453

E-mail:  [email protected]

Fax:  949-609-2880

www.mindsatwork.net

R

The Portable 

Smart Storage People

Summary of Contents for Digital Wallet

Page 1: ...rk are both trademarks of Minds Work All other trademarks and registered trademarks are the property of their respective owners Minds Work LLC 15550 Rockfield Blvd Suite C Irvine CA 92618 Phone 800 459 5799 949 707 0600 Technical Support 866 269 0655 949 330 3453 E mail techsupport mindsatwork net Fax 949 609 2880 www mindsatwork net R The Portable Smart Storage People ...

Page 2: ...et and Your Computer Connecting the Digital Wallet to Your Computer 11 Disconnecting the Digital Wallet from Your Computer 12 Using the Digital Wallet as a Card Reader 13 Operating the Menu Options 14 Download Content from your Memory Card 15 Display Hard Disk 18 Display PC Card 20 Manage Media 22 Cutomize 23 Updating the Digital Wallet Firmware 28 Support Technical Support 29 After Sales and Repl...

Page 3: ...ard Please note that the Digital Wallet comes supplied with a CompactFlash Type I PC card adapter If you want to use another type of memory media you will need to purchase the appropriate PC card adapter These PC card adapters can be purchased at local retail stores or through MindsGear located at www mindsgear com You can also upload Digital Wallet folders and files to the memory media When uploa...

Page 4: ...charging process is self regulating so there is no need to worry about overcharging the batteries Batteries deliver up to 120 minutes of use and can be recharged approximately 500 times in their lifetime with each recharge taking approximately three hours Additional battery packs can be purchased for extended independent use The Digital Wallet automatically turns itself off after a preset time of ...

Page 5: ... button E PC card PCMCIA adapter eject button F CompactFlash PC card PCMCIA adapter G Carry Dock port H Carry Dock I USB port J AC adapter jack K LCD screen L NiMH rechargeable battery pack removable M AC Adapter Battery Recharger N USB Cable Connector O Installation Drivers Software Applications CD Figure 1 O ...

Page 6: ...nit or expose to sources of excessive vibration Keep in mind that Digital Wallet uses a 2 5 hard drive similar to those used in laptops Gently handle and carry your Digital Wallet especially during data transfers The batteries included are not charged We recommend charging them fully for at least three hours before using your Digital Wallet prior to its first self powered use Please close all appl...

Page 7: ...r 5 Connect the AC Adapter to a power outlet and then to the Carry Dock 6 Connect the Carry Dock to the Digital Wallet Figure 1 7 Digital Wallet should automatically power on 8 You will notice the battery level status icon in the lower left corner of the screen will be empty Charge the battery fully for 3 hours prior to first self powered use NOTE The battery pack cannot be fully charged when it i...

Page 8: ...rn your Mac personal computer on 2 Insert AC Adapter into a power outlet and then to the Carry Dock 3 Connect the USB cable to your Mac and then to the Carry Dock 4 Connect the Carry Dock to the Digital Wallet The Digital Wallet does not need any drivers for Mac In most instances the Mac will recognize the Digital Wallet as an Untitled drive on the desktop You may double click on the Untitled driv...

Page 9: ...p jar bump shock the unit or expose to sources of excessive vibration Keep in mind that the Digital Wallet uses a 2 5 hard drive similar to those used in laptops Gently handle and carry your Digital Wallet especially during data transfers Powering the Unit Do not subject unit to severe vibration while powering up If unit does not turn on when Power button is depressed check these suggested solutio...

Page 10: ...d there may be a chance of lost or corrupt data Do not use force when connecting the USB cable The design of the cable connectors and the Digital Wallet USB port prevents misconnection Care for Hard Disk If the unit or buttons become inoperable depress the reset button located on the back of the unit You will find the file M A W S N on the Digital Wallet hard disk This file can be deleted at any t...

Page 11: ...the Digital Wallet to your computer via USB and power the unit 3 Highlight the Digital Wallet drive Untitled icon and click on the Special menu at the top of the screen Select Erase Disk 4 Select DOS from the Menu drop box Type in a name for the drive that is no more than eight characters long 5 Click on Erase Your drive will now be formatted IMPORTANT 1 If HFS Standard or HFS Extended is chosen D...

Page 12: ...ry pack in a temperate zone between 32 and 104 F 0 and 40 C If recharged above 104 F 40 C the battery pack could permanently lose its ability to recharge To help preserve energy while the Digital Wallet is battery operated you can customize a preset automatic shut off timeframe Please refer to Shut off Delay in the Customize Menu section AC Adapter Powered 1 Connect the Carry Dock to the Digital W...

Page 13: ...Connected Figure 2 B The Digital Wallet will be recognized on Windows as a Removable Drive and on Mac as Untitled Double click the icon to view the Digital Wallet directory TIP You can perform basic functions such as drag and drop deleting copying cutting and pasting files folders between the Digital Wallet and the computer You can also rename any file or folder in the Digital Wallet while it is c...

Page 14: ...ve icon and select eject After disconnecting the Main Menu will automatically be displayed on the LCD screen IMPORTANT On Windows platform especially when running Windows XP you must be sure to disconnect Digital Wallet properly otherwise when you reconnect Digital Wallet your PC will not recognize the drive In such an event rebooting the computer may be necessary DISCONNECTING FROM A MAC Drag and...

Page 15: ...d without the blinking lightbulb insert a PC card adapter with apporpriate memory card within into the Digital Wallet PC card slot 5 To recognize the media change use your mouse to double click the Removable Drive or Untitled drive icon on your desktop Only the memory card contents will now be displayed 6 When the PC card adapter is ejected double click the Removable Drive or Untitled drive icon t...

Page 16: ... menu The menu options and operation status are displayed on the LCD screen Beginning with the top level Main Menu this section will walk you through the menu operations NOTE These operations cannot be used if the Digital Wallet is connected to USB The Main Menu is the first list of options that appears when you turn on the Digital Wallet as shown right Figure 3 A OPERATING THE MENU OPTIONS Digita...

Page 17: ...able for purchase at your local electonics store or online at www mindsgear com Do Not Power On The Digital Wallet Until Instructed To download from these memory cards 1 Insert memory card into appropriate PC card adapter Then fully insert the adapter into the PC card slot Figure 1 2 Power on the Digital Wallet with battery or AC power The screen will show a flashing light bulb signifying the memo...

Page 18: ...gital Wallet determines that a file on the memory card cannot be copied you will be notified of the specific file and prompted whether to skip the file and continue download press Select for yes or to abort the download process press Up or Down for no 4 Once download is complete the Digital Wallet will perform an automatic verification that the files have been transferred Figure 3 E Digital Wallet...

Page 19: ...ee Display PC Card 6 Press any key to exit 7 To eject the PC card adapter push down on the eject button IMPORTANT When data is downloaded from memory card to the Digital Wallet the data still remains on the memory card as well To delete data from the memory card please refer to the section covering the Manage Media function or delete data via the orginal input device e g a digital camera using the...

Page 20: ...NG WITH FOLDERS When you select a folder the following option menu will appear Figure 3 H Open Folder Selecting this option will display the contents of the folder To navigate back up a level in the directory select the Up Arrow icon K Show Information When this option is selected then Digital Wallet will display the folder properties name of the folder number of folders contained within number of...

Page 21: ...Open File Select this option to open text files for viewing All other files will display a blank screen Upload to Card Uploads file to memory card If a PC card adapter with memory card is already inserted into the Digital Wallet the screen will verify that sufficient storage space is available and then prompt you to confirm the upload process or cancel If there is no PC card adapter inserted the s...

Page 22: ...e 3 M Open Folder Selecting this option will display the contents of the folder To navigate back up a level in the directory select the Up Arrow icon K Show Information When this option is selected the Digital Wallet will display the folder properties name of the folder number of folders contained within number of files contained within and the folder size Download to Disk Uploads entire contents ...

Page 23: ... prompt you to confirm Override or not Push select to Override the existing file or Up Down for no Delete Deletes file NOTE Some digital cameras use index files to keep track of the number of pictures contained in the memory card Example Figure 3 L CAMERA001 DSC If you have deleted any image files on the memory card delete the index file before reinserting the memory card into your digital camera ...

Page 24: ...unt of free space available on the memory media inserted If there is no memory media inserted the screen will prompt you to do so The results will show as a percentage available and as MB available Erase PC Card This option will delete the entire contents of the memory card that is currently inserted The screen will prompt you to confirm the delete process or cancel Once the files are deleted they...

Page 25: ... menu will be displayed Using the Up Down and Select buttons increase or decrease the contrast until you are satisfied with the display Figure 3 S 3 Highlight and select Exit to return to the Customize Menu Digital Wallet Digital Wallet R S E T C O N T R A S T S H U T O F F D E L AY C H O O S E L A N G U A G E S E T C L E A R PA S S W O R D V E R S I O N E X I T Figure 3 R Digital Wallet Digital W...

Page 26: ...elay 2 The display will read Auto Shutoff 3 minutes Figure 3 T Using the Up Down buttons select your preferred auto shutoff delay time You may also select to disable the auto shutoff delay by decreasing the value below 30 seconds to read Disabled NOTE When auto shutoff delay is disabled the Digital Wallet will remain on until the unit is manually turned off or the battery is dead If the battery is...

Page 27: ... the Select button and you will be returned to the Customize Menu NOTE If the unit is set to a language other than your preferred language 1 Shut the unit off and then Power it on again 2 When the Main Menu appears press the up button once to reach the Customize option Press the Select button 3 Use the Up Down buttons to highlight your preferred language and then press Select Digital Wallet Digita...

Page 28: ...the Select button 3 Repeat Step 2 for the next three digits After the last digit is selected you will be returned to the Customize Menu NOTE When password has been set upon powering on the Digital Wallet you will be prompted to enter the password Without the password the functions menus and file directory cannot be accessed Clear Password To clear a password that has been set 1 Highlight and selec...

Page 29: ...tten your password and are locked out from accessing your data call Minds Work technical support to obtain a solution password to unlock your Digital Wallet Please have your Digital Wallet serial number handy before calling VERSION Upon selecting Version from the Customize Menu the display will show you what version of firmware your Digital Wallet is running Figure 3 X Please check www mindsatwork...

Page 30: ...AC Adapter and completely Power off the unit This order of operations must be followed exactly in order for the update to take effect 6 Plug the AC Adapter back in This operation must be done under AC Power Be sure the USB cable is not connected to the Carry Dock The Minds Work Logo will appear followed by the Digital Wallet logo The unit will show these two screens twice signifying the update is ...

Page 31: ...l us at technicalsupport mindsatwork net After Sale and Replacement Parts The Digital Wallet provides easy sourcing for several after sale products and replacement parts Contact Minds Work at 800 459 5799 or visit our Web site www mindsatwork net You may write us at 15550 Rockfield Boulevard Suite C Irvine CA 92618 Also go to www mindsgear com to purchase after market products replacement parts an...

Page 32: ...lable in 3GB 6GB 10GB and 20GB models Status Display Backlit monochrome matrix LCD no picture preview Power 90 240V 50 60Hz Worldwide AC Adapter Batteries Rechargeable and replaceable NiMH Batteries Battery Life 500 recharge cycles Operating Life 100 minutes average use Operating Temp 30 104 F 0 40 C Recharging 3 hour recharge time Recharging occurs via AC adapter connection to Carry Dock and Digi...

Page 33: ...ms Buffer 512KB MTTF Power on Hours 300 000 Operating Voltage 5V low self discharge rate Worldwide AC Adapter Input 90 240V 50 60Hz Output 9 6V 1100mA Class II Transformer UL Approved Camera Memory Card CompactFlash IBM Microdrive Compatibility SmartMedia Intel StrataFlash Sony Memory Stick MultiMedia Card Panasonic SD Memory Card 31 Support ...

Page 34: ...erating 15 140 F 10 60 C Humidity 80 RH Noncondensing Vibration and Shock Operating Vibration 1 0G Operating Shock 150G Non operating Shock 700G Altitude 10 000 feet 3 048 meters FCC and CE approved for home and office use All software and hardware products and specifications are subject to change without notice For current availability contact www mindsatwork net 32 Support ...

Page 35: ...ginal warranty period or 30 days whichever is longer No Other Warranty Minds Work disclaims all other warranties either expressed or implied including but not limited to implied warranties or merchantability and fitness for a particular purpose with respect to the software hardware and any accompanying written materials No Liability or Consequential Damages In no event shall Minds Work or its supp...

Page 36: ... g with a network you must have a reasonable mechanism or process in place to assure that the number of persons using the SOFTWARE concurrently does not exceed the number of licenses you own 2 Copyright The SOFTWARE is owned by Minds Work and is protected by copyright laws and international treaty provisions Therefore you must treat the SOFTWARE like any other copyrighted material e g book or musi...

Page 37: ... reception which can be determined by turning the equipment off and on the user is encouraged to try to correct the interference by one or more of the following measures Reorient or relocate the receiving antenna Increase the separation between the equipment and receiver Connect the equipment into an outlet on a circuit different from that to which the receiver is connected Consult the dealer or a...

Reviews: