background image

Getting to Know Your ScanMaker i460

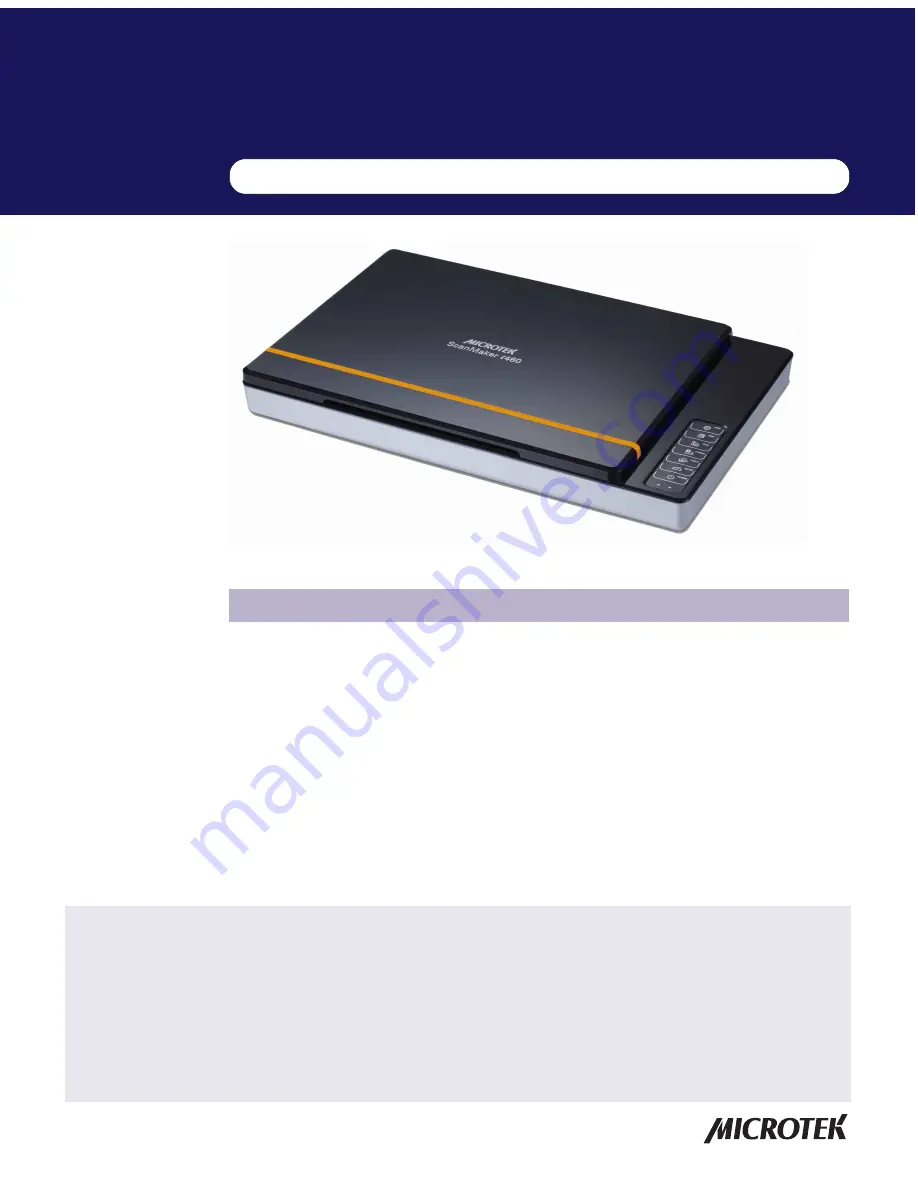
Microtek's new scanner, the ScanMaker i460, brings a brand new taste to the world of
scanners.  With a newly designed landscape appearance, the ScanMaker i460 breaks
the stereotype of scanner designs and brings a new milestone to the scanner world.
The gleaming coating makes the ScanMaker i460 distinguishable and stand from the
others immediately.

The ScanMaker i460 has not only a fantastic appearance but also some outstanding
features, such as 4800 x 9600 dpi, 48-bit color, and 8.5" x 11.7" scan bed. Also, it is
equipped with six Smart-Touch buttons on the button panel for one-touch automation
and easy access to scanner functions. In addition, through an optional LightLid 35 IV
transparency adapter, the versatile scanner can even scan 35mm slides and filmstrips.

Copyright © 2013   Microtek International, Inc.   http://www.microtek.com
I49-004751 B, September 2013

Contents

Getting to Know Your ScanMaker i460 ........................................................... 1

Features of the ScanMaker i460 ...................................................................... 2
Taking a Closer Look ........................................................................................ 3
How the Smart-Touch Scanner Buttons Work .............................................. 4

Scanning Scenarios ......................................................................................... 5

For PC Users Using ScanWizard EZ .......................................................... 6

A. Scanning Photos (1) ........................................................................ 6

B. Scanning Photos (2) ........................................................................ 7
C. Scanning Photos (3) ........................................................................ 9
D. Scanning Film ................................................................................ 11

Supplement

ScanMaker i460 features, scenarios, and information

I.   Connecting the LightLid 35 IV ....................................................... 11
II.  Loading Film ................................................................................... 12
III.  Placing the LightLid 35 IV .............................................................. 13

IV. Using the ScanWizard EZ - Advanced Mode ............................... 14
V.  Using the ScanWizard EZ - Professional Mode ........................... 16

For Mac Users Using ScanPotter ............................................................ 18

A. Scanning Photos ........................................................................... 18
B. Scanning Film ................................................................................. 20

Specifications / System Requirements ........................................................ 22

FCC Compliance Statement .......................................................................... 23

Summary of Contents for ScanMaker i460

Page 1: ...rough an optional LightLid 35 IV transparency adapter the versatile scanner can even scan 35mm slides and filmstrips Copyright 2013 Microtek International Inc http www microtek com I49 004751 B September 2013 Contents Getting to KnowYour ScanMaker i460 1 Features of the ScanMaker i460 2 Taking a Closer Look 3 How the Smart Touch Scanner Buttons Work 4 Scanning Scenarios 5 For PC Users Using ScanWi...

Page 2: ...ne click automatic color recovery process is simple and straightforward involving no learning curve or hassle Six Smart Touch buttons These buttons on the button panel of the scanner provide you with a quick and easy way to launch frequently used scanner functions All it takes is one touch of a button and you can launch the scanner button s corresponding function The six Smart Touch buttons includ...

Page 3: ... port 1 Accessory port 9 pin Power connector WE B PDF OC R CO PY SCAN POWE R E M AIL I V Scanner lid Ruler Glass surface Scan bed Ruler WEB PDF OCR COPY SCAN POWER E MAIL WEB PDF OCR E Mail Copy Scan Power Button Panel POWER indicator orange READY indicator green ...

Page 4: ...out a specific task simply press the corresponding button on the scanner The Smart Touch buttons are 1 Scan This button captures images that can be automatically saved as files or sent to another application for further processing 2 Copy This button scans the image and sends it to your printer transforming your scanner and printer into a convenient copy station Simply specify the number of copies ...

Page 5: ...g photos 2 This scenario is similar to that described above but uses the AdvancedModeinScanWizardEZ Scanning photos 3 This scenario details the steps for scanning photos It makes use of the Professional Mode in ScanWizard EZ Scanning film This scenario details the steps for scanning film It makes use of the LightLid 35 IVtogether with the Advanced Mode or Professional Mode in ScanWizard EZ For Mac...

Page 6: ...to launch ScanWizard EZ When ScanWizard EZ is launched for the first time the control panel of ScanWizard EZ EZ Mode appears on the screen automatically 3 Click the Scan button to start scanning The ScanWizard EZ will detect the photo on the scanner glass surface first next automatically calibrate the scanner crop the image and perform the image scan with factory settings When done the output imag...

Page 7: ...Speed Quality and Best Quality options in the Scan Mode layer b Specify the folder location a file name and the file format for the output image in the Save layer c Specify a preferred application to open your output image in the Save layer 6 Click the Preview button to perform a preliminary view of the entire image which will appear in the Preview area at the right side of the window 7 After a pr...

Page 8: ...n with your preferred settings When the scan is done the output image can be saved in a file and delivered to the specified location or opened in your chosen application Returns to the previous page Allows you to activate the Preferences window Allows you access the ScanWizard EZ manual Allows you to switch to the EZ Mode Allows you to switch to the Professional Mode Selections and options for ima...

Page 9: ... choose Reflective for photos 5 Click the Overview button to perform a preliminary scan of the image which will appear in the Preview window 6 In the Preview window you can resize the scan frame floating dotted line around the image by dragging on the edge or corner of the scan frame to determine the final size of the actual scan 7 Specify your scanning requirements in the Settings window a Select...

Page 10: ...10 ScanMaker i460 Supplement Preview window Settings window Scan Job Queue window Information window ...

Page 11: ...f this accessory to scan slides for on screen display purposes or where high resolution is not critical For high quality print reproduction we recommend purchasing a dedicated slide scanner or a Microtek scanner with built in film scanning features I Connecting the LightLid 35 IV 1 Unpack the LightLid 35 IV 2 Remove the scanner lid WE B PDF OC R CO PY SCAN POW ER E M AIL IV 3 Make sure that the sc...

Page 12: ...strips Ensure that the calibration window is kept clear and free from any obstruction for successful calibration and best image results To load slides Turn the LightLid 35 IV over Load the slide inside the lower slot of the LightLid with the slide facing up The slides should be inserted inside the slots specifically allotted for slides as shown in the illustration The lower slot is for loading 35m...

Page 13: ...ce LightLid 35 IV Here W EB PD F O C R C O PY S C A N PO W ER E M A IL W E B P D F O C R IV III Placing the LightLid 35 IV Place the LightLid 35 IV with the loaded film vertically on the scan bed The LightLid should be flush against the top ruler of the bed with the slot running down the center ...

Page 14: ... appear in the Preview area at the right side of the window 5 After a preview image is shown in Preview area if necessary you can resize the scan frame floating dotted line around the image by dragging on the edge or corner of the scan frame to determine the final size of the actual scan 6 Click the Select button to activate a display of nine image effects and related option settings 7 Specify the...

Page 15: ...s page Allows you to activate the Preferences window Allows you access the ScanWizard EZ manual Allows you to switch to the EZ Mode Allows you to switch to the Professional Mode Selections and options for image settings The display of nine image effects ...

Page 16: ...ound the image by dragging on the edge or corner of the scan frame to determine the final size of the actual scan 5 Specify your scanning requirements in the Settings window a Select a desired image type b Select a desired resolution c Adjust the scan frame settings if necessary 6 Adjust image quality if necessary using theAdvanced Image Correction AIC tools 7 If the colors in your film sample are...

Page 17: ...selected frames a click the New button in the Scan Job Queue window a new frame with a new title appears in the window b repeat the previous step to create more scan frames as desired c check the One pass Scan for Multiple Jobs option in the Scan Job Queue window For more details about the One pass Scan for Multiple Jobs refer to the ScanWizard EZ Professional Mode on line help ...

Page 18: ...e as your image output type Select Color to scan the image in color Select Grayscale to scan the image in grayscale Select Black White to scan the image in black and white b Select a desired resolution in the Resolution for your output image c Select Automatic Detection or a desired dimension in the Scan Frame as your preview image size 5 Click the Preview button to perform a preliminary scan of t...

Page 19: ...ntains a composite display of nine image effects Filter column and additional image correction tools Additional Adjustment column for your scanned image Click the Scan Settings button to switch back to the default control panel of ScanPotter Preview window Scan frame enclosed by dotted lines ...

Page 20: ...perform multiple auto crop preview of the film loaded onto the scanner 5 Click the Preview button to perform a preliminary scan of the image in the Preview window You will see multiple scan frames that have been automatically cropped in the Preview window Multiple scan frames will be numbered sequentially and tagged with the number e g 1 2 at the top left corner of each frame indicates that the im...

Page 21: ...d additional image correction tools Additional Adjustment column for your scanned image Click the Scan Settings button to switch back to the default control panel of ScanPotter Preview window Selected scan frame enclosed by dotted lines Multiple scan frames bordered in dotted lines and tagged with the number e g 1 2 at the top left corner of the scan frame ...

Page 22: ...0 C to 40 C Relative Humidity 20 to 85 Voltage AC100V 240V 50 60Hz 12V 1 5A Power Consumption 18 W Power Supply Voltage Manufacturer Model No 100V to 240V WUXI HARD HDAD 120015 3C U S TWN 100V to 240V WUXI HARD HDAD 120015 3B Europe 100V to 240V WUXI HARD HDAD 120015 3D AUS 100V to 240V WUXI HARD HDAD 120015 3E UK System Requirements General requirements CD DVD ROM drive for installing software Co...

Page 23: ... and on the user is encouraged to try to correct the interference by one or more of the following measures Reorient or relocate the receiving antenna Increase the separation between the equipment and receiver Connect the equipment into an outlet on a circuit different from that to which the receiver is connected Consult the dealer or an experienced radio TV technician for help Note A shielded Hi S...

Reviews: