


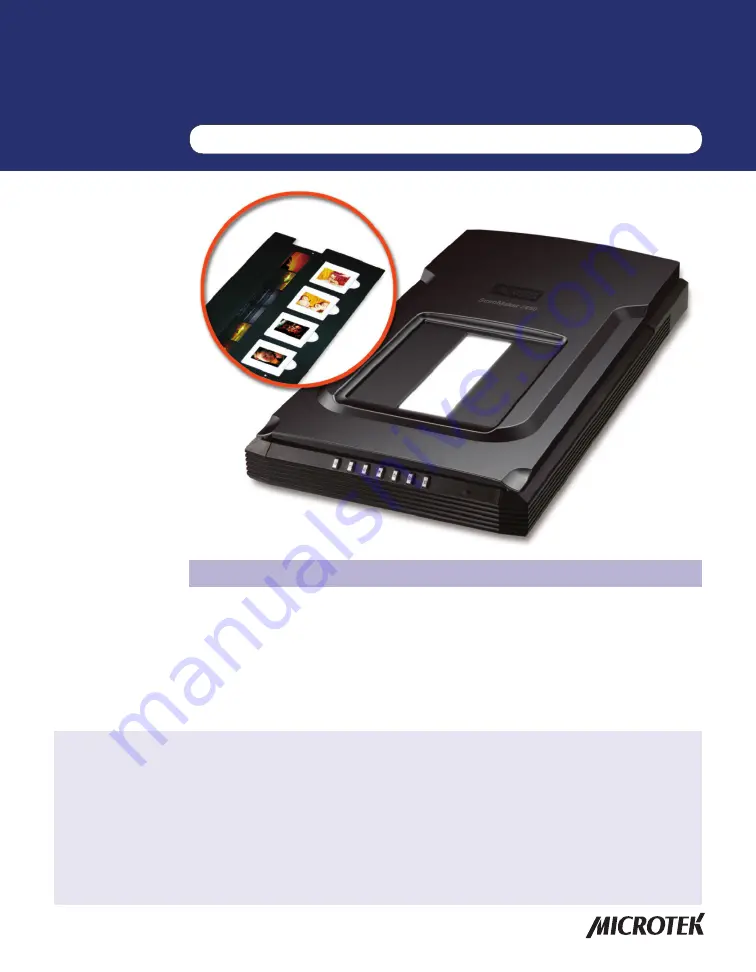
Getting to Know Your ScanMaker i450
The ScanMaker i450 high-performance scanner with the versatility to scan photos
and film. Features include 48-bit color, resolution of 4800 dpi, scan bed size of 8.5"
x 11.7", and seven Smart-Touch buttons on the front panel for easy access to scanner
functions. The ScanMaker i450 has a built-in transparency adapter for scanning film
and transparencies up to 1.77" x 10". Also featured is ColoRescue™ -- Microtek's
one-touch color restoration to revive faded color in both photos and film.
Copyright © 2017 Microtek International, Inc. http://www.microtek.com
I49-004879 C, June 2017
Supplement
ScanMaker i450 features, scenarios, and information
Contents
Getting to Know Your ScanMaker i450 ..........................................................1
Features of the ScanMaker i450 ....................................................................2
Taking a Closer Look .......................................................................................3
How the Smart-Touch Scanner Buttons Work ..............................................4
Positioning Your Originals ..............................................................................6
Positioning Reflective Originals ...............................................................6
Positioning Transparent Film ....................................................................7
A. Using the Film Holder to scan 35mm Filmstrip ............................8
B. Using the Film Holder to scan 35mm Slide ...................................9
Scanning Scenarios ......................................................................................10
For PC Users Using ScanWizard EZ ....................................................... 11
A. Scanning Photos (1) ...................................................................... 11
B. Scanning Photos (2) ......................................................................12
C. Scanning Photos (3) ......................................................................14
D. Scanning Film (1) .........................................................................16
E. Scanning Film (2) ...........................................................................18
For Mac Users Using ScanPotter ...........................................................20
A. Scanning Photos ...........................................................................20
B. Scanning Film ................................................................................22
Specifications / System Requirements .......................................................24
FCC Compliance Statement .........................................................................25


