


Warning
• Follow all instructions.
• Do not place this device near water.
• Clean only with dry cloth.
• Do not block any ventilation openings.
• Install in accordance with the manufacturer’s instructions.
• Do not place near any heat sources such as radiators,
heat registers, stoves, or the devices (including amplifiers)
that produce heat.
• Protect the power cord from being walked on or
pinched particularly at plugs, convenience receptacles,
and the point where they exit from the devices.
• Power supply cords should be routed so that
they are not likely to be walked on or pinched
by items placed upon them or against them.
• Only use attachments/accessories specified
by the manufacturer.
•
U
nplug this during lightning storms or when unused
for long periods of time.
• Refer all servicing to qualified service personnel.
Servicing is required when the devices has been
damaged in any way, such as power-supply
cord or plug is damaged, liquid has been spilled
or objects have fallen into the devices,
the devices has been exposed to rain or moisture,
does not operate normally, or has been dropped.
• Carefully read and follow the Quick Install Guide
and User Manual.
• Do not drop or shake the device.
• Do not move the device when it is powered on.
• Do not overload wall outlets.
Operation System
Windows 7 / Windows 8.1 / Windows 10
Mac OS X 10.12.5 or later
Hot-plug for USB-C interface
USB 2.0 / 3.0 / 3.1 compatible *
Note
1
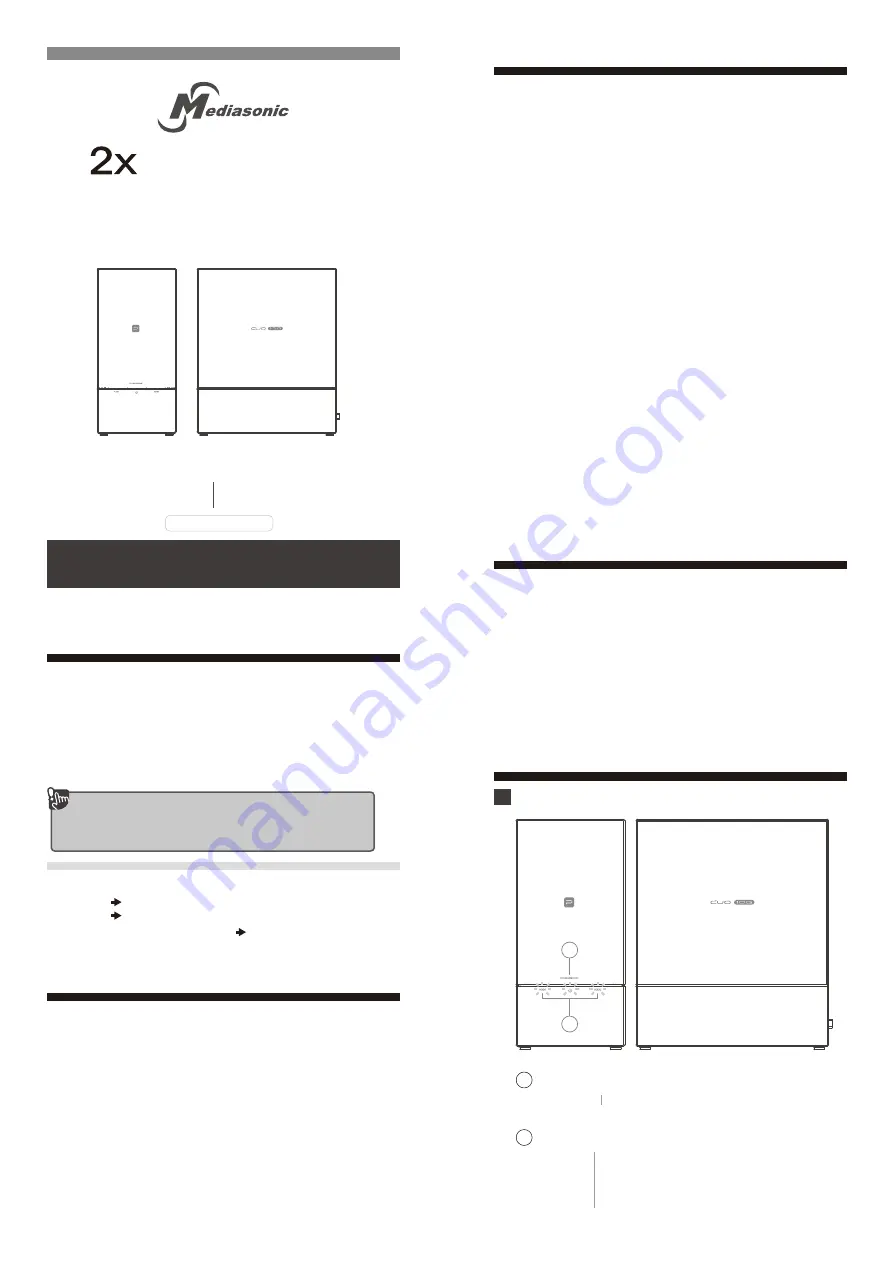
Power On / Power Off
Power on
Blue
2
HDD 1 / HDD 2 Status
Link
Access
Error
Rebuild
Blue
Purple
Red (Steady)
Red (Blinking)
Front Panel
│
Rear Panel
1
1
2
Overview
Cautions
Main Device x 1
Quick installation guide x 1
USB 3.1 Gen-II type C to C Cable x 1
External Power Adapter x 1
2.5" to 3.5" SATA HDD Bracket x 2
Screw for securing for 2.5'' HDD * 2
Screw for securing for 3.5'' HDD * 4
Contents
Before using RAID enclosure
1. Do not use HDD with data to create any RAID Array
2. Changing RAID mode may cause data lost, backup
your data before making changes.
3. When both HDD are installed at the same time in any
RAID mode, all data will be formatted.
4. Check for visible damage on unit, accessories and cables
before using the device.
HDD format recommended
Windows 7 NTFS or exFAT
Mac OS X HFS+ (Mac OS Extended)
Both Windows and Macintosh OS FAT32 or exFAT
When using “RAID function”,
HDD of the same capacity, model name
and brand is strongly recommended.
USB 3.1 Gen-II / Type-C
For 3.5''
/
2.5'' SATA HDD or SSD
with Single, JBOD, RAID 0/1 functions
HDD Enclosure
Cautions
│
Contents
│
Warning
│
Note
│
Overview
Quick installation Guide
│
Initialization
│
Troubleshooting
USER
’
S MANUAL
Office website
www.mediasonicusa.com
http://forum.mediasonic.ca/
Online forum
HUR5-SU31C / Rev.01
* Additional cable required, cable converter adapters
not recommended
Make sure connect the device to computer when power on
the device.


