


MS750
Owner’s Manual
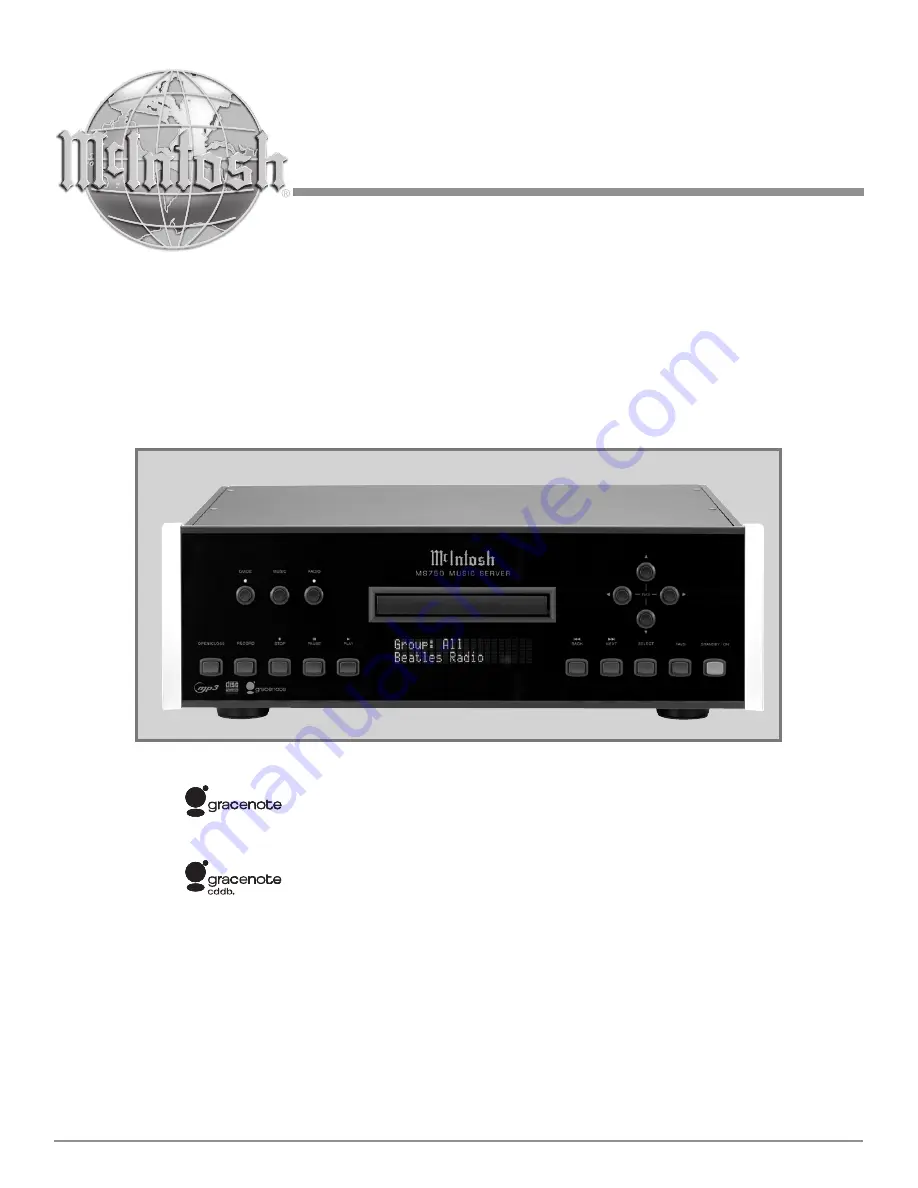
Music Server
McIntosh Laboratory, Inc. 2 Chambers Street Binghamton, New York 13903-2699 Phone: 607-723-3512 FAX: 607-724-0549
Gracenote CDDB® Client Software, copyright 2000-2006 Gracenote. This product and service
may practice one or more of the following U.S. Patents: #5,987,525; #6,061,680; #6,154,773,
#6,161,132, #6,230,192, #6,230,207, #6,240,459, #6,330,593, and other patents issued or
pending.
Gracenote and CDDB are registered trademarks of Gracenote. The Gracenote logo and
logotype, and the “Powered by Gracenote” logo are trademarks of Gracenote.
M
Summary of Contents for MS750
Page 13: ...13 Notes ...
Page 27: ...27 Notes ...
Page 47: ...47 Notes ...
Page 48: ...48 Notes ...
Page 49: ...49 Notes ...


