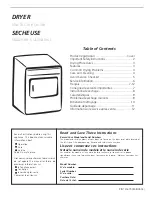
Maytag 5000 Series, Use And Care Manual
The Bosch 5000 Series is a high-performance appliance designed to elevate your cooking experience. With our user-friendly manual packed with Quick Tips, you'll master its advanced features effortlessly. Download the free manual from our website manualshive.com, and unlock the full potential of your Bosch 5000 Series appliance.
Share
Download


Reviews:
No comments
Related manuals for 5000 Series

MR200
Brand: Maestro Pages: 44

DC 7181
Brand: Asko Pages: 32

RJ38-V2-65
Brand: Chefman Pages: 16

DNH D8513AX-AUS
Brand: Hoover Pages: 15

CFE-415
Brand: Henny Penny Pages: 82

FPRE14
Brand: Frymaster Pages: 36

Pneudri Maxi MX102c
Brand: Domnick Hunter Pages: 14

MAXX PLUS FT 47822 SS MAXX PLUS FT 47824 SS MAXX PLUS FT 50876 SS
Brand: Kalorik Pages: 40

ARTIST BREEZE 1800W
Brand: OBH Nordica Pages: 24

IB21010
Brand: Morphy Richards Pages: 6

NA-S086M4 Series
Brand: Panasonic Pages: 33

FF 1251 GF
Brand: Modena Pages: 6
131679000B
Brand: Frigidaire Pages: 6

7182483240
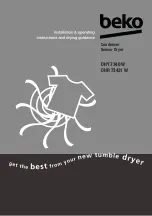
Brand: Beko Pages: 36

7188235960
Brand: Beko Pages: 40
5023790037174
Brand: Beko Pages: 36

7188286650
Brand: Beko Pages: 48

7188236890
Brand: Beko Pages: 64


