Makita XRM10, Instruction Manual
The Makita XRM10 is a versatile audio system for job sites, equipped with a user-friendly interface. Explore its full potential with the comprehensive Instruction Manual, available for free download on our website. Ensure optimal use and get the most out of this powerful device.
Share
Download


Reviews:
No comments
Related manuals for XRM10

Sure Cross MultiHop
Brand: Banner Pages: 6

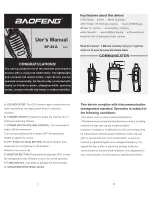
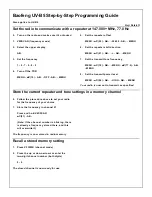
UV-82
Brand: Baofeng Pages: 74

UV-5R Series
Brand: Baofeng Pages: 74
BF-88A
Brand: Baofeng Pages: 3
UV-B5
Brand: Baofeng Pages: 2

GDL 69
Brand: Garmin Pages: 8

GTX 330
Brand: Garmin Pages: 48

PT-633
Brand: Sangean Pages: 1

IM100
Brand: E-Tech Pages: 19

IAN 88977
Brand: Auriol Pages: 68

FRS-101
Brand: Radio Shack Pages: 4

ProTravel PT-50
Brand: Sangean Pages: 56

GT-3WP
Brand: SAIN SONIC Pages: 18

MARINE HH500
Brand: Cobra Pages: 48

UBC3000XLT
Brand: Uniden Pages: 50

LBI-31693B
Brand: Com-Net Ericsson Pages: 20

SY-1636
Brand: Sytech Pages: 4

TX667
Brand: GME Pages: 33


