Summary of Contents for Stanley
Page 12: ......
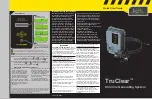
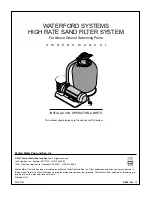
The Lincoln pool equipment Stanley is a high-quality product that guarantees a hassle-free swimming experience. To ensure quick and convenient troubleshooting or set-up instructions, access the comprehensive Owner's Manual that you can easily download for free from our website.
Page 12: ......