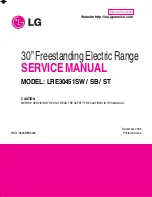
LG LRE30451, Руководство по установке
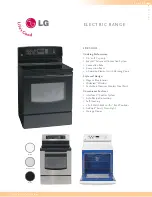
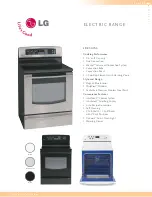
Характеристики LG LRE30451 включают в себя функции, такие как конвекция и пиролиз. Вы можете загрузить бесплатное руководство по эксплуатации с нашего веб-сайта. Получите детальное описание продукта и инструкции по использованию прямо сейчас на manualshive.com.
Поделиться
Скачать


Отзывы:
Нет отзывов
Похожие инструкции для LRE30451
LRE30451
Бренд: LG Страницы: 2
LRE30451
Бренд: LG Страницы: 92
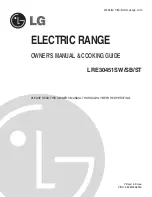
LRE30451SB
Бренд: LG Страницы: 34
LRE30451SB
Бренд: LG Страницы: 74
LRE30755
Бренд: LG Страницы: 2
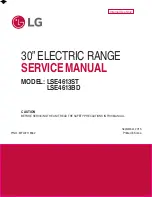
LSE4613BD
Бренд: LG Страницы: 88
LSE4613BD
Бренд: LG Страницы: 112
LST5651SB
Бренд: LG Страницы: 68
VEFSGE304P
Бренд: Verona Страницы: 24
CVESC530-4B
Бренд: Brigade Страницы: 12


