background image

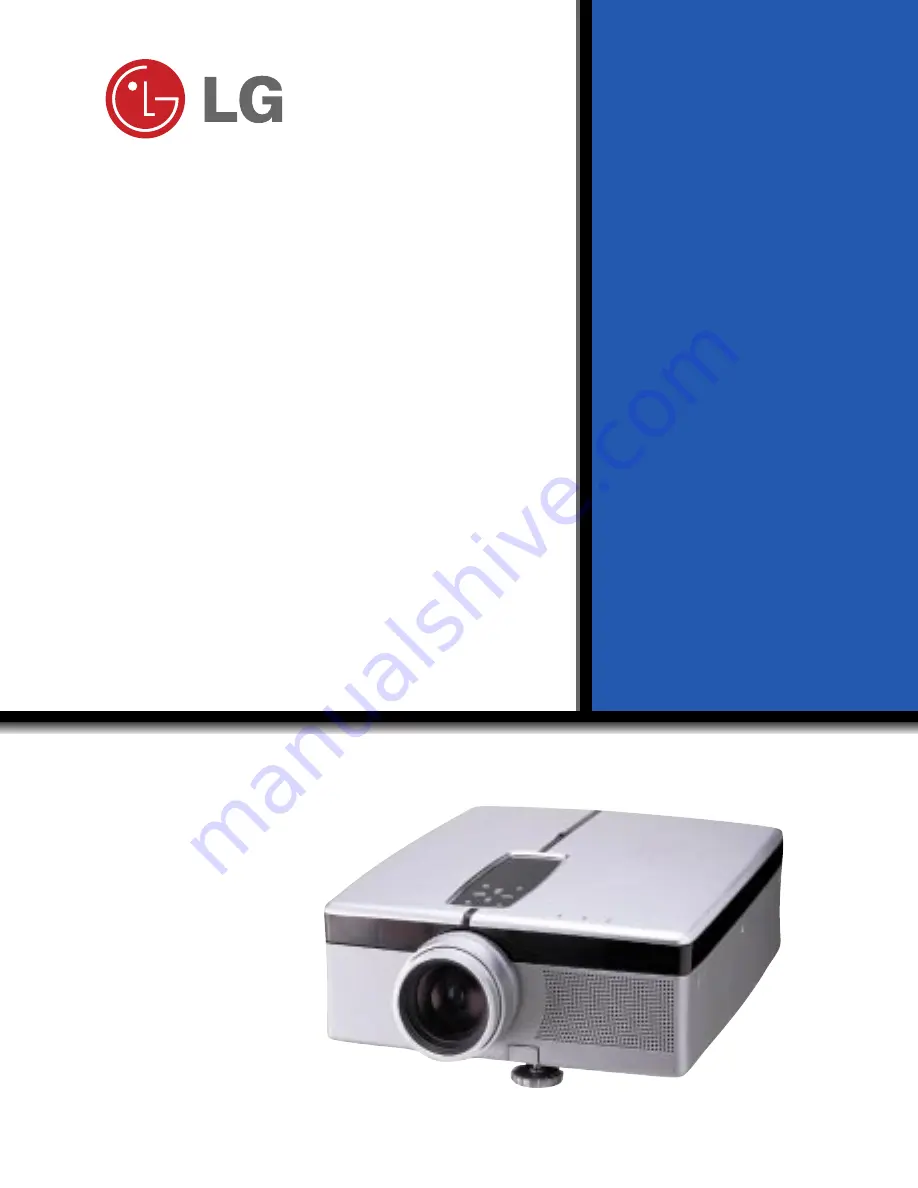
LP-XG2

OWNER’S MANUAL

LG  LCD  PROJECTOR

LG  LCD  PROJECTOR

Please read this manual carefully before operating
your set. 
Retain it for future reference.
Record model number and serial number of the set. 
See the label attached on the bottom of the set and
quote this information to your dealer when you
require service.

Model number

:

Serial number

:

Summary of Contents for LP-XG2

Page 1: ...this manual carefully before operating your set Retain it for future reference Record model number and serial number of the set See the label attached on the bottom of the set and quote this information to your dealer when you require service Model number Serial number ...

Page 2: ...LCD PROJECTOR LCD PROJECTOR 1 ...

Page 3: ...g the Projector 23 Turning on the Projector 25 Function checking 26 Selecting source mode 27 Using Still function 28 SPECIAL FUNCTIONS 4 Selecting language 29 Checking lamp time 30 Using Flip Horizontal Vertical function 31 Using Blank function 33 Selecting PC screen size input signal 35 POSITION ING 5 Using Tracking function 39 Adjusting Video 41 TRACKING VIDEO 6 Using Resize function 36 Adjustin...

Page 4: ...this instruction may cause light injuries or damage of the projector WARNING PUSH ME NU SO UR CE BL AN K EN TE R VO L VO L PUSH ME NU SO UR CE BL AN K EN TE R VO L VO L PUSH ME NU SO UR CE BL AN K EN TE R VO L VO L Do not attempt to repair or adjust this equipment Contact your dealer or Service center High risk of electric shock Don t insert any object into the exhaust vent This may cause a fire o...

Page 5: ...ause a fire or could give an electric shock P U S H M E N U S O U R C E B L A N K E N T E R V O L V O L Don t look directly onto the lens when the projector is in use Eye damage may occur P U S H M E N U S O U R C E B L A N K E N T E R V O L V O L Don t use the projector in damp place such as a bathroom or any place where it is like ly to get wet Serious damage could occur or risk of Electric Shoc...

Page 6: ... the exhaust port and the lamp lid generate heat PUSH MENU SOURCE BLANK ENTER VOL VOL Disconnect from the mains and remove all connections before moving Damage of cords may cause a fire or electric shock Never touch the power plug with wet hand It may cause electric shock PUSH ME NU SO UR CE BLA NK EN TER VO L VO L Don t use alcohol benzene or thinners to clean any plastic parts of the projector N...

Page 7: ...read on the power lead Use the indicated type of power source on the projector If you are not sure of the type of power available consult your dealer or customer service center PUSH ME NU SO UR CE BL AN K EN TE R VO L VO L Don t place the projector or the remote control on a heater or use in a heated car PUSH ME NU SO UR CE BL AN K EN TE R VO L VO L Don t use the projector when the power cord or t...

Page 8: ...nnecting Part Rear Connecting Part Rear remote control sensor Handle Foot adjusting button Indicators Front remote control sensor Horizontal leveler Focus ring Lens cover Foot Computer Audio Computer Out Computer In Audio Video Main power button Kensington Security System Connector Refer to page 12 Rear remote control sensor Mouse S Video Zoom ring Power button Speaker Control panel ...

Page 9: ...WER POWER Button D E Button Selects menus and items in the menus MENU Button Selects or closes menus SOURCE Button Switches to PC or AV mode VOLUME Button Adjusts volume level and functions of menus ENTER Button Checks present mode and saves the change of functions BLANK Button ...

Page 10: ...G Button BLANK Button RESIZE Button AUTO TRACKING Button Slide the battery cover in the direction of the arrow to remove VOLUME Button MENU Button R MOUSE Button Zoom in Button ENTER Button LASER Button POINTER Button STILL Button MUTE Button ZOOM Button 1 Insert the batteries with correct polarity 2 Replace the battery compartment cover to the arrow direction 3 ...

Page 11: ... menus controls selecting and adjusting functions with the direction of up down left right Moves the screen with the direction of up down left right on zoom function Moves and releases the selected icon on PC screen MOUSE DRAG Button Uses to select and drag an icon in PC mode ENTER Button Checks the present mode and saves the change of functions ZOOM Button Refer to page 38 RESIZE Button Refer to ...

Page 12: ...ng installer use only the ceiling installer for LCD projector Contact your dealer for replacing a new lamp Remote Control Batteries 2 size AA Power Cord Audio Video Cable Audio Cable Computer Cable SCART to RCAjack option MAC Serial Mouse Cable MAC Desktop Adaptor Lamp Portable Bag S Video Cable Screen for projecting PS 2 Mouse Cable IBM PC or Compatible Ceiling installer for LCD projector ...

Page 13: ...m cable as below For the detailed installation and use of the Kensington Security System refer to the user s guide attached to the Kensington Security System set And for further information contact http www kensington com the internet homepage of the Kensington company that deals with expensive electronic equipments such as notebook PCs or LCD projectors Kensington Security System is an optional i...

Page 14: ...replaced with a new lamp over 1400 hours Replace the Lamp Lamp Indicator Red flashing The projector has trouble in the lamp or around it Contact the service center Green flashing The lamp cover is not closed Orange This projector is in high temperature If you don t turn off the projector it ll be turned off automatically Temperature Indicator Temperature is Too High Red The projector is turned off...

Page 15: ...a right angle to the screen If the projector is not at a right angle the screen image will be crooked At this time perform keystone function Refer to page 37 4 4 Connect the cables of the projector to a wall power socket and other connected sources Screen size Horizontal distance from projector to screen 610x460cm 300inch 12 55m 16 35m 410x300cm 200inch 8 35m 10 87m 200x150cm 100inch 4 16m 5 42m 1...

Page 16: ...t the monitor cable from the PC monitor to Computer Out of the projector if you want to see the projected image on PC monitor c Connect the audio cable from the PC LINE OUT sound port to Computer Audio of the projector If the PC has two audio out ports of SPEAKER OUT and LINE OUT connect the LINE OUT port to get better sound quality d Connect the PS 2 mouse for IBM PC or compatible cable 6 pin to ...

Page 17: ...r In of the projector b Connect the audio cable from the PC to Computer Audio of the projector c Connect the PS 2 mouse for IBM PC or compatible cable 6 pin to the Mouse of the projector Computer Out AC Computer In Mouse Computer Audio K Audio Video S Video R L MONO a c b INSTALLATION AND CONNECTION ...

Page 18: ... adaptor in accordance with the resolution you want to use and connect the adaptor to the Macintosh Refer to page 18 19 d Connect the computer cable to the Macintosh desktop adaptor e Connect the audio cable from the PC to Computer Audio of the projector f Connect the mouse cable 4 pin from the Macintosh mouse port to the Mouse of the projector You must use the Macintosh desktop adaptor to connect...

Page 19: ... to OFF status and 7 9 to ON status of the adjusting numbers And select the adjusting letter which is correct to the Macintosh and the monitor Refer to page 19 b Notes for Connecting to the Macintosh PowerBook If you get problems when connecting it to the projector set the adjusting number 9 to OFF status and restart the Macintosh PowerBook INSTALLATION AND CONNECTION ...

Page 20: ...384 24 5 60 N N N N N N N N N N N N N N N N N N output resolution horizontal frequency KHz vertical frequency Hz adjusting letter 13 x14 RGB 640x480 35 66 J J J J J J J J J J J J J J J J J J 15 Portrait 640x870 68 8 75 O O O O O O O O O O O O O O VGA 640x480 31 60 G G M G G G G G G G G G G G G G SVGA 800x600 35 56 G G G G G G G G G G SVGA 800x600 56or72 G G G 16 Color 832x624 50 75 F F F F F F F F...

Page 21: ...use and connect the adaptor to the Macintosh PowerBook Refer to page 18 19 c Connect the other end of the computer cable to the Macintosh desktop adaptor d Connect the audio cable from the PC to Computer Audio of the projector e Connect the mouse cable from the Macintosh mouse port to the Mouse of the projector Computer Out Computer In Mouse Computer Audio K Audio Video S Video R L MONO 1 2 3 4 5 ...

Page 22: ...he projector If you connect S Video cable and Video cable simultaneously you will get only the playing image of S Video source If the Audio output of other external equipments is mono do connect Audio cable only to the white port Audio L of the projector In AV input mode if the auto video system recognition fails to detect a correct video system type please press the AUTO TRACKING button on the re...

Page 23: ...V Settop Box b Connect the Audio input ports R L Mono of the projector to the Audio output ports R L of the D TV Settop Box To receive the DTV program it is necessary to purchase DTV receiver Settop Box and connect it to the projector Please refer to the owner s manual of the DTV Settop Box for the connection between LCD projector and DTV Settop Box a b D TV Settop Box rear 22 INSTALLATION AND CON...

Page 24: ... at the bottom of the projector by pushing foot adjuster button as below 1 Press the foot adjuster button while you support the other side of the projector This unlocks the foot and can make it move freely Take care not to drop the projector 2 While pressing the foot adjuster button raise or lower the projector to place the screen image in the proper position 3 Release the button to lock the foot ...

Page 25: ...a place that is not stable or horizontal the projected screen shape will be distorted PO WE R M E N U S O U R C E B L A N K E N T E R V O L V O L Horizontal leveler Adjust the screen shape to be horizontal and rectangular with horizontal leveler as above ...

Page 26: ...ecause the lamp of the projector needs preheating An image appears after the green power indicator is flashed for some time Select the source mode with the SOURCE button 3 2 Adjust volume level If you press VOLUME G button sound and volume level number are increased If you press VOLUME F button sound and volume level number are decreased 4 24 Don t turn main power off and don t unplug the power co...

Page 27: ...ifferent from those in the PC mode Refer to page 41 2 exit move enter Menu Menu G VIDEO G POSITION G SPECIAL G TRACKING exit move adjust Menu Menu E VIDEO Contrast Brightness Color R Color G Color B Reset G POSITION G SPECIAL G TRACKING 80 80 exit move adjust Menu Menu G VIDEO E POSITION Horizontal Vertical Keystone Zoom Resize G SPECIAL G TRACKING exit move select Menu Menu G VIDEO G POSITION E S...

Page 28: ...Selecting source mode Press the SOURCE button 1 Each press of the SOURCE button changes the display as below 2 PC AV 27 ...

Page 29: ...Using Still function Press the STILL button You can still the input image from PC or AV source 1 To finish this function press the STILL button again 2 Moving Image Still Image 28 BASIC FUNCTIONS ...

Page 30: ...OINTER button left or right to select the language you want to use On Screen Display OSD is marked in the selected language from this point To finish menu display press the MENU button repeatedly 2 3 exit move enter Menu Menu G VIDEO G POSITION G SPECIAL G TRACKING exit move select Menu Menu G VIDEO G POSITION E SPECIAL Language Flip Horizontal Flip Vertical Blank Image Lamp Time VGA Text G TRACKI...

Page 31: ...or down to select the Lamp Time item 2 You can see the used lamp time When the lamp time is reaching 1400 hours the lamp indicator is turned to red color exit move enter Menu Menu G VIDEO G POSITION G SPECIAL G TRACKING exit move Menu Menu G VIDEO G POSITION ESPECIAL Language Flip Horizontal Flip Vertical Blank Image Lamp Time VGA Text G TRACKING 0 Hr 30 SPECIAL FUNCTIONS ...

Page 32: ...n when projecting from behind onto a transparent screen being viewed from the opposite side exit move enter Menu Menu G VIDEO G POSITION G SPECIAL G TRACKING exit move enter Menu Menu G VIDEO G POSITION ESPECIAL Language Flip Horizontal Flip Vertical Blank Image Lamp Time VGA Text G TRACKING exit move enter Menu Menu G VIDEO G POSITION E SPECIAL Language Flip Horizontal Flip Vertical Blank Image L...

Page 33: ...ed image When you hang the projector upside down from the ceiling for using you need to reverse all the sides left right upper lower of the image exit move enter Menu Menu G VIDEO G POSITION G SPECIAL G TRACKING exit move enter Menu Menu G VIDEO G POSITION E SPECIAL Language Flip Horizontal Flip Vertical Blank Image Lamp Time VGA Text G TRACKING exit move enter Menu Menu G VIDEO G POSITION E SPECI...

Page 34: ...ttendants in meetings or briefings Press the BLANK button The screen turns to be covered with background color and sound becomes off You can choose the background color Refer to page 34 1 To exit the blank status press the BLANK button again If exiting the blank status sound also becomes on 2 ...

Page 35: ...ect the Blank Image item 2 Move the POINTER button left or right to select the color you want to use Background color will be changed to the selected color from this point To exit menu display press the MENU button repeatedly 3 exit move select Menu Menu G VIDEO G POSITION E SPECIAL Language Flip Horizontal Flip Vertical Blank Image Lamp Time VGA Text G TRACKING exit move enter Menu Menu G VIDEO G...

Page 36: ...n up or down to select the VGA Text item 2 Move the POINTER button left or right to select the screen size you want to use 3 a Selecting 720X400 When input signals are 720X400 70Hz or 640X400 70Hz the projected screen size is always adjusted to the format of 720X400 70Hz b Selecting 640X400 When input signals are 720X400 70Hz or 640X400 70Hz the projected screen size is always adjusted to the form...

Page 37: ...mode in case of LP XG2 model You can also use this function by using the MENU button POW ER ME NU SO UR CE BL AN K EN TE R VO L VO L Press the RESIZE button Each press of the button changes the display as below 1 Scaled 4 3 Original 16 9 PC mode AV DTV mode 36 POSITION ING ...

Page 38: ...per and lower width of the projected image to prevent the image shape from being a trapezoid shape Use this function when the screen or the projector is slanted and cannot make rectangular projection angle 2 Press the POINTER button and move the button left or right or press the VOLUME F G button to adjust the screen condition as you want Horizontal Vertical Keystone are adjusted from 50 to 50 To ...

Page 39: ...L MOUSE or R MOUSE button to adjust the zoom level L MOUSE button makes the image look smaller R MOUSE button makes the image look larger 3 Move the POINTER button to move the rectangular zooming area and press the ENTER button to zoom the target area 2 You can use this function by using the MENU button In the zoom mode you can adjust horizontal vertical position with the POINTER button POW ER ME ...

Page 40: ...djusting are automatically performed Press the AUTO TRACKING button 1 Adjust Clock or Phase in TRACKING menu after operation of Auto Tracking if you want to get better picture quality in accordance with diverse PC input modes Refer to page 40 2 You can also use this function by using the MENU button PC mode Perform this function while on stopped image because you may not get the best video quality...

Page 41: ...ect the TRACKING menu 1 Press the ENTER button and move the POINTER button up or down to select the Clock or Phase item 2 exit move adjust Menu Menu G VIDEO G POSITION G SPECIAL E TRACKING Auto Tracking Clock Phase 0 0 Clock Phase Function Clock Phase Function Move the POINTER button left or right or press the VOLUME F G button to adjust the screen condition To exit the menu display press the MENU...

Page 42: ...ndition after changing it press ENTER button after selecting Reset item To finish menu display press the MENU button repeatedly 4 Press the ENTER button 2 PC Mode PC Mode AV Mode AV Mode exit move adjust Menu Menu E VIDEO Contrast Brightness Color R Color G Color B Reset G POSITION G SPECIAL G TRACKING 80 80 exit move adjust Menu Menu E VIDEO Contrast Brightness Color Tint Reset G POSITION G SPECI...

Page 43: ...X480 75 00Hz 37 500kHz 640X480 85 008Hz 43 269kHz 640X480 100 040Hz 53 011kHz 640X480 120 00Hz 64 062kHz SVGA 800X600 56 250Hz 35 156kHz 800X600 60 317Hz 37 879kHz 800X600 72 188Hz 48 077kHz 800X600 75 00Hz 46 875kHz 800X600 85 061Hz 53 674kHz 800X600 90 00Hz 56 00kHz 800X600 100 00Hz 64 016kHz XGA 1024X768 43 479Hz 35 522kHz 1024X768 60 004Hz 48 363kHz 1024X768 70 069Hz 56 476kHz 1024X768 75 029H...

Page 44: ...benzene thinners or other chemical detergents as these can cause the casing to be warped Cleaning the Cleaning the Air Filter Air Filter The air filter which is located at the bottom of the projector should be cleaned after every 100 hours use If it is not cleaned periodically it can become clogged with dust and prevent the projector from being ventilat ed properly This may cause overheating and d...

Page 45: ...44 Memo ...

Page 46: ...45 Memo ...

Page 47: ... Horizontal x 768 Vertical pixel 1 01 7 6m 40 300 inches 1 64 16 35m 5 03 54 08 feet 12m 1W 4 3 horizontal vertical 1 1 3 NTSC PAL SECAM NTSC4 43 PAL M PAL N AC 110 240V 50 60Hz 98 5mm including front foot 238mm 329 5mm including lens 3 4kg temperature lamp model TP L2 power consumption 150W In operation 32 104 F 0 C 35 C In storage and transit 4 140 F 20 C 60 C humidity In operation 20 80 relativ...

Page 48: ...P NO 3828VA0245A a 373 026F ...

Reviews: