


P/
N
TITL
E
DI
SP
LA
Y
AN
GL
E
LA
NG
UA
GE
SU
BT
ITLE
MU
TE
L/R
1
2
3
4
5
6
7
8
SE
TU
P
EN
TE
R
SLOW
ZO
OM
RE
PE
AT
MA
RK
GO
TO
ST
AN
DB
Y
9
0
ME
NU
/PBC
RE
MO
TE
C
ON
TR
OL
MO
DE
L N
o.:
RM
C-
22
0
10
+
ENGLISH
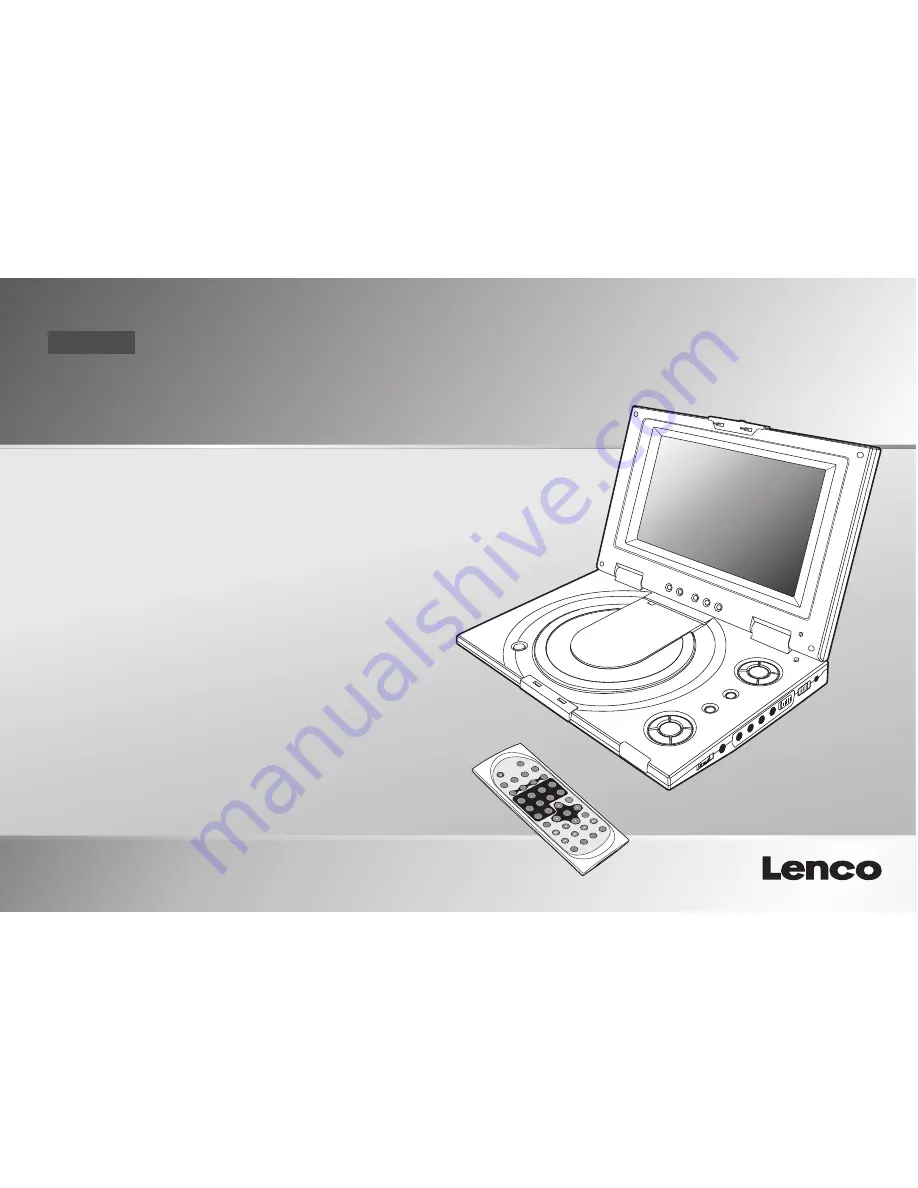
OWNER`S MANUAL
PORTABLE DVD PLAYER
MODEL NO :DV-9831
Please read this manual before operating
RE
VE
RS
AL
P/N
MO
DE
DO
WN
UP


