

33615 Rev. D
Page
1
of
2
S3290
Remotely Managed NID with Built-in Traffic Generator
Quick Start Guide
Cautions and Warnings
:
See the related Install Guide for specific Cautions and Warnings. Failure to read and
understand the information there could result in poor equipment performance, damage to the equipment, or injury
to persons.
There are two ways to log in to the S3290:
1.
Web
UI
: The S3290 supports the latest version of most popular Web browsers from any port.
2.
Console
Port
: using industry standard CLI. The S3290 has DHCP enabled by default. After power up, if a
DHCP server is available, the S3290 will obtain an IP address from the DHCP server. If no DHCP server is
available, after 60 seconds, the S3290 will fall back to the default IP address of 192.168.0.1/24.
Login via Web UI
1. Enter the default IP address in the browser URL field:
192.168.0.1/24.
2. Enter the Login information: Username: admin and Password: <Enter>.
The Username is case sensitive (all lower case).
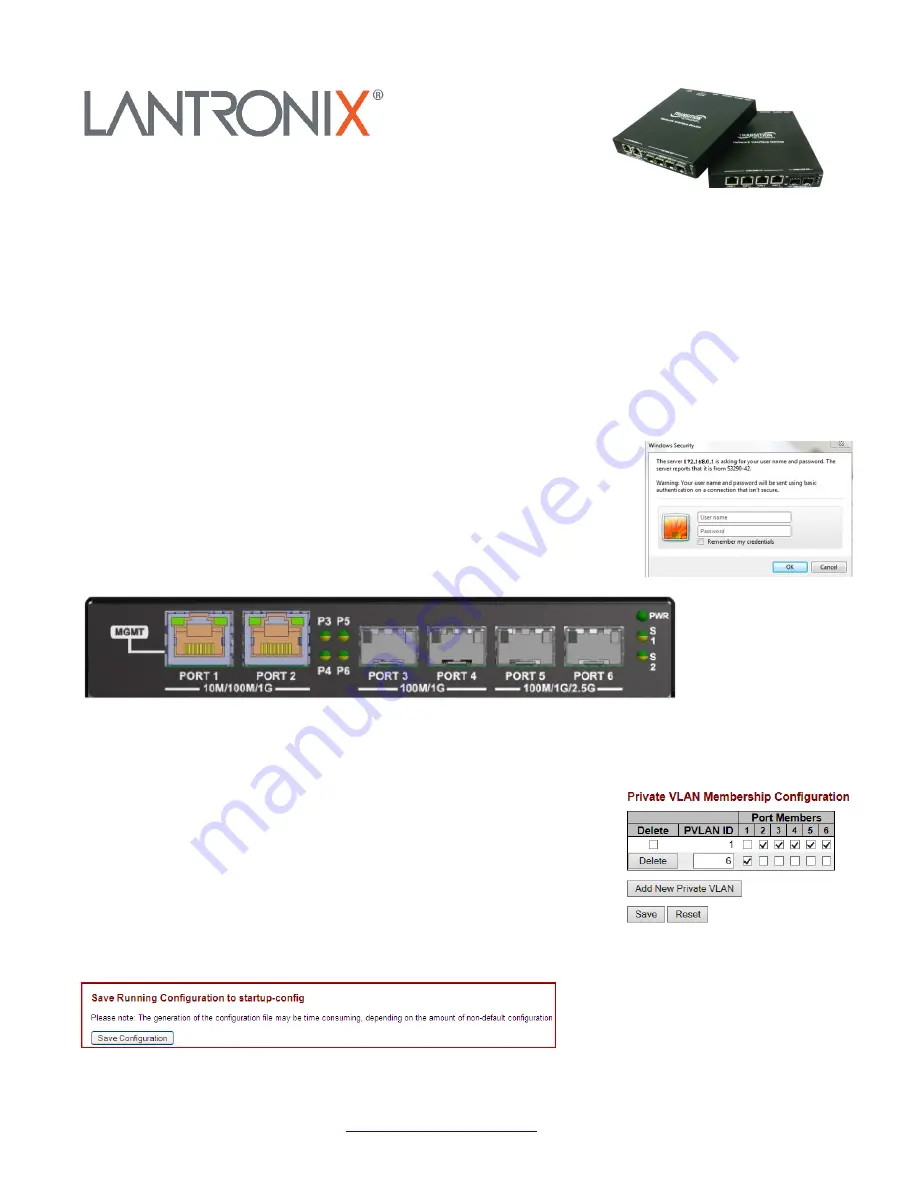
Front Panel (S3290-24)
Note:
By default, Gigabit Ethernet 1/1
(PORT 1)
is configured as a
Local Management
port. It is
associated/configured by default as
Private VLAN 6
.
Local Management Port 1 can be changed to a normal data UNI/NNI port, if required. Subsequently, any Port can
be configured as a management and/or normal data port.
To remove Port 1 as local management and assign it as a normal facing data
port:
1. Click on Configuration > Private VLANs > Membership.
2. Uncheck PVID 6 Port 1 and Save.
3. Check Port 1 with PVID 1 then Save.
To save the running configuration to the start-up configuration, click
Maintenance > Configuration > Save
startup-config
.


