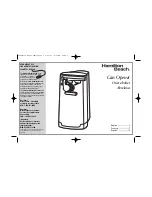
Label ETERNA 90, Installation Manual
The Label ETERNA 90 Installation Manual is available for free download from our website. This comprehensive manual provides step-by-step instructions and guidance on setting up and configuring your Label ETERNA 90 product. Get the most out of your purchase by accessing the manual at manualshive.com.
Share
Download


Reviews:
No comments
Related manuals for ETERNA 90
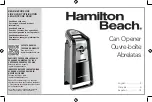
76700
Brand: Hamilton Beach Pages: 20
76607
Brand: Hamilton Beach Pages: 20
76375 - CleanCut Extra-Tall Can Opener
Brand: Hamilton Beach Pages: 10

HOPP HO7124
Brand: Nice Pages: 36

KAIROS Series
Brand: Erreka Pages: 48

770 230V
Brand: FAAC Pages: 17

531EM
Brand: FAAC Pages: 18

415 LLS
Brand: FAAC Pages: 24

D600
Brand: FAAC Pages: 124

65712
Brand: Chicago Electric Pages: 31

E8
Brand: NAS Pages: 19

FAST KIT
Brand: CAME Pages: 32

746 ER CAT
Brand: FAAC Pages: 19

746 ER CAT
Brand: FAAC Pages: 19

550
Brand: FAAC Pages: 44

AMICO 400BZ
Brand: Delton Pages: 8

GECCO
Brand: Roma Pages: 36

AT PLUS-2500
Brand: vds Pages: 25


